In this comprehensive guide on how to adjust bike brakes, we’ll go step-by-step through the process of adjusting various brake types, including caliper brakes, disc brakes, and V-brakes.
It is necessary to maintain the brakes of your bike at an optimal level for a secure and enjoyable ride. Worn-out brake pads positioned too high or low on the rim can compromise safety, while overly loose brake cables can affect effective braking.
This guide also includes details for the process of adjusting both brake cables and brake pads. With the right tools and instructions, you’ll be able to solve these issues with confidence.
Let’s get started!
Why Do Brakes Need Adjustment?
The following are the usual reasons for adjusting bike brakes:
- Adjustments ensure balanced pad contact.
- To maintain efficient braking by aligning brake pads correctly.
- Even brake engagement contributes to balanced bike handling.
- Regular adjustments extend the lifespan of brake system parts.
- Adjusting prevents uneven wear and eliminates annoying brake noises.
- Adjusted brakes offer quick and reliable stops for enhanced rider safety.
- Proper alignment prevents premature brake pads and component wear.
- Proper brake adjustments save on maintenance and replacement expenses.
What Types of Brakes Are There?
There are various types of bicycle braking systems, with all having distinct benefits. The following are three common types of brakes:
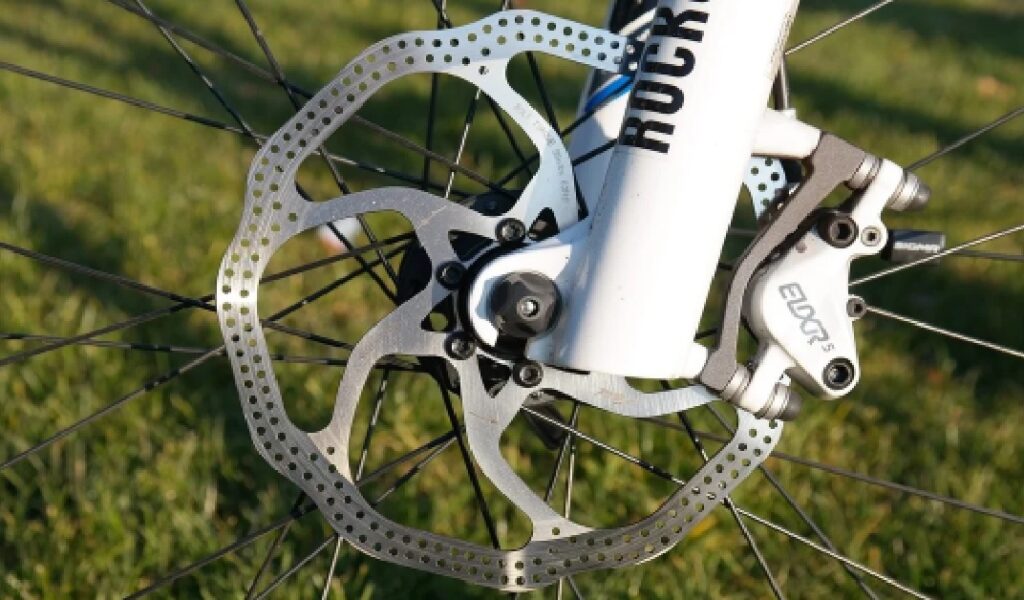
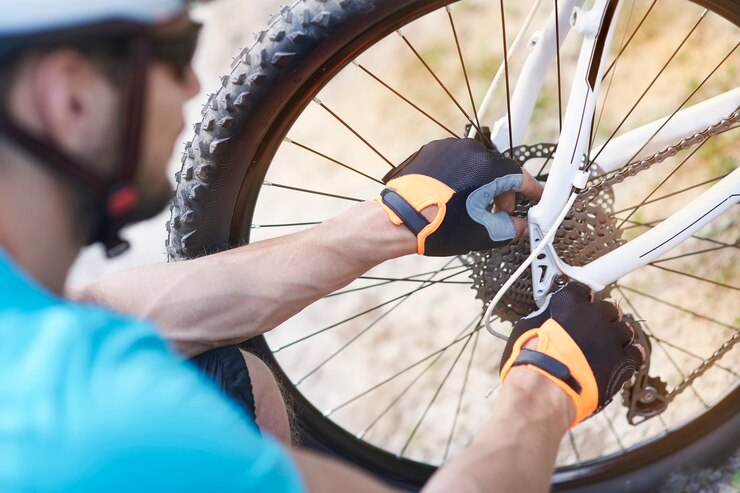
Disc Brakes
Disc brakes provide powerful braking ability for a variety of surfaces and weather conditions by using a rotor on the wheel hub and a caliper on the fork or frame. Mechanical (cable) and hydraulic (fluid) disc brakes are the two available types.
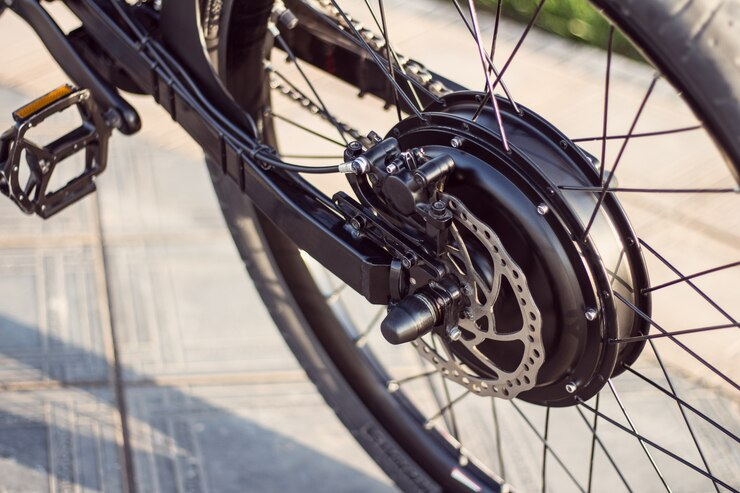
Hydraulics are often utilized in mountain, road, and hybrid bikes for consistent performance and durability as they offer smoother modulation and require less effort.
Caliper Brakes
Caliper brakes (rim brakes) work by applying pressure to the wheel rim with the brake pads. These types of bikes include lightweight single-pivots and more powerful dual-pivots.
Despite being compact and aerodynamic, caliper brakes may not work as well in wet conditions as disc brakes.
V-Brakes
V-brakes are rim brakes with U-shaped arms for leverage and are used for powerful stopping power on mountain, hybrid, and city bikes. They can be used for a variety of riding styles, are affordable to maintain, and can be selected based on use, environmental factors, and personal preferences.
Tools Required for Brake Adjustment
You need to correctly adjust the brake to ensure the best performance, cable tension, and safety. Here are the required tools:
- Allen Wrench Set: To tighten and loosen a variety of bolts.
- Barrel Adjuster: To precisely manage cable tension for braking.
- Cable Cutter: To cut off excess cable length.
- Pliers: For adjusting and attaching cable ends.
- Screwdriver: For accurate alignment, centering, and adjustments.
- Bike Stand: To keep your bike steady during the process.
How to Adjust Your Brake Cables?
An essential maintenance activity that guarantees reliable braking performance is adjusting the bike’s brake cables. To adjust cables properly, follow these steps:
1. Position Your Bike
Turn your bike upside down or put on a bike stand to safely reach the brakes.
2. Evaluate Brake Performance
Press the brake lever to inspect the brake pads. Adjustments are required if they don’t properly grip the rim or disc or if the lever seems either too loose or too tight.
3. Change Brake Cable Tension
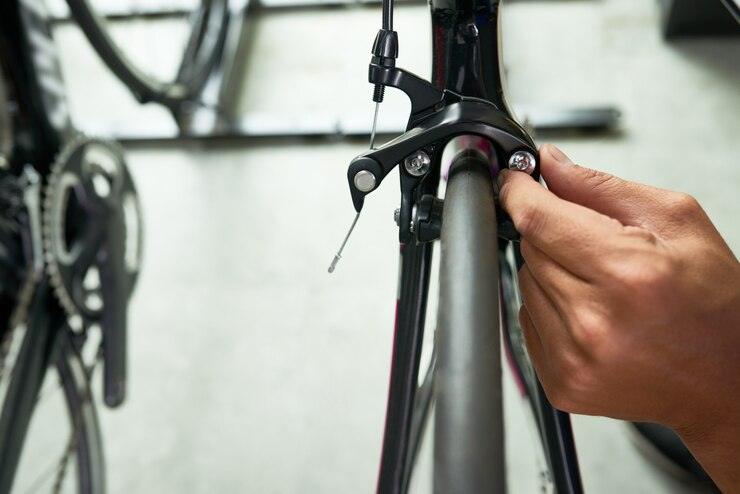
Caliper Brakes: The barrel adjuster can be found on the brake lever or close to the caliper. If you turn it clockwise, the tension will diminish and the pads will move away from the rim.
Disc Brakes: Adjust the barrel adjuster on the brake lever or at the caliper, similarly to the caliper brakes.
4. Fine-Tuning
If necessary, use the barrel adjuster to tweak the cable tension in small steps until the desired brake lever feel and pad engagement are achieved.
5. Examine Pad Alignment
Make sure the brake pads make even contact with the rim or disc on both sides. If the brake pads are not properly positioned, move them into place.
6. Test and Adjust
Squeeze the lever to check the brakes. Make sure there is no excessive rubbing or movement when they engage. Adjustments should be made further as necessary to attain the desired performance.
7. Secure Cables
Double-check all bolts and cable clamps to ensure they are tightened completely to prevent any slippage or misalignment while riding.
8. Try a bike
Check that the brakes respond correctly and have the required stopping strength by going for a short test drive.
You can modify your bike’s brake cables by following these instructions, ensuring that they work effectively and give you robust braking performance for safe and enjoyable rides.
How To Adjust Bike Brake Pads?
For riding to be both safe and efficient, proper brake settings must be maintained. Here are detailed instructions on how to adjust bike brakes for caliper, disc, and V-brake setups:
1. Position Your Bike
Put your bike in a stable posture to allow for easy access to the braking parts.
2. Examine Pad Alignment
Check the brake pads to ensure they are symmetrically aligned with the braking surface, which could be the rotor or the rim.
3. Adjust Pad Clearance
Check the distance between the braking surface and the brake pads. This space guarantees efficient braking with minimal friction.
4. Brake Centering
Caliper Brakes: Check the alignment of the pad to the rim by using the brakes. If required, reposition the pad. Loosen the caliper’s mounting bolts slightly. Then, to center the caliper, squeeze the brake lever once more and gradually tighten the mounting bolts.
Disc brakes: To center the caliper over the rotor, repeatedly squeeze the brake lever. Slightly loosen the mounting bolts to enable the caliper to slide. Maintain a centered position by applying the brake lever and tightening the bolts again.
V-brakes: To achieve equal pad-to-rim contact, manually center the braking arm.
5. Fine-Tuning
Caliper Brakes: Get the appropriate lever feel and pad engagement by adjusting the cable tension using the barrel adjuster.
Disc brakes: Utilizing the caliper’s adjustment knobs, fine-tune pad clearance to guarantee even and appropriate contact with the rotor.
V-Brakes: For exact alignment and balanced braking, use the pad adjustment screws on each brake arm.
6. Test Brake Engagement:
Apply pressure to the brake pedal while rotating the wheel. Make sure that there is no rubbing or loud noise as both brake pads make contact with the rim or rotor at the same time.
7. Short Test Ride
Take a short ride to assess the brakes’ functionality; make sure they provide consistent stopping force and a comfortable lever feel.
8. Tighten All Bolts
Make sure that all bolts, including those used to mount the caliper, brake arms, and pad adjustment, are tightly fastened to avoid any unintended movement when riding.
You can alter your caliper, disc, and V-brakes with confidence if you stick to this step-by-step guide, which will also make cycling safer and more comfortable. Your brakes will surely operate reliably on your rides when they are in optimal condition by doing regular inspections.
How Do I Know I Need New Brakes?
Apart from knowing how to adjust bike brakes, you must understand the need for new brakes. There are several indicators for brake replacement.
First, it’s obvious if you observe reduced braking performance, such as increased stopping distances or spongy brake lever feel.
When braking, squealing, grinding, or squeaking sounds could be signs of worn brake pads that need urgent attention. It is crucial to visually inspect the brake pads; if they appear thin (less than 3 mm), it is time to replace them.
Additionally, uneven rotor wear or worn-out brake parts may be to blame if you experience vibrations when applying the brakes. Your brakes remain in excellent condition if you do routine maintenance checks and pay attention to these warning signs, making cycling safer and more enjoyable.
Types of Bike Brake Levers
Drop Bar Brake Levers
These levers are used on road bikes and enable a variety of hand positions for reliable braking control and flexibility in diverse riding circumstances. They are combined with the shifters.
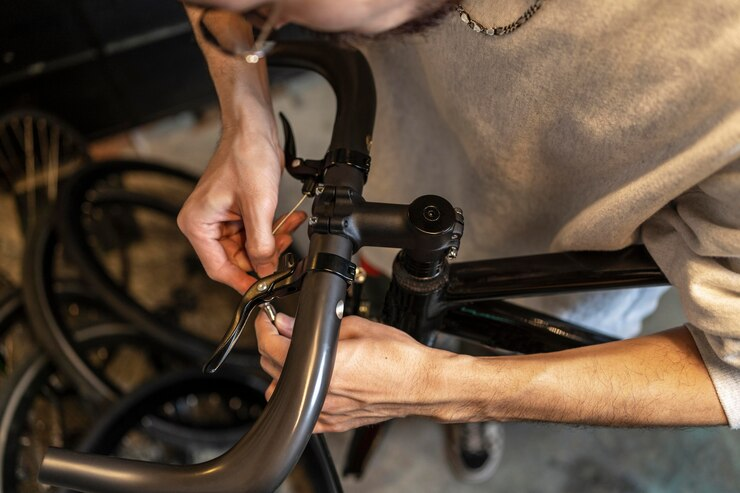
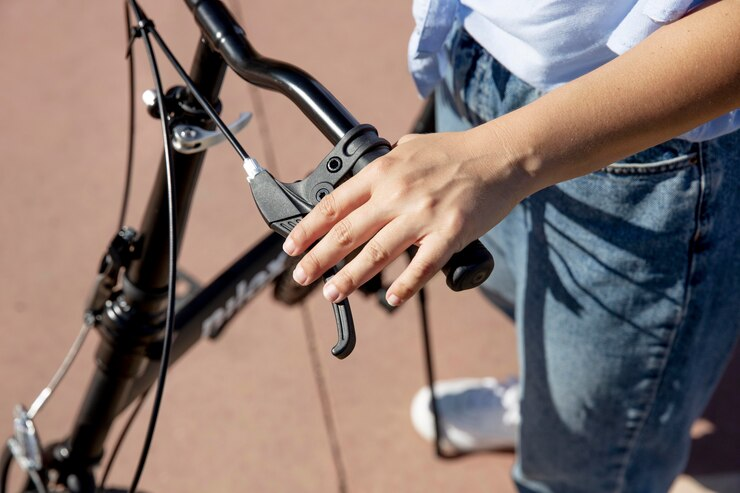
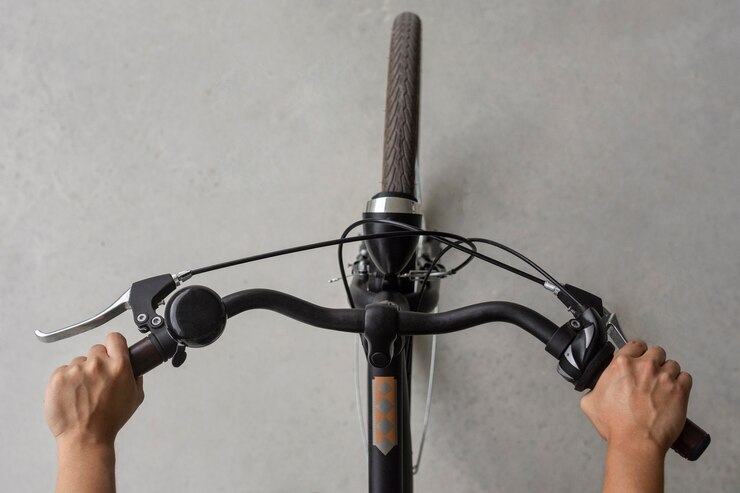
Flat Bar Brake Levers
These levers are separate from the shifters, which are popular on flat-bar and hybrid bikes. They offer a simple, ergonomic shape ideal for leisure riding and commuting in cities.
Hydraulic Brake Levers
These levers are commonly used in mountain biking for their steady performance when paired with hydraulic disc brakes. They provide strong stopping power in a variety of terrains and weather circumstances.
These three brake lever types are very popular among cyclists and assist in increasing braking performance while accommodating various riding styles and preferences.
Conclusion
Adjusting bike brakes can reduce the risk of accidents caused by brake failure. Brake maintenance assures consistent stopping power, improves safety, and makes riding more comfortable.
With this comprehensive guide on how to adjust bike brakes, you can now confidently handle brake adjustments and enjoy your ride while ensuring safety.
FAQs
Due to contamination, uneven rotor wear, or misalignment of brake pads, disc brakes can become noisy, causing vibrations and the distinctive squealing or squeaking sound.
Usually, brake pads last between 500 and 1000 miles, but the frequency of use, environment, and maintenance affect how long your bike’s brake pads survive.
Use disc brakes instead of rim brakes since they work better in all weather conditions and your rims will last longer because rim brakes wear out rims.
Disc brakes may fail to release due to damage, dirt buildup, or improper setup, even when the brake lever is not activated.