Knowing how to adjust bike derailleur is crucial for cycling enthusiasts who recognize the significance of a properly tuned derailleur.
The bike derailleur is a crucial component that shifts the chain between gears, enabling you to control the speed and resistance of your bike. When a derailleur is not properly adjusted, it can lead to issues like skipped gears, chain slipping, noise, or misalignment, impacting your overall riding experience.
This blog post provides a comprehensive guide on adjusting both front and rear derailleurs. Using simple tools and following our step-by-step instructions, you’ll be able to fine-tune your derailleurs, ensuring your bike shifts smoothly and accurately.
Why Shifting Problems?
One of the most common causes of shifting problems in bike derailleurs is chain wear. Over time, the chain stretches and wears out the teeth of the sprockets and chainrings, making the shifting less smooth and accurate.
Another cause of shifting problems is damaged housing or cable. The housing is the protective cover of the cable that connects the shifter to the derailleur. The cable is the wire that transmits the shifting force. If the housing or cable is bent, frayed, rusted, or broken, the shifting will be erratic or impossible.
A third cause of shifting problems is a bent derailleur hanger. The derailleur hanger is the metal piece that attaches the rear derailleur to the frame. If the hanger is bent, the derailleur will be misaligned with the cassette, resulting in poor shifting or chain drop.
How to Adjust Bike Derailleur?
What Tools Do I Need for Adjusting Bike Derailleur?
To adjust your bike derailleur, you will need the following tools and materials:
- A bike stand or a stable surface to prop up your bike
- Cleaning products such as degreasers, rags, and brushes
- Allen keys of various sizes to loosen and tighten the bolts on the derailleur
- A small screwdriver to adjust the limit screws and the B-tension screw
- A cable cutter or pliers to trim the cable if needed
Preparing the Bike
Before you start adjusting your bike’s derailleur, you need to make sure that your bike is on a stable surface, such as a bike stand or a flat ground. This will prevent the bike from moving or falling while you work on it.
Next, you need to shift the bike to the smallest chainring and the smallest rear cog, which are the easiest gears to adjust. This will also give you more slack in the chain and cable.
Finally, you need to inspect your bike for any issues or damages that might affect the derailleur’s performance, such as bent or broken parts, loose or frayed cables, or dirty or rusty components. If you find any problems, you should fix them before proceeding with the adjustment.
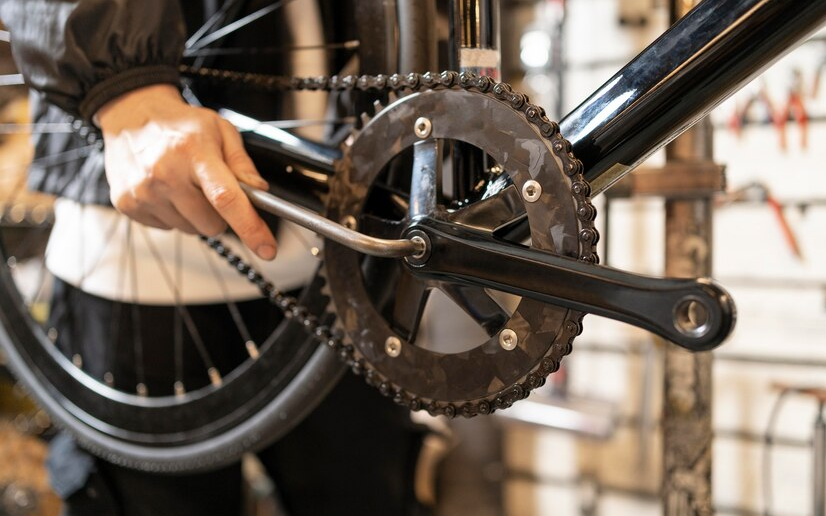
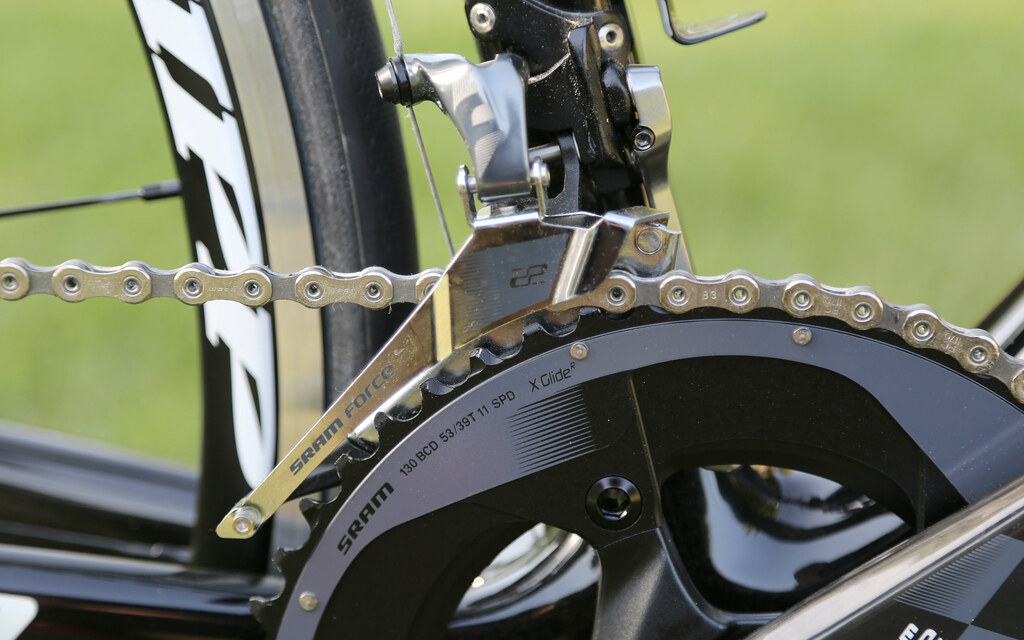
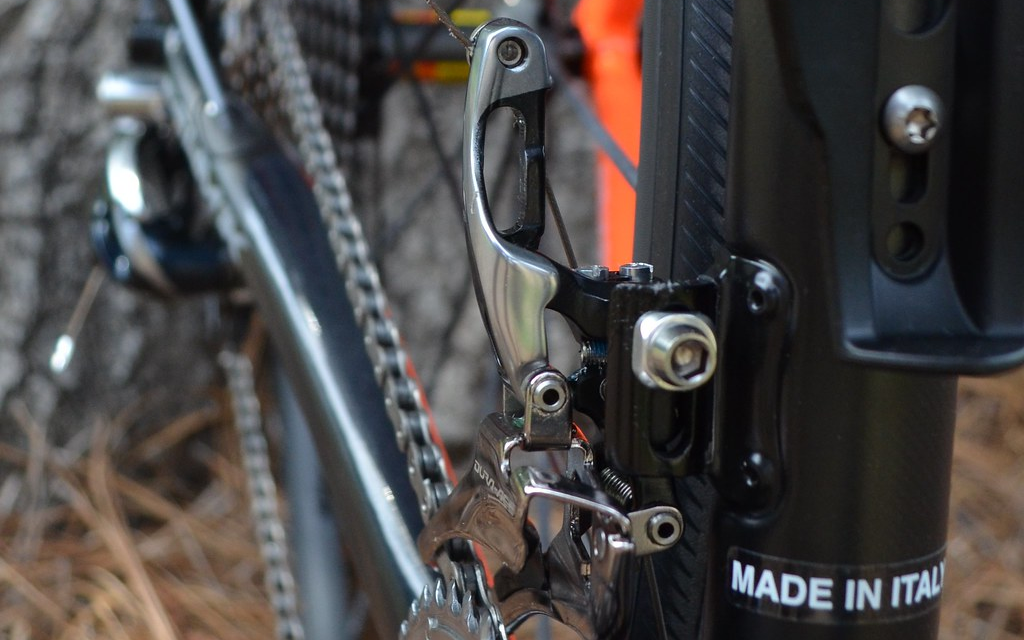
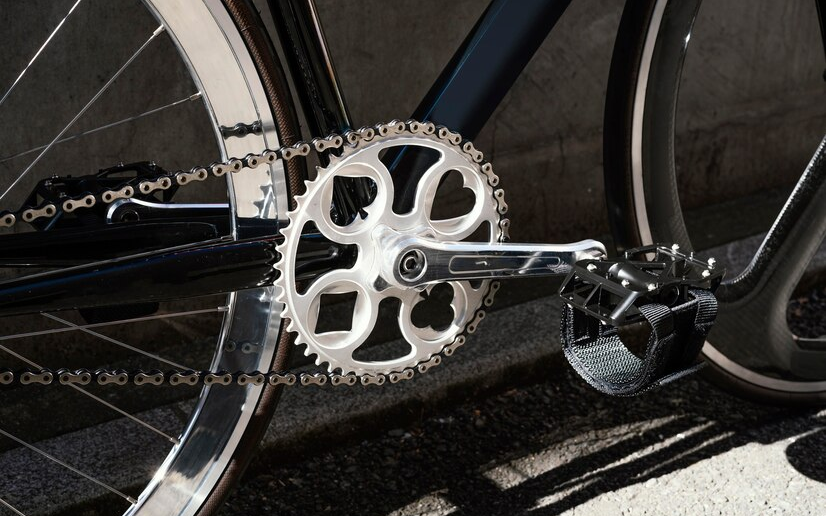
How to Adjust Front Derailleur?
1. Checking Cable Tension
The cable tension determines how far the derailleur moves when you shift gears. To check it, shift to the smallest chainring and the largest rear cog.
Then, look at the gap between the inner cage of the derailleur and the chain. It should be about 1 mm. If it is too wide or too narrow, use the barrel adjuster on the shifter or the cable stop to fine-tune the tension.
2. Setting the Limit Screws
The limit screws control the range of motion of the derailleur and prevent it from going beyond the chainrings. To set them, shift to the smallest chainring and the smallest rear cog.
Then, locate the low limit screw (marked with an L) on the derailleur body. Turn it clockwise or counterclockwise until the outer cage of the derailleur is aligned with the outer edge of the smallest chainring.
Next, shift to the largest chainring and the largest rear cog. Then, locate the high limit screw (marked with an H) on the derailleur body. Turn it clockwise or counterclockwise until the inner cage of the derailleur is aligned with the inner edge of the largest chainring.
3. Aligning the Derailleur with the Chainrings
The derailleur should be parallel to the chainrings and at the correct height above them. To check the alignment, look at the derailleur from behind the bike.
The outer cage of the derailleur should be parallel to the chainrings. If it is tilted, loosen the clamp bolt that holds the derailleur to the frame and rotate the derailleur until it is straight.
Then, tighten the clamp bolt. To check the height, measure the gap between the teeth of the largest chainring and the bottom of the outer cage of the derailleur.
It should be about 2 mm. If it is too high or too low, loosen the clamp bolt and slide the derailleur up or down until it is at the right height. Then, tighten the clamp bolt.
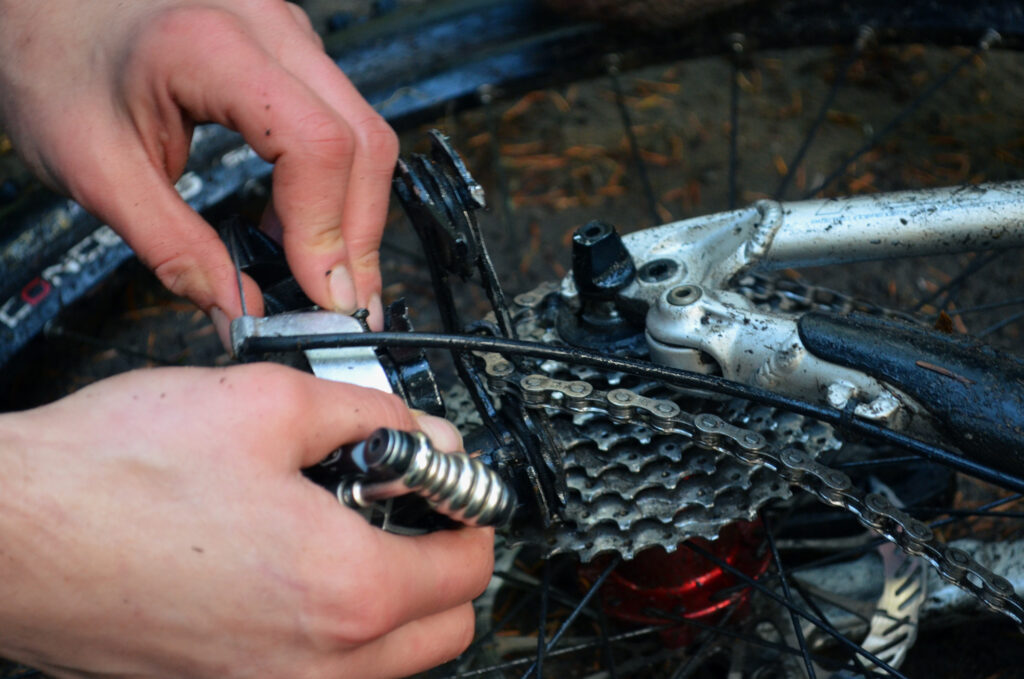
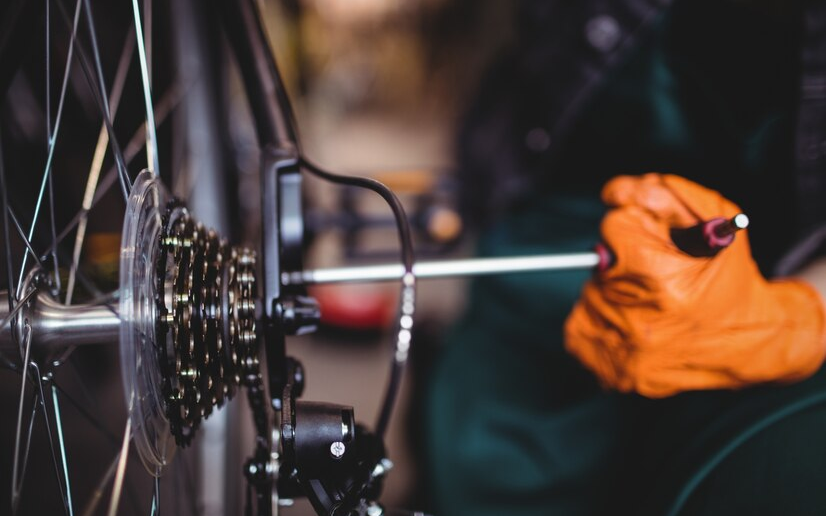
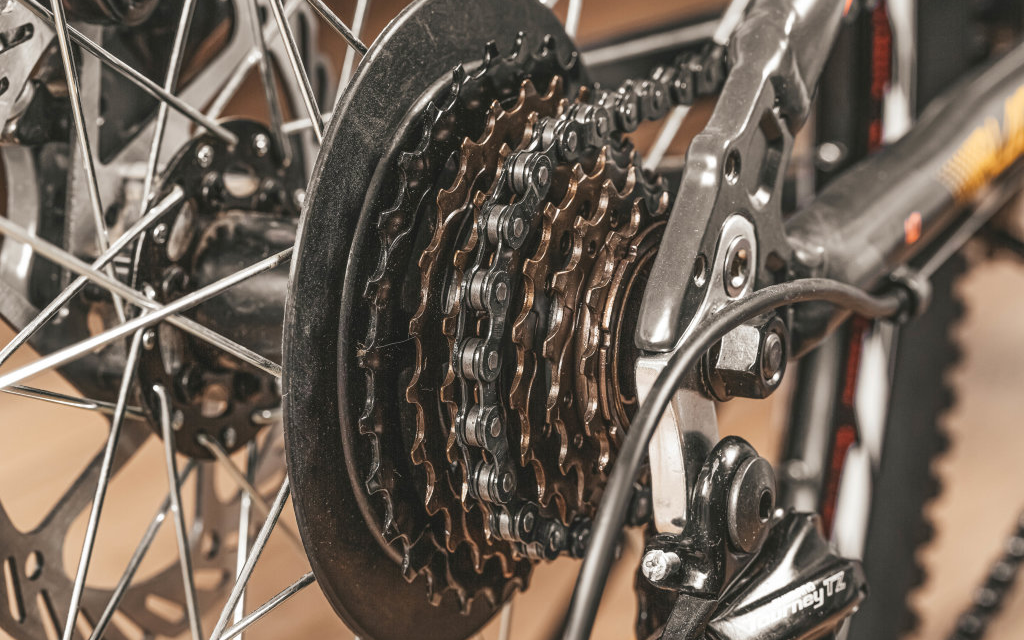
How to Adjust Rear Derailleur?
1. Checking Cable Tension
The cable tension determines how far the derailleur moves when you shift gears. To check it, shift to the smallest cog and the largest chainring.
Then, look at the gap between the upper pulley of the derailleur and the smallest cog. It should be about 1 mm. If it is too wide or too narrow, use the barrel adjuster on the shifter or the cable stop to fine-tune the tension.
2. Setting the Limit Screws
The limit screws control the range of motion of the derailleur to prevent it from going beyond the cassette. To set the limit screws, shift to the smallest cog and the largest chainring.
Locate the high limit screw (marked with an H) on the derailleur body and turn it clockwise or counterclockwise until the upper pulley of the derailleur is aligned with the smallest cog.
Then, shift to the largest cog and the smallest chainring. Find the low limit screw (marked with an L) on the derailleur body and turn it clockwise or counterclockwise until the upper pulley of the derailleur aligns with the largest cog.
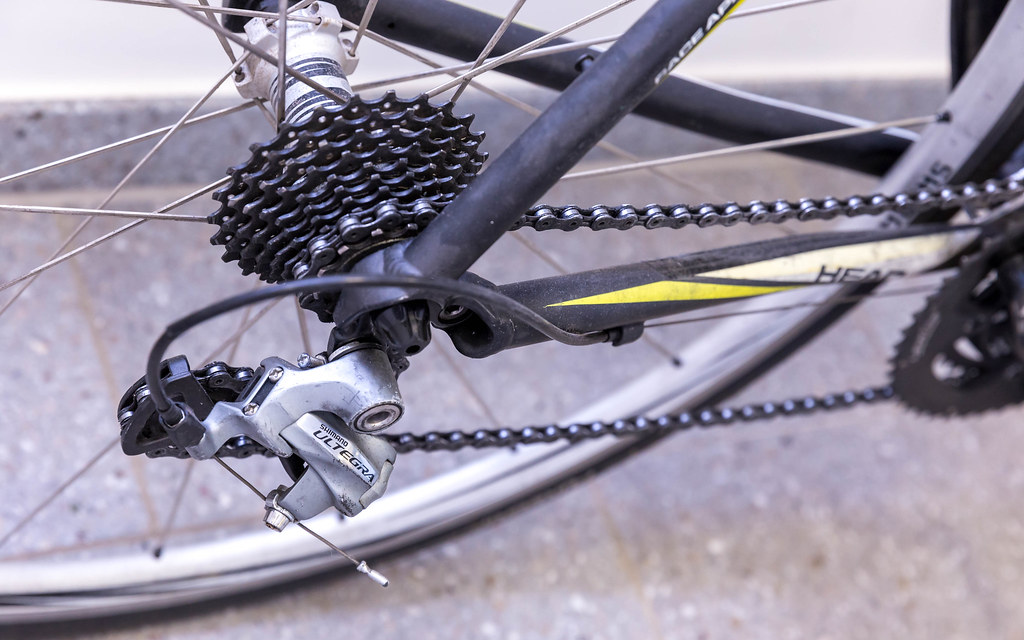
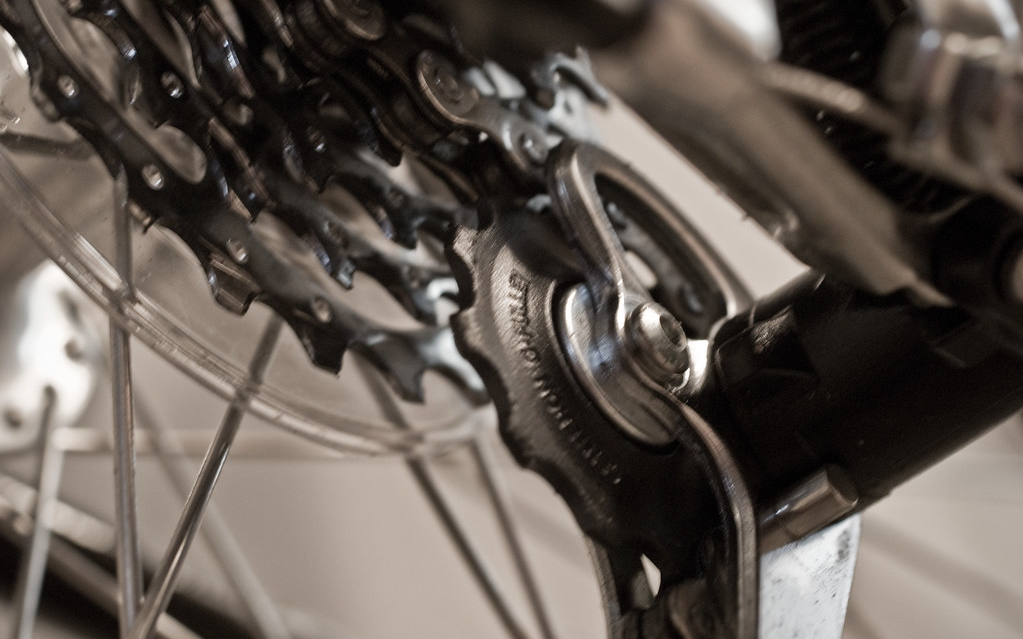
3. Aligning the Derailleur with the Cassette
The derailleur should be parallel to the cassette and at the correct angle relative to the chain. To check the alignment, look at the derailleur from behind the bike.
The upper and lower pulleys of the derailleur should be in line with the cogs. If they are not, loosen the B-tension screw on the derailleur body and rotate the derailleur until it is straight.
Then, tighten the B-tension screw. To check the angle, measure the gap between the upper pulley of the derailleur and the largest cog. It should be about 5 mm.
If it is too high or too low, use a hex wrench to adjust the B-tension screw until it is at the right height.
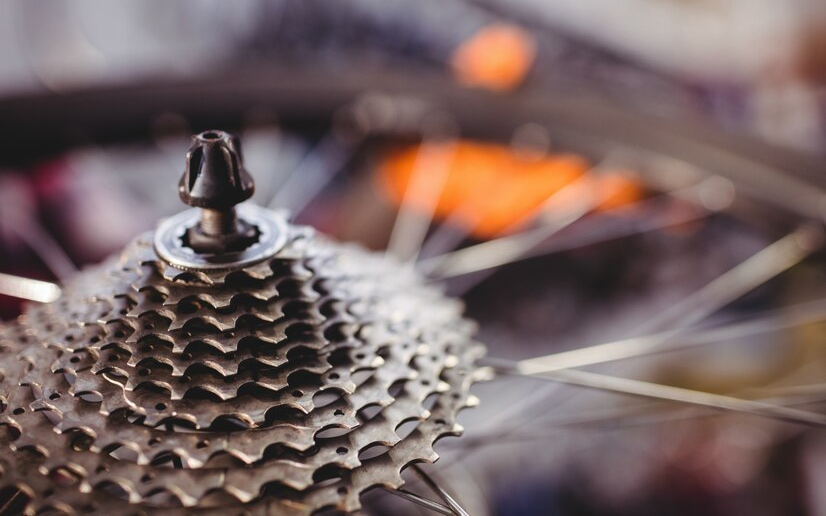
How to Fine Tune the B-Tension Screw?
The B-tension screw is a small screw on the rear derailleur that adjusts the distance between the upper jockey wheel and the largest sprocket on the cassette. This gap affects the smoothness and accuracy of the shifting, especially on the lower gears.
To fine-tune the B-tension screw, you need to shift to the lowest gear (largest sprocket) and turn the screw clockwise or counterclockwise until the gap is about 5-6 mm. You can use a ruler or a coin to measure the gap.
To check the B-tension screw, you need to shift to the highest gear (smallest sprocket) and make sure the chain is not too slack or too tight. If the chain is too slack, the shifting will be slow and noisy.
On the other hand, if the chain is too tight, the shifting will be hard and jerky. You can adjust the B-tension screw accordingly until the chain is optimal.
Maintenance Tips
Apart from learning how to adjust a bike derailleur, you need to keep your it in good condition. Some simple maintenance tips could be followed. First, lubricate the moving parts of the derailleur regularly with a suitable bike oil. This will reduce friction, prevent rust, and extend its lifespan.
Second, check the alignment and tension of the derailleur and the cables periodically. If they are loose or bent, adjust them with a screwdriver or a wrench. This will ensure smooth and accurate shifting.
Conclusion
Follow the steps outlined in this blog post to learn how to adjust bike derailleur easily. By examining cable tension, adjusting limit screws, and aligning the derailleur with the cassette or chainrings, you can enhance your drivetrain’s performance and longevity.
Well-adjusted derailleurs contribute to a smoother, quieter, and more enjoyable ride. We appreciate your time reading this guide and hope it proves helpful and informative.
Please share any questions or feedback in the comments below.
FAQs
Clockwise barrel adjuster reduces cable tension, counterclockwise increases it.
Tightening the barrel adjuster makes the derailleur move closer to the spokes.
Start with the front derailleur. Set the chain on the smallest chainring and rear cog for smoother adjustments.
You can adjust derailleur upside down, but it is better to use a bike stand.