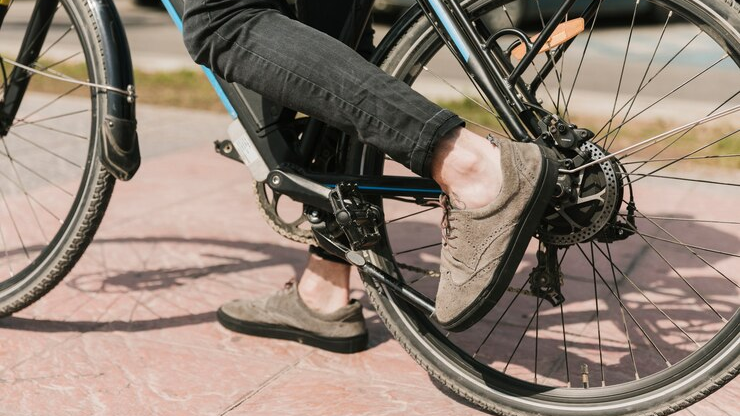
Building an electric bike offers a personalized touch to your daily commute, combining efficiency with the joy of crafting something uniquely yours. This guide will teach you how to build an electric bike and tailor every aspect to your preferences while also being mindful of your budget.
From selecting the perfect components that meet your needs to the final assembly, we’ll cover it all. Join us as we navigate through the exciting process of creating an eco-friendly ride that’s not only a statement of your individuality but also a step towards sustainable living.
Stay tuned for a journey through the nuts and bolts of electric bike construction.
Gathering Materials & Tools
The following are the required materials and tools.
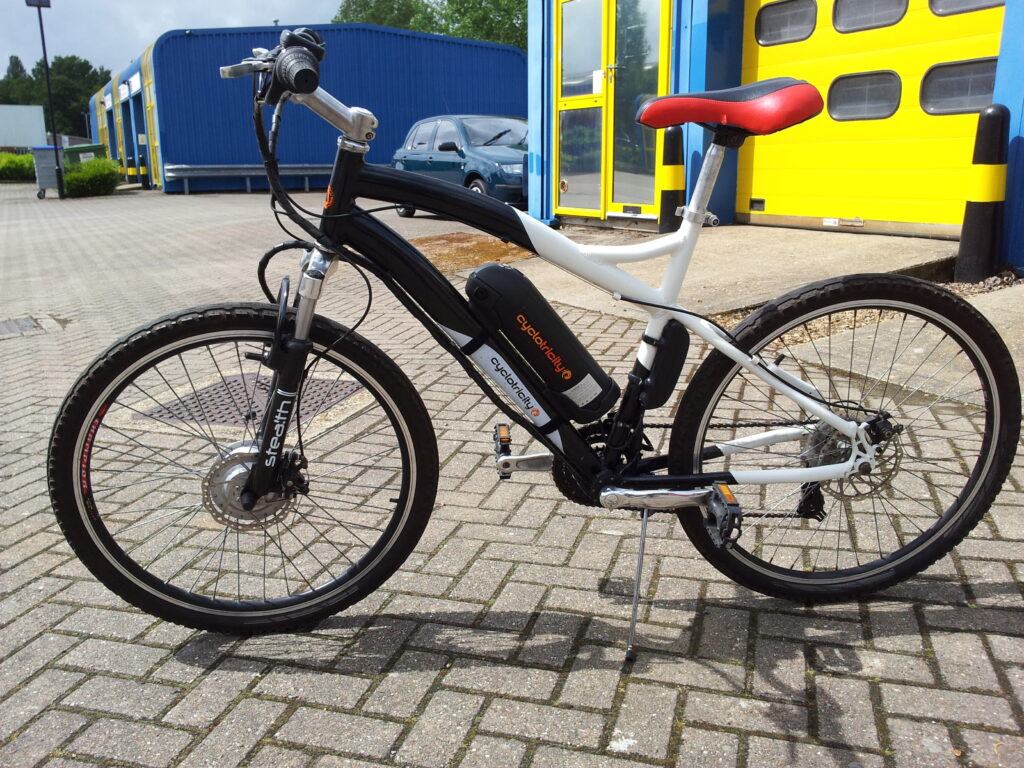
- Electric Bike Conversion Kit: It usually consists of a throttle, controller, battery, and motor.
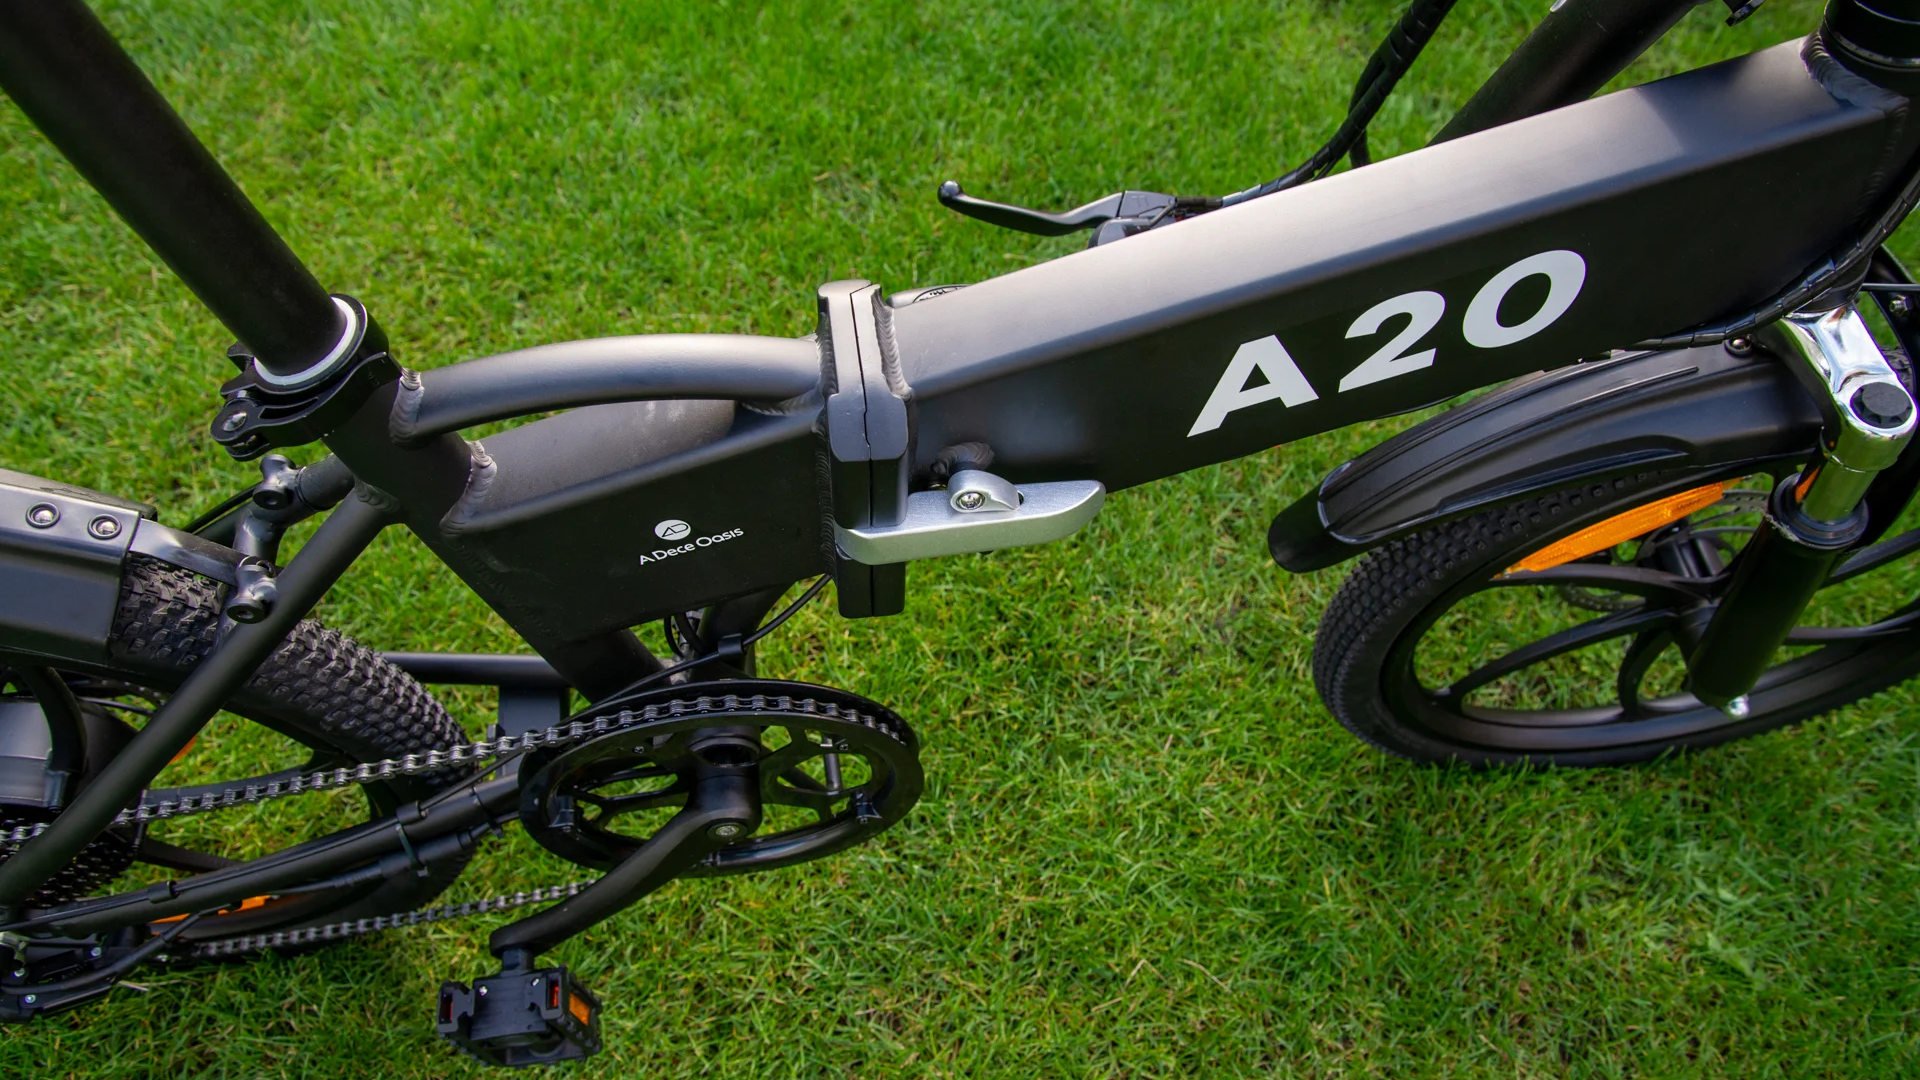
- Bicycle Frame: It must be chosen with care, ensuring compatibility with the conversion kit components.
- Set of Tools: Wrenches, screwdrivers, and wire cutters.
With these items at hand, you will be well-equipped to start crafting your custom electric bike, tailored to your riding style and preferences. Remember, the quality of materials and tools can greatly influence the performance and reliability of your finished e-bike, so choose wisely to enjoy the best riding experience.
How to Build an Electric Bike?
We will learn how to build an electric bike from scratch in the guide below:
1. Choosing the Right Bicycle Frame
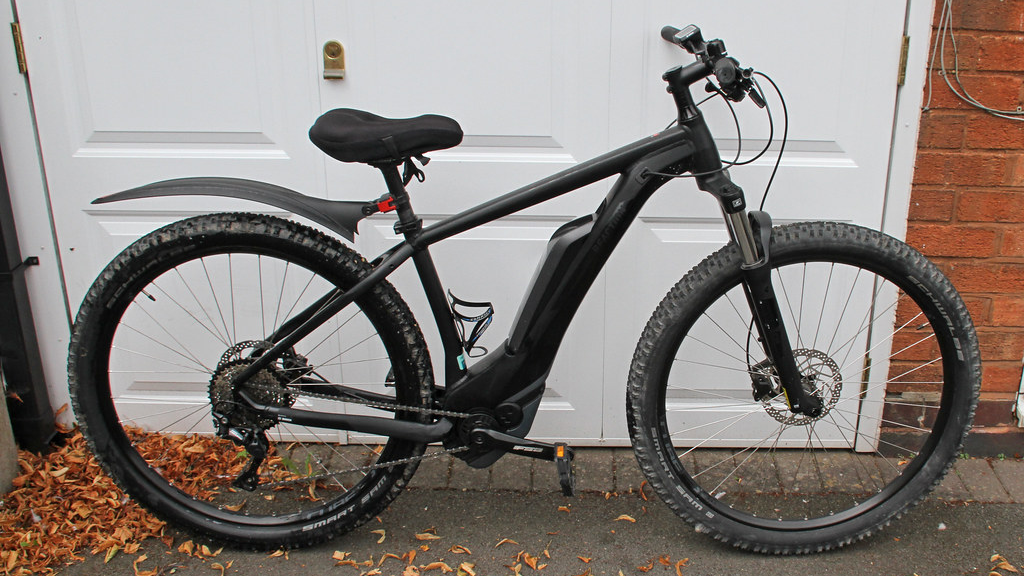
Selecting the ideal bicycle frame is a pivotal step in building an electric bike. The frame size and type are crucial; whether you opt for a mountain, road, or cruiser bike, it should align with your cycling habits.

The material of the frame also plays a significant role — aluminum offers a lightweight yet sturdy option, steel ensures durability, and carbon fiber stands out for its exceptional lightness and strength.
It’s essential to ensure that the frame you choose is compatible with the electric bike kit you intend to install. This includes checking the fit for the motor and battery, as well as the mounting points for other components.
Additionally, consider if your current brakes are sufficient for the increased weight and speed of an electric bike or if an upgrade to disc brakes is necessary for enhanced safety. By meticulously evaluating these factors, you can ensure a seamless conversion process and a reliable, high-performing electric bike.
2. Selecting the Electric Bike Conversion Kit 133
Purchasing an electric bike conversion kit requires careful consideration. Opt for reputable dealers specializing in e-bike components, ensuring quality and after-sales support. Online marketplaces offer a wide selection but verify seller ratings and reviews.

Local bike shops provide the advantage of hands-on guidance and immediate availability. Whichever source you choose, confirm the kit’s compatibility with your bike and the availability of installation assistance if needed.
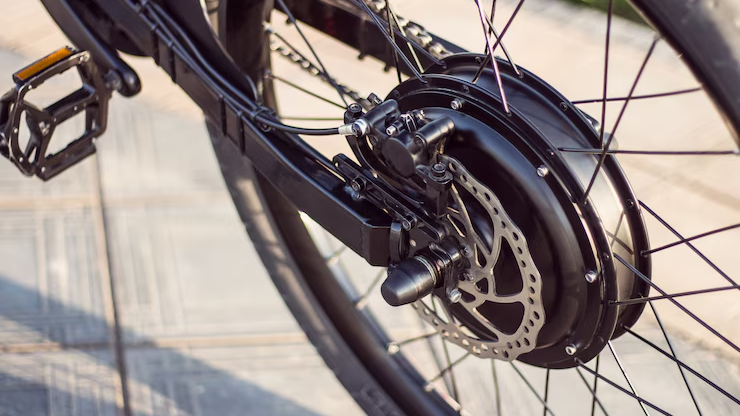
Prioritize vendors that offer warranties and clear instructions, as these factors are indicative of a reliable product. An electric bike conversion kit typically includes a motorized hub for the front or rear wheel or a mid-drive motor that integrates with the bike’s chain drive.
The battery, essential for power, varies in type, capacity, and voltage to suit different needs. A controller manages power flow and ensures compatibility with the bike’s specifications. Riders can control speed with various throttles, such as twist, thumb, or pedal-assist sensors.
Additional accessories like an LCD display provide real-time data, while a wiring harness connects all electrical components, ensuring a seamless transformation into an efficient e-bike.
3. Preparation and Assembly
The transformation of a traditional bicycle into an electric powerhouse begins with meticulous preparation. Start by stripping the bike down to its frame and removing brakes, gears, and chains to make way for the new electric components.
Where should the motor go on your bike? Install the heart of your e-bike: the motor. Securely attach the battery mount and controller, ensuring they’re in the optimal position for balance and performance. The throttle’s placement is key for comfortable riding, so affix it within easy reach.
Wiring is the final, critical step — connect each component following the manufacturer’s guide, double-checking every connection. Proper insulation is paramount to prevent short circuits and ensure longevity.
With these steps, your bike is no longer just a frame but a potential-filled canvas for your electric biking adventures. This systematic approach guarantees a robust assembly, setting the stage for countless journeys powered by your very own electric bike.
4. Installing and Connecting Components
The installation and connection of components are the crux of converting your bicycle into an electric bike. Begin by mounting the motor — whether you choose a hub motor for the wheel or a mid-drive motor, ensure it’s properly aligned and secured.
Next, attach the battery to the frame, positioning it for optimal weight distribution and stability. The controller, the brain of the operation, connects to the motor and battery, while the throttle, which regulates power, should be within comfortable reach.
After all components are in place, it’s time to connect the wires. This step is crucial; each connection must be precise and insulated to prevent electrical hazards. Finally, test the system thoroughly.
Check that all electrical connections are functioning correctly and that the motor responds appropriately to the throttle. Safety is paramount, so take the time to double-check every element before taking your newly electrified bike for a spin.
This careful attention to detail will ensure a smooth and safe ride on your custom electric bike.
5. Fine-Tuning and Troubleshooting
Fine-tuning an electric bike system is essential for optimal performance and rider satisfaction. Begin by adjusting the motor settings to suit your riding style; this includes setting the power levels to ensure efficient energy consumption and adjusting speed limits for safety compliance.
Next, test the throttle response to guarantee instant power delivery when needed and assess the braking system for reliable stopping power. It’s crucial to ensure the bike’s alignment is precise, as this affects handling and ride quality.
Balancing the bike correctly contributes to stability, especially during high-speed maneuvers. Regular maintenance checks can prevent common issues and prolong the life of your e-bike. By following these steps, you can enhance your riding experience and maintain the bike’s condition.
Remember, a well-tuned electric bike not only provides a smoother ride but also contributes to the longevity of its components.
Safety Considerations
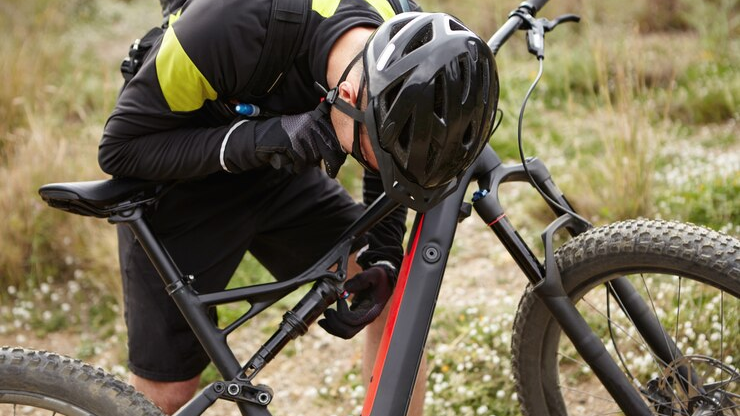
After learning how to build an electric bike at home, safety is paramount when constructing and operating the bicycle. Prioritize wearing protective gear, including a helmet and gloves, to shield against potential injuries. Regular inspections of electrical connections are crucial to prevent malfunctions and ensure the bike’s reliability.
Adherence to local laws and regulations governing electric bikes is not only a legal obligation but also a practice that promotes safe riding habits. By taking these precautions, riders can enjoy their journeys with peace of mind, knowing they have taken proactive steps to minimize risks.
This commitment to safety not only protects the individual but also sets a positive example in the cycling community, encouraging others to follow suit and contribute to a safer environment for all.
How Much Does it Cost to Build an Electric Bike?
The cost of building an electric bike can vary widely, depending on the quality of components and the complexity of the system. On average, a DIY e-bike conversion kit ranges from $300 to $900, while a high-end setup could cost upwards of $2000.
This price includes the motor, battery, controller, and other necessary hardware. Labor costs, if you’re not assembling it yourself, can add an additional $50 to $200 to the total expense.
It’s important to factor in the cost of the base bike, which can range from a few hundred dollars for a basic model to several thousand for a premium bike.
Ultimately, the investment in building an electric bike pays off with the benefits of eco-friendly transportation, exercise, and the joy of a customized ride. Remember, the initial cost can be offset by savings on fuel, public transport fares, and parking fees over time.
Conclusion
Building an electric bike involves a series of thoughtful steps, from selecting the right components to fine-tuning for performance. This guide has outlined the essentials, ensuring even novices can confidently approach the task.
Now, it’s over to you, the readers, to put this knowledge into action. Share your electric bike-building experiences or pose questions below to foster a community of enthusiasts. Your insights could be invaluable to others embarking on this electrifying journey.
Together, let’s build not just bikes, but a robust network of shared wisdom and support.
FAQs
Building an e-bike under $100 is challenging; consider second-hand parts and a minimalistic design.
Building your electric bike can save money due to sourcing parts independently and avoiding brand markups.
Converting a bike can be worth it for cost-savings and custom preferences.
Due to advanced technology and high-quality components.