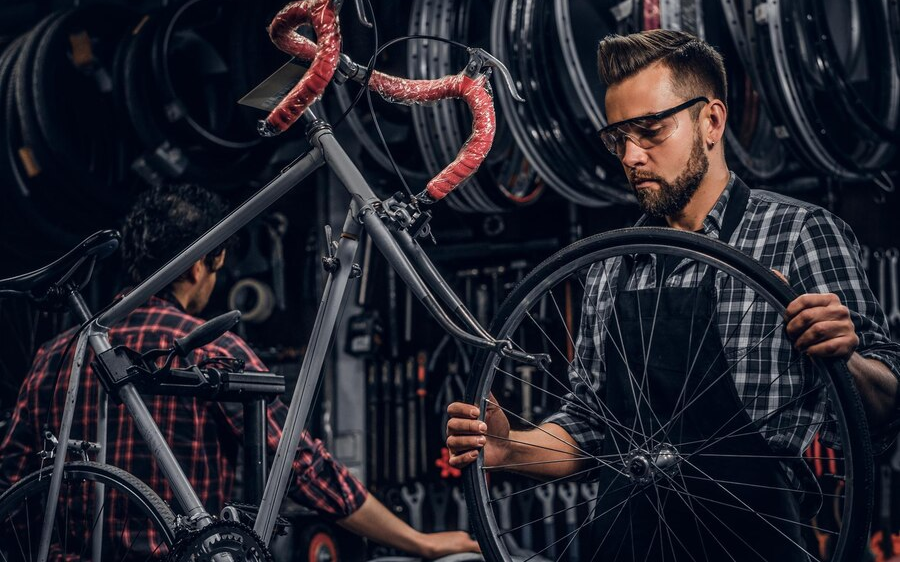
Have you ever experienced a flat tire while riding your bike? Not many know how to change a bike inner tube and it can be super frustrating and inconvenient.
But don’t worry, changing a bike’s inner tube is not as hard as it may seem. It is an essential skill that every cyclist should learn and master. In this blog post, we will show you how to change a bike inner tube in seven easy steps.
You will also learn the benefits of changing your tube, such as saving money, time, and hassle. By the end of this post, you will be able to change a bike inner tube like a pro and enjoy your rides without any worries. So, let’s get started!
How to Change a Bike Inner Tube?
Follow these 6 easy steps on how to change a inner tube on a bike:
1. Prepare Tools & Materials
Before you start changing your bike’s inner tube, you need to gather some tools and materials. You will need:
New Inner Tube: It should match the size and valve type of your old one.
Tire Levers: Used to pry off the tire from the rim.
Bike Pump: To inflate the new tube.
Rag: Will be used to wipe off any dirt or grease.
Some tips to avoid damaging your bicycle or tube are: use plastic tire levers instead of metal ones, as they are less likely to scratch the rim or puncture the tube, and do not overinflate or underinflate the tube, as this can cause blowouts or flats.
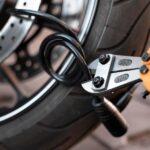
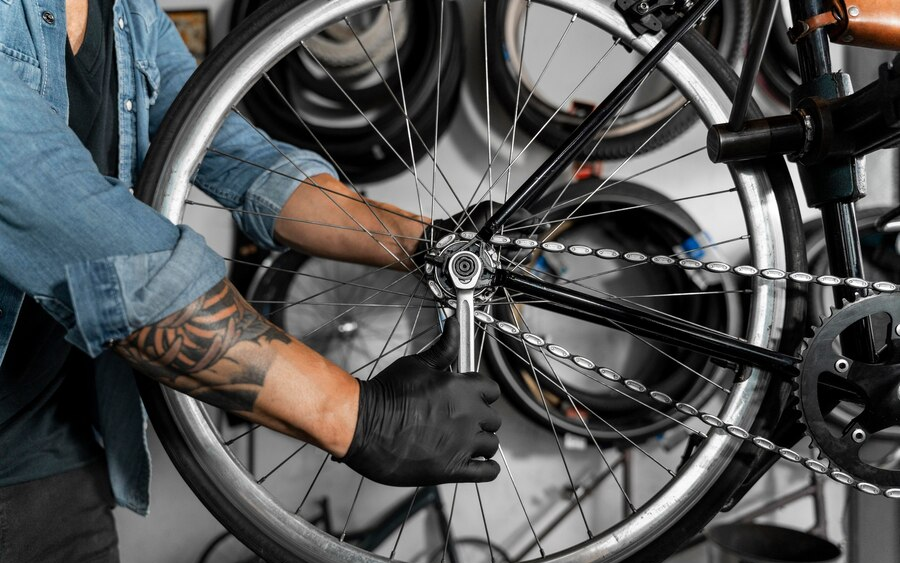
2. Remove Wheel from Bike
Removing the wheel from the bike is a simple task that can be done in a few minutes. First, you need to release the brakes on the wheel that you want to remove. This will allow the wheel to pass through the brake pads without getting stuck.
Next, you need to loosen the quick-release lever or the nuts on the axle of the wheel. The quick-release lever is a metal device that can be flipped open and closed to secure the wheel. The nuts are round metal pieces that can be turned with a wrench.
Once you loosen the quick release or the nuts, you can pull the wheel out of the bike frame. Finally, you need to place the wheel on a flat surface, such as the ground or a table, and make sure it does not roll away. You have safely removed the wheel from the bike.
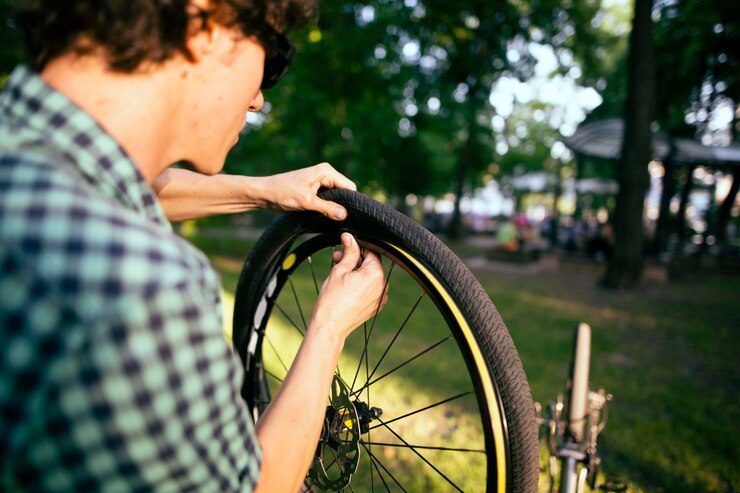
3. Remove Tire & the Punctured Tube
To remove the punctured tube from the bicycle tire, you will need a tire lever or a similar tool. Follow these steps:
- Insert the tire lever between the tire and the rim, and pry one edge of the tire over the rim.
- Slide the lever along the rim to loosen the tire. You may need another lever to help you with this.
- Once the tire is loose, reach inside and pull out the tube. Begin from the side opposite to the valve.
- Push the valve through the hole on the rim and take out the tube completely.
You have now removed the punctured tube from the bicycle tire. Now you can replace it with a new one.
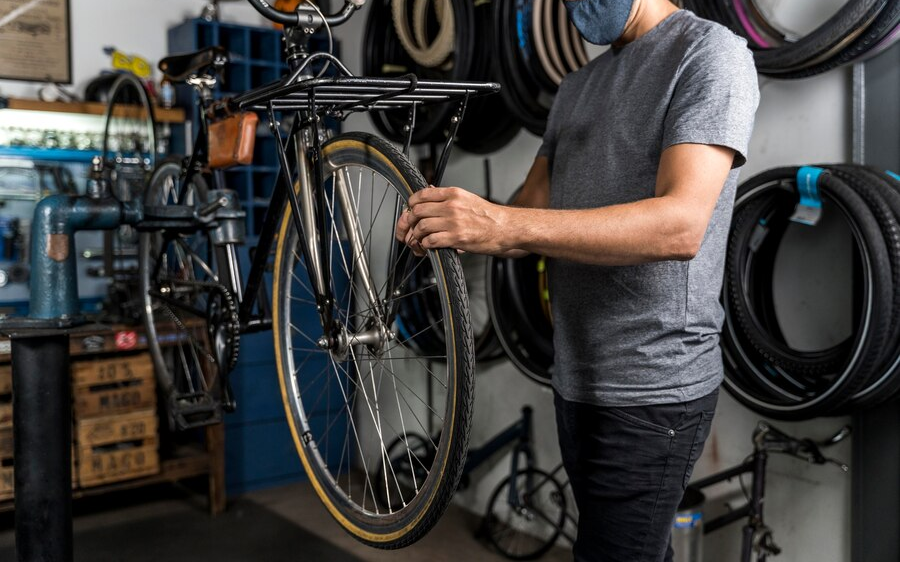
4. Install New Tube & Tire
To do this, you will need a new tube and tire that match the size of your rim, a pair of tire levers, and a pump. Here are the steps to install the new tube and tire on the bicycle rim:
- Check the rim for any sharp objects or debris that may have caused the puncture. Remove them if you find any.
- Place the new tire on the rim, making sure the direction of the tread matches the direction of the wheel. Leave a small gap near the valve hole to insert the tube later.
- Insert the new tube into the tire, starting from the valve. Push the valve through the valve hole and tuck the tube inside the tire. Make sure the tube is not bentor squeezed.
- Use the tire levers or your hands to fit the tire back onto the rim, working your way around the wheel. Make sure the tube is not trapped between the tire and the rim.
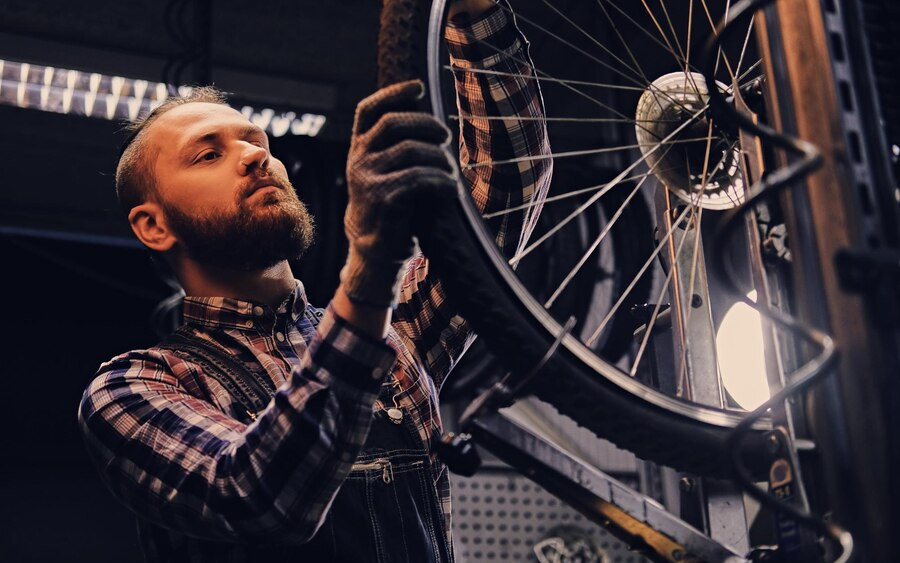
5. Inflate Tube & Check For Leaks
If you want to ride your bicycle smoothly and safely, you need to make sure that the tube in the tire is properly inflated and free of leaks. Here are the steps to follow:

- Find the valve on the tube and remove the cap. Attach the pump nozzle to the valve and lock it in place. You can use a floor pump or a hand pump, depending on your preference.
- Pump air into the tube until it reaches the recommended pressure. You can check the pressure by using a gauge on the pump or by squeezing the tire with your fingers. The pressure range is usually written on the side of the tire. Do not overinflate or underinflate the tube, as this can cause damage or poor performance.
- Detach the pump nozzle from the valve and put the cap back on. Inspect the tire and the tube for any signs of leaks or bulges. You can do this by spinning the wheel and listening for any hissing sounds, or by submerging the tire in water and looking for bubbles. If you find any leaks or bulges, you need to repair or replace the tube as soon as possible.
6. Reattach Wheel to the Bike
To reattach the wheel to the bicycle, lift the bike and place the wheel in the correct position, making sure the axle is aligned with the dropouts (the slots on the frame or fork that hold the wheel).
Then, tighten the quick-release lever or the nuts on the axle, depending on the type of wheel you have. Make sure the wheel is secure and does not wobble. Next, reconnect the brakes by hooking the cable back to the brake caliper or inserting the brake disc into the brake pads.
Finally, spin the wheel and check for any rubbing or misalignment. If you notice any problems, loosen the quick release or nuts and adjust the wheel until it is centered and spins freely.
Final Checks & Maintenance Tips
After changing your bike’s inner tube, you should inspect the overall condition of your bicycle to make sure everything is working properly. Check the brakes, gears, chain, and spokes for any damage or wear.
Spin the wheels and listen for any rubbing or squeaking noises. Adjust the tire pressure according to your preference and riding terrain. You should also perform regular bike maintenance to prevent punctures and extend the life of your bicycle.
Some of the tips are: clean your bicycle after every ride, lubricate the chain and other moving parts, replace the tubes and tires when they are worn out, and store your bicycle in a dry and cool place. By following these simple steps, you can keep your bike in good shape and enjoy your rides without any hassle.
Conclusion
Now that you know how to change a bike inner tube, you can take better care of your bicycle. Changing a bicycle’s inner tube is a simple and useful skill that every cyclist should know.
All you need to do is remove the wheel, take off the old tube and tire, check the rim, insert the new tube and tire, and fit them back onto the rim. With some practice and patience, you can do this task in minutes and save yourself from being stranded on the road.
Do you feel ready to change your bike’s inner tube the next time you have a flat tire? Let us know in the comments below or share your tips and tricks with other readers.
FAQs
You can use a flat-head screwdriver, a spoon handle, a wooden dowel, or your hands as a tire lever alternative.
Check your tire’s sidewall for size information, ensuring the inner tube matches the tire diameter and width.
Replacing a bike tire tube is not very difficult if you have the right tools and know the correct steps. It may take 10-20 minutes.
Inner tubes last around 2-4 years. Regularly inspect for wear, and punctures, and replace as needed.