Changing bike pedals is a simple yet essential part of bicycle maintenance that often goes overlooked. Knowing when and how to change bike pedals is essential for a smoother ride and better performance.
If you’re experiencing persistent squeaks, reduced grip, or visible wear and tear, it’s likely time for an upgrade. This blog aims to guide you through changing your bike pedals, ensuring you can confidently perform this task at home.
With clear instructions and helpful tips, we’ll give you all the knowledge you need to keep your bike in top condition. Read on to learn how to change bike pedals to enhance your cycling experience.
Why Is it Important to be Able to Change Your Pedals?
Adapting your bicycle pedals is essential for customizing your ride to match your cycling style and comfort preferences. It allows you to upgrade to pedals that can enhance grip, reduce weight, or offer power meter functions for training.
Moreover, it’s a valuable skill for routine bike maintenance, ensuring you can replace worn or damaged pedals to maintain safety and performance. This self-sufficiency saves you time and money and empowers you to make immediate adjustments, keeping your bicycle in prime condition for any adventure or challenge ahead.
How to Change Bike Pedals? Step-by-Step Guide
Follow the 7-step guide below to discover how to change pedals on a bike.
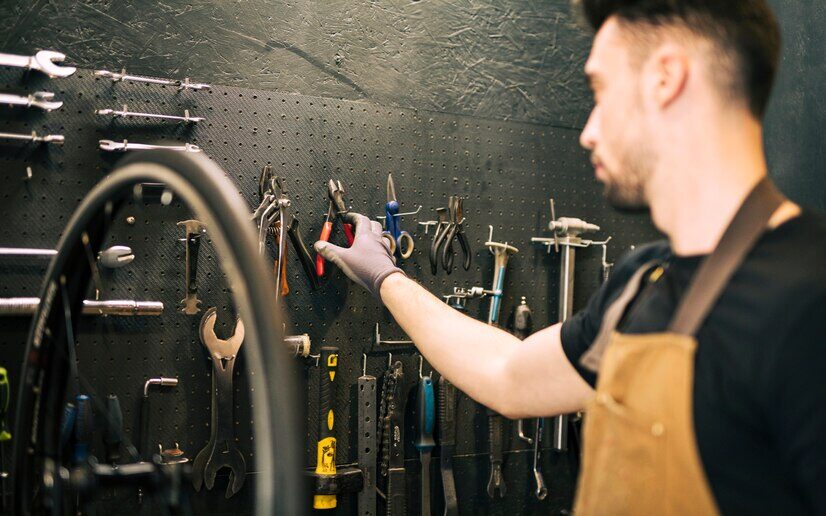
1. Gather the Necessary Tools and Equipment
Before embarking on changing bicycle pedals, it’s crucial to have the right tools at hand.
- Pedal wrench or hex key for loosening and tightening the pedals.
- Correct size pedals to fit your bike, as using the wrong size can damage the pedal threads.
- Lubricant is used to ease the removal of old pedals and secure the new ones.
- Clean rag to wipe away any dirt or grease.
This preparation prevents unnecessary damage and ensures a smooth installation process. Having the proper equipment ready simplifies the procedure, making it a hassle-free task that enhances your cycling experience.
Remember, the right tools don’t just make the job easier — they help protect your bicycle investment for the long haul.
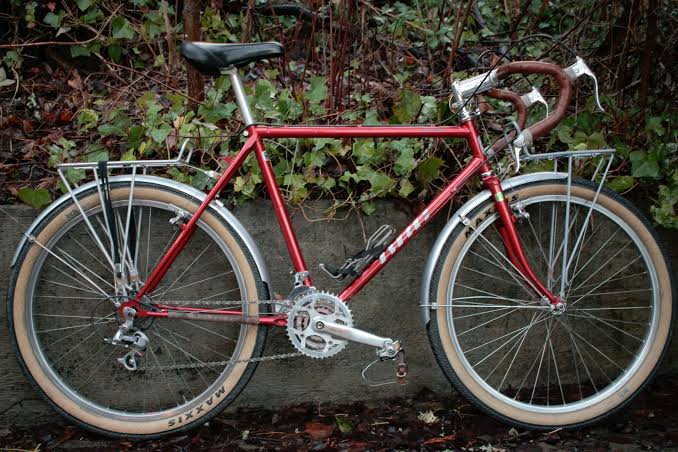
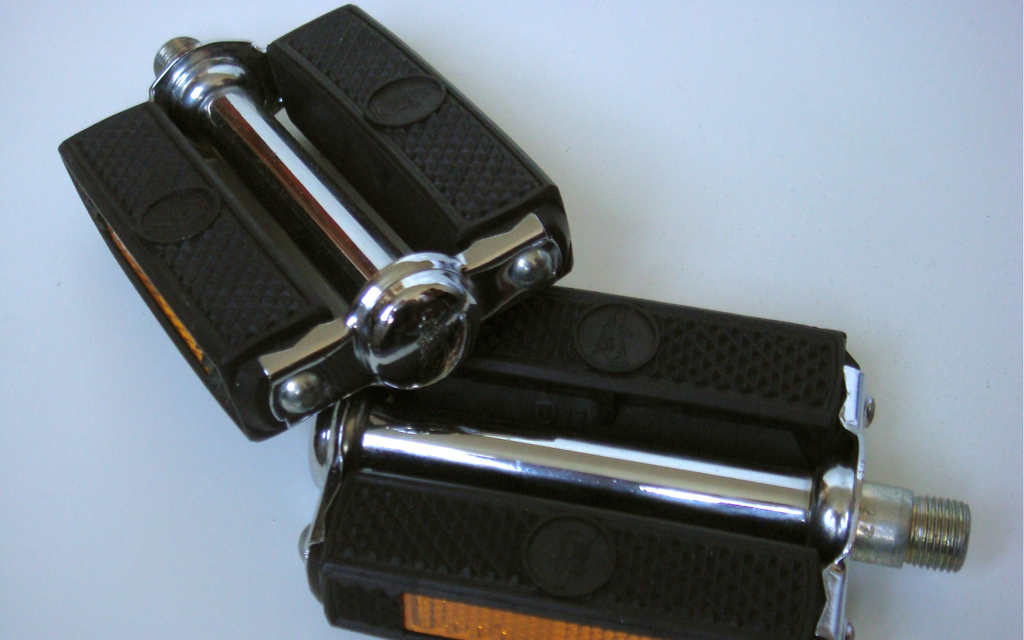
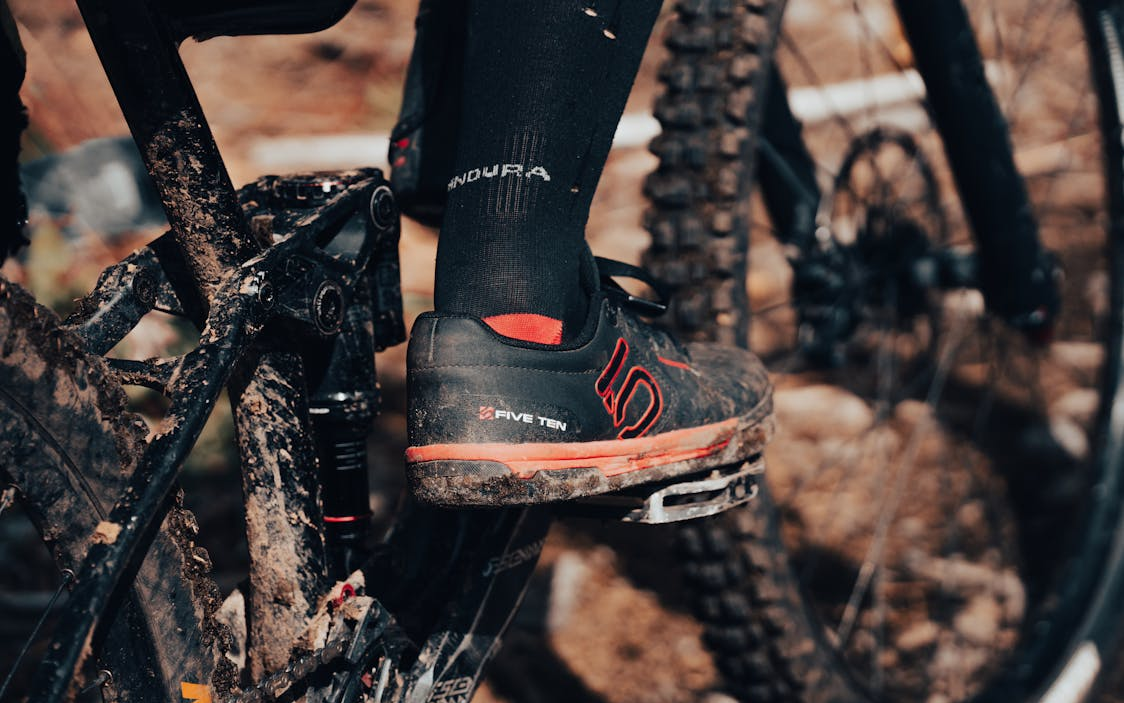
2. Choose the Right Replacement Pedals
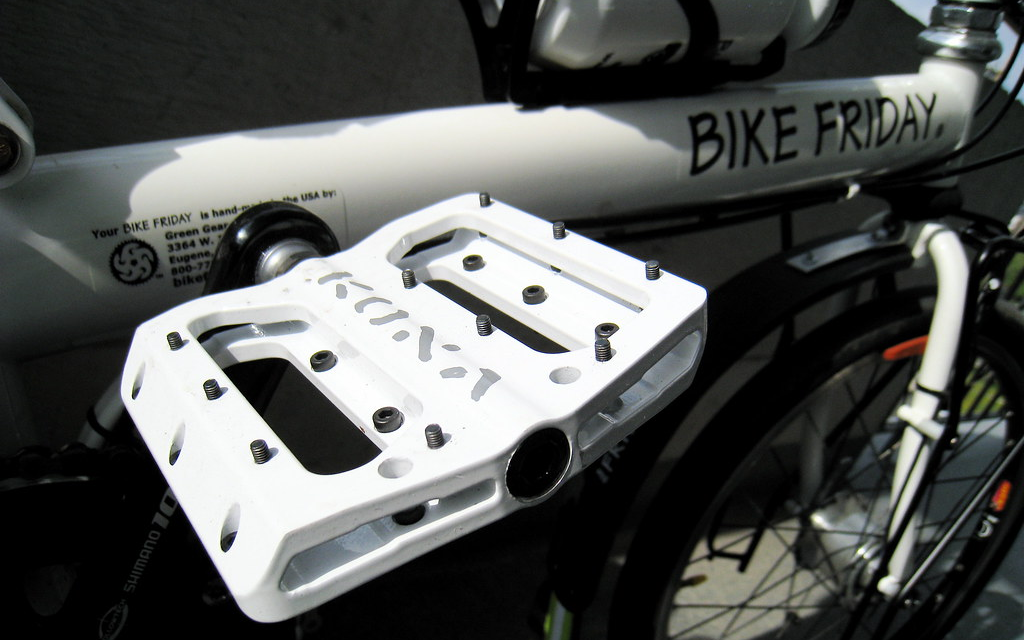
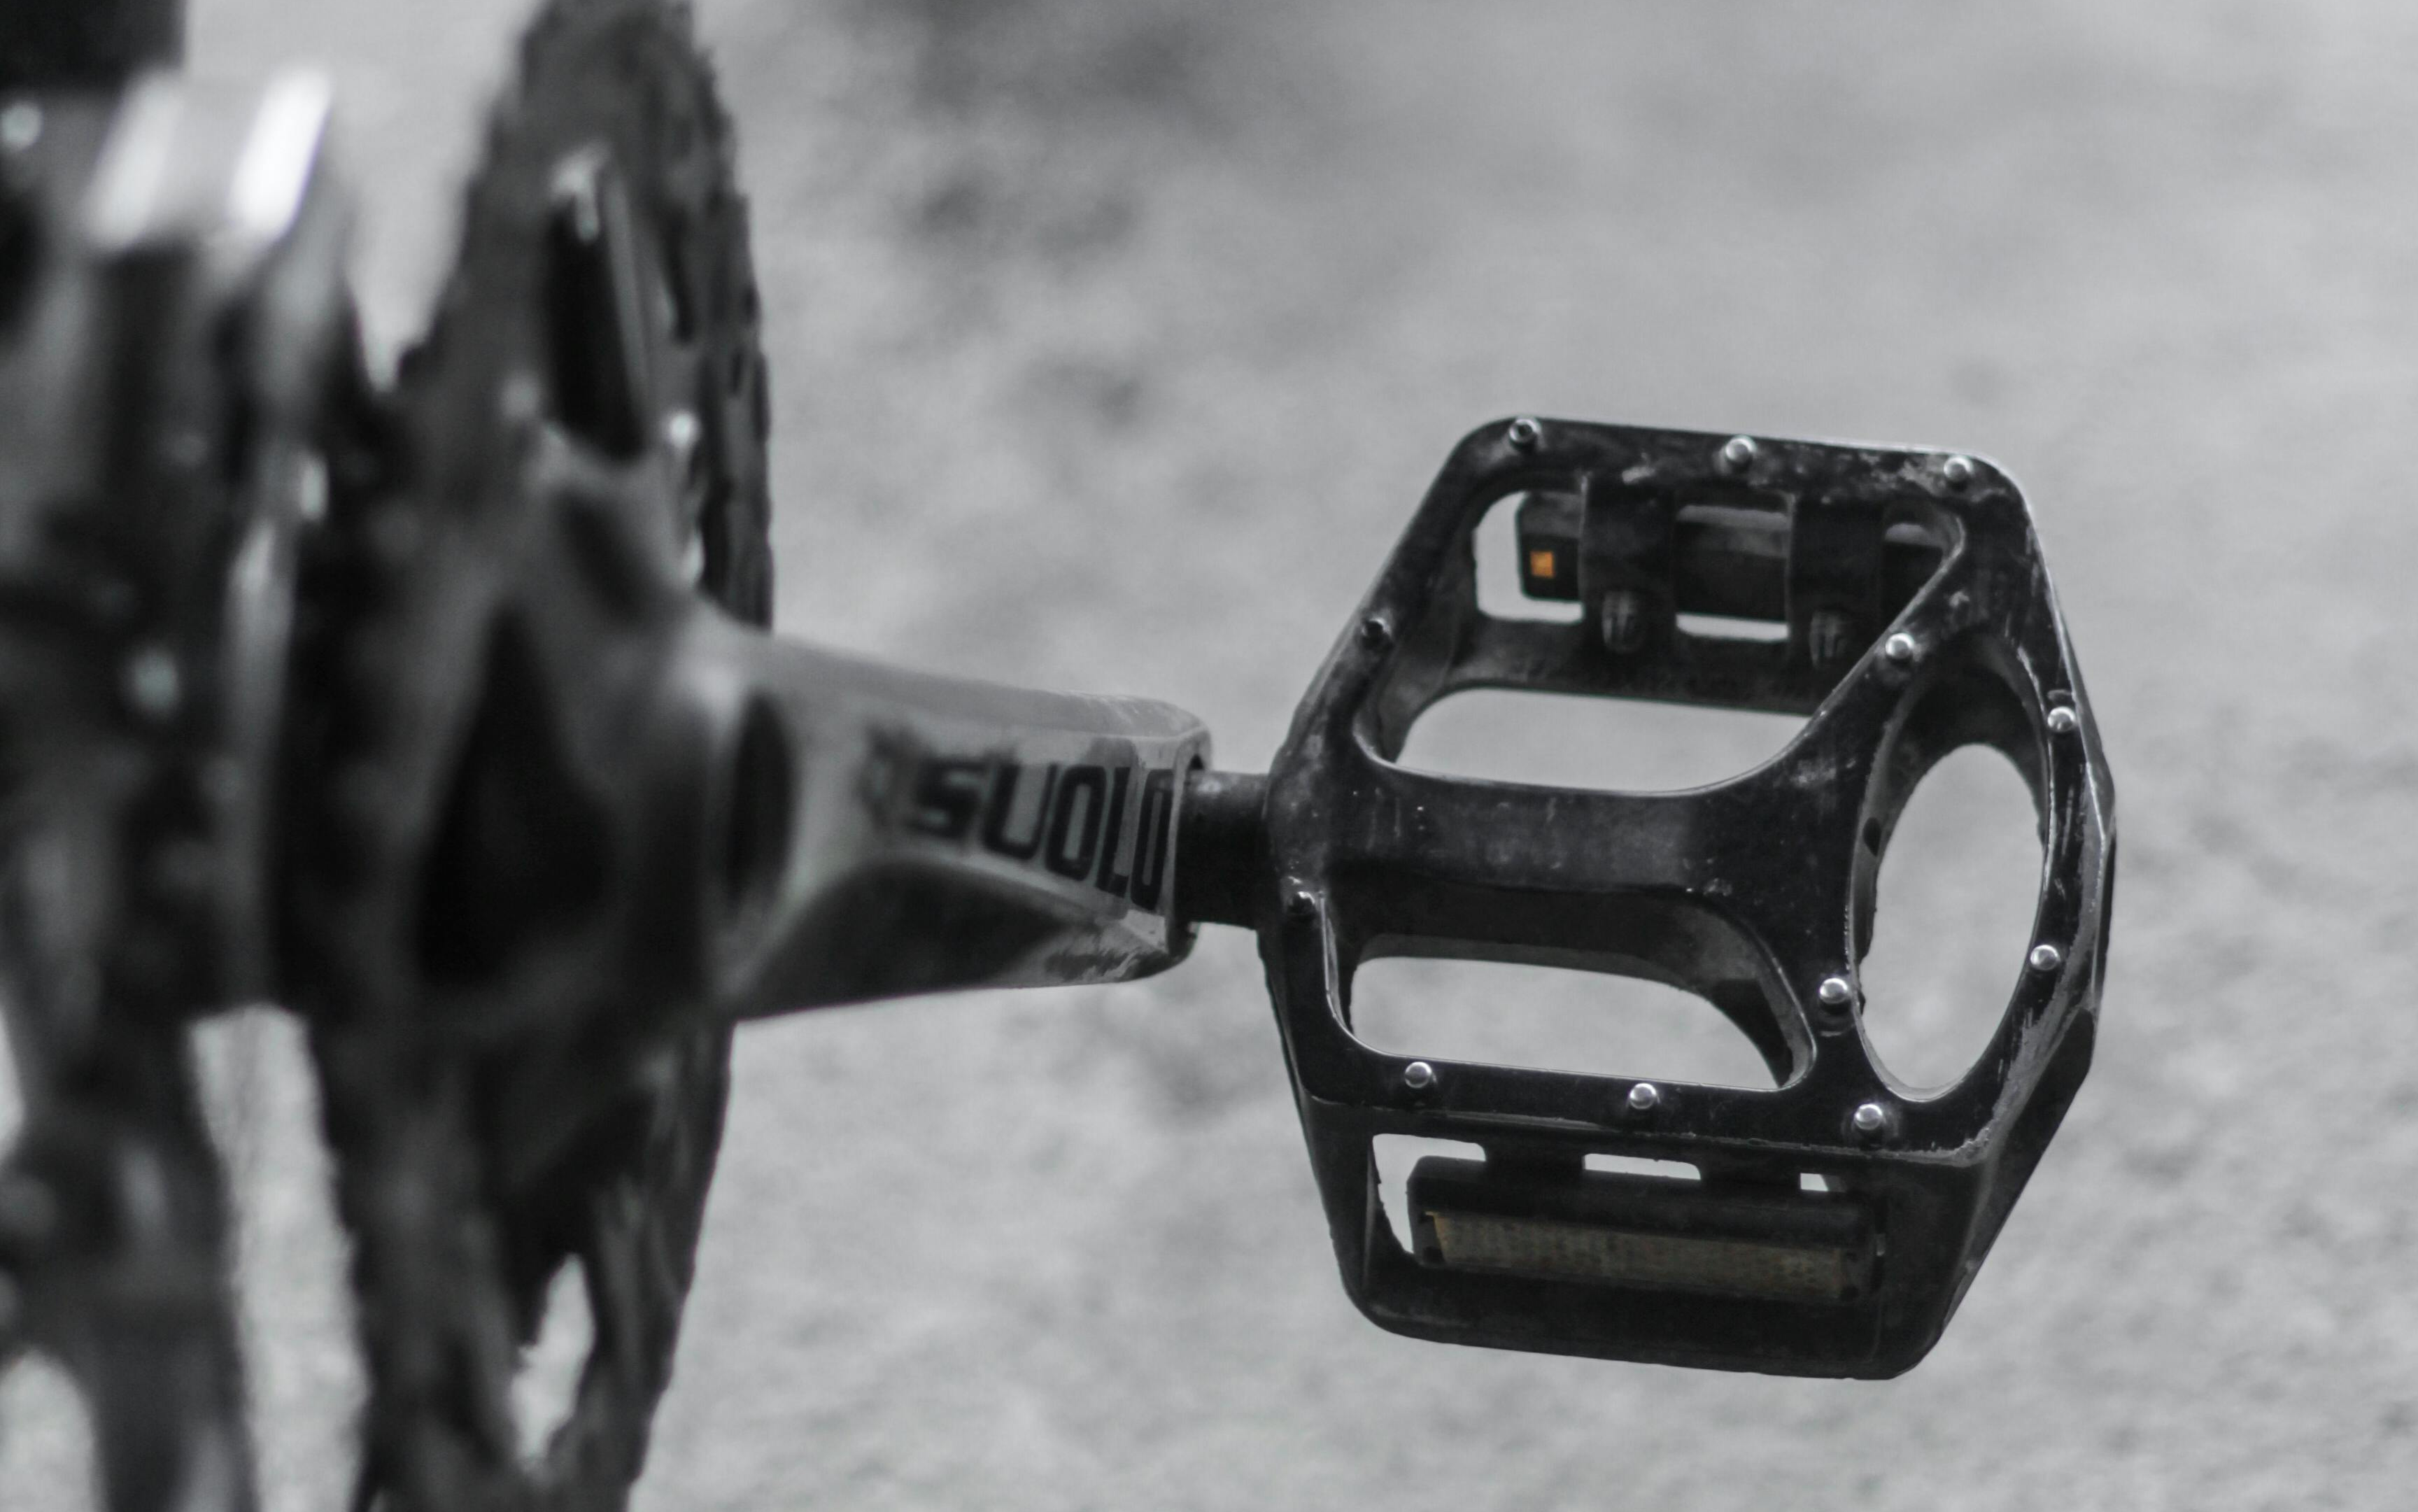
Selecting the ideal replacement pedals for your bicycle hinges on your riding style and preference. Platform pedals offer a flat surface and are suited for casual riding or mountain biking, where quick foot placement and removal are beneficial.
Clipless pedals connect to special cycling shoes and provide increased efficiency and control, perfect for road cycling or racing. For those who enjoy both worlds, hybrid pedals feature a platform on one side and a clip on the other. When choosing, consider the type of cycling you’ll be doing most.
How to Tell Apart Left and Right Pedals?
It’s crucial to differentiate between the left and right pedals, as they have opposite threading. The right pedal has a standard right-hand thread (tightens clockwise), while the left pedal has a left-hand thread (tightens counterclockwise).
This design prevents pedals from loosening as you pedal forward. Remember, the right choice enhances your ride’s comfort, performance, and safety.
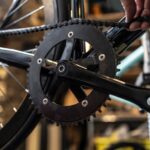
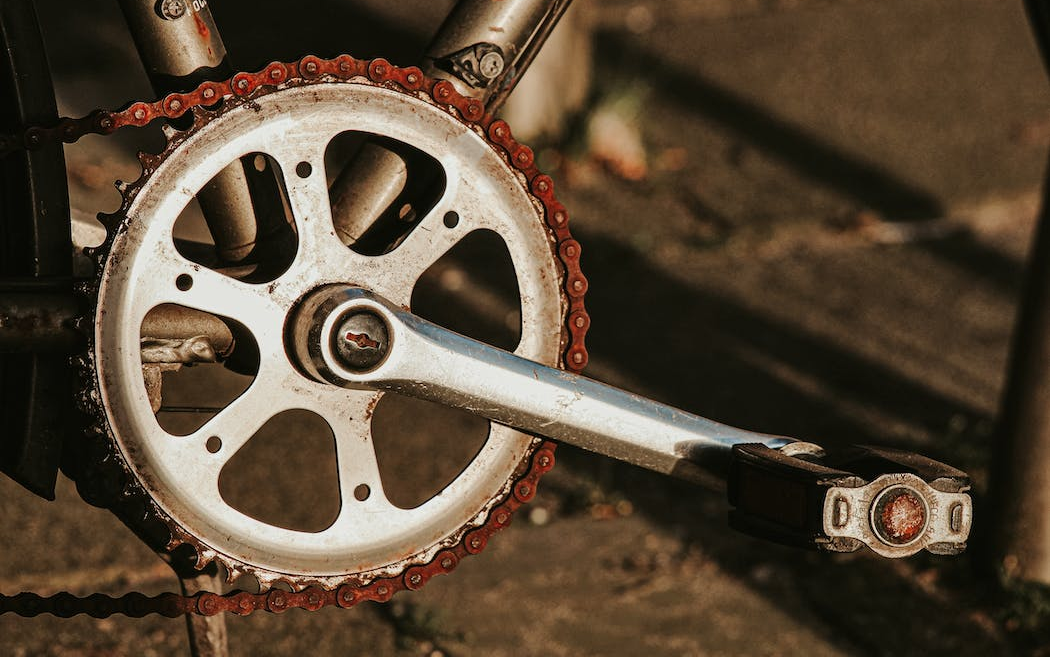
3. Getting Started
Proper preparation is critical to successfully removing bicycle pedals. Start by positioning your bike upright and stable, either by using a bike stand or by flipping it upside down and resting it on the seat and handlebars.
This ensures easy access to the pedals and prevents the bike from shifting. Inspection of the crank arms for any signs of damage or wear before proceeding is essential.
Cracks bends, or excessive wear could indicate the need for further repairs and might affect the integrity of the pedal installation. These preliminary steps ensure a safe and efficient pedal removal, paving the way for a smooth upgrade to your cycling setup.
Remember, careful preparation facilitates the immediate task and contributes to the longevity and reliability of your bicycle components.
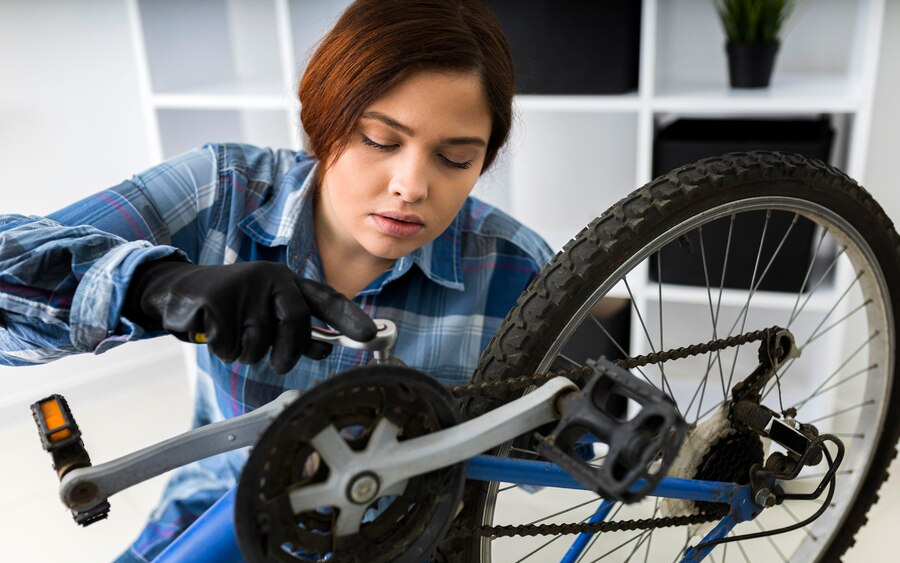
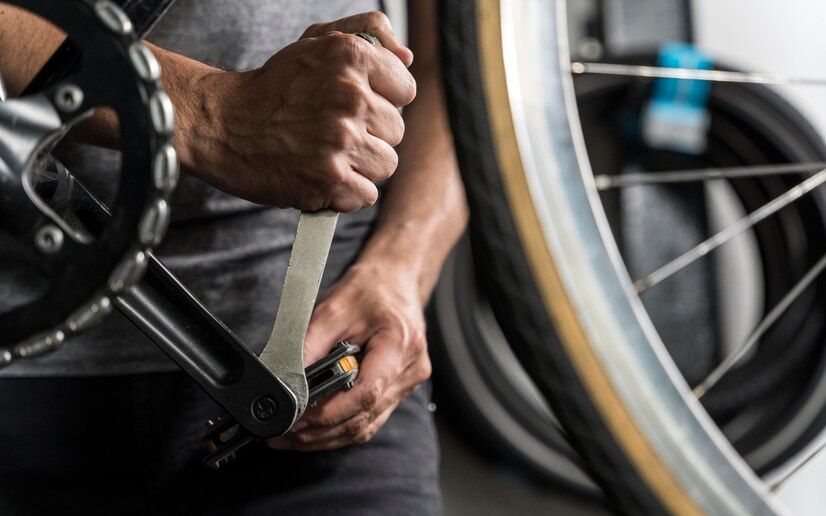
4. Removing the Old Pedals
Removing old bicycle pedals can be straightforward with the right tools and techniques. Begin by positioning the bike so it’s stable and won’t tip over. Identify the pedal you wish to remove; the right pedal has a regular thread, while the left pedal has a reverse thread.
Secure a pedal wrench firmly onto the pedal’s flat section, ensuring a snug fit to avoid slippage. Apply steady pressure to the wrench, turning the right pedal counterclockwise and the left pedal clockwise.
If the pedal is resistant, apply penetrating oil around the pedal threads, wait a few minutes, then try again. You can use a cheater bar over the wrench handle for extra leverage. Once loosened, unscrew the pedal by hand. Repeat the process on the other side.
Remember, patience and the correct tools are essential to successfully removing stubborn bicycle pedals without causing damage to the bike or injury to yourself.
5. Preparing the New Pedals
Proper lubrication of the pedal threads is crucial for smooth installation and future maintenance when preparing new bicycle pedals. Start by cleaning the threads on the pedals and crank arms to remove debris.
Next, apply a moderate amount of bike-specific grease evenly on the threads of each pedal. It’s essential to note the pedals’ directionality; the right pedal attaches to the drive side and tightens clockwise, while the left pedal, marked with an ‘L,’ fastens counterclockwise.
Carefully align the pedal with the crank arm thread, then hand-tighten to avoid cross-threading. Once hand-tight, use a pedal wrench to secure the pedal firmly, ensuring it’s snug but not overtightened.
This process provides a secure fit, prevents the pedals from seizing, and makes future removal easier. Remember, correct lubrication and installation safeguard the pedal’s longevity and your riding experience.
6. Putting on the New Pedals
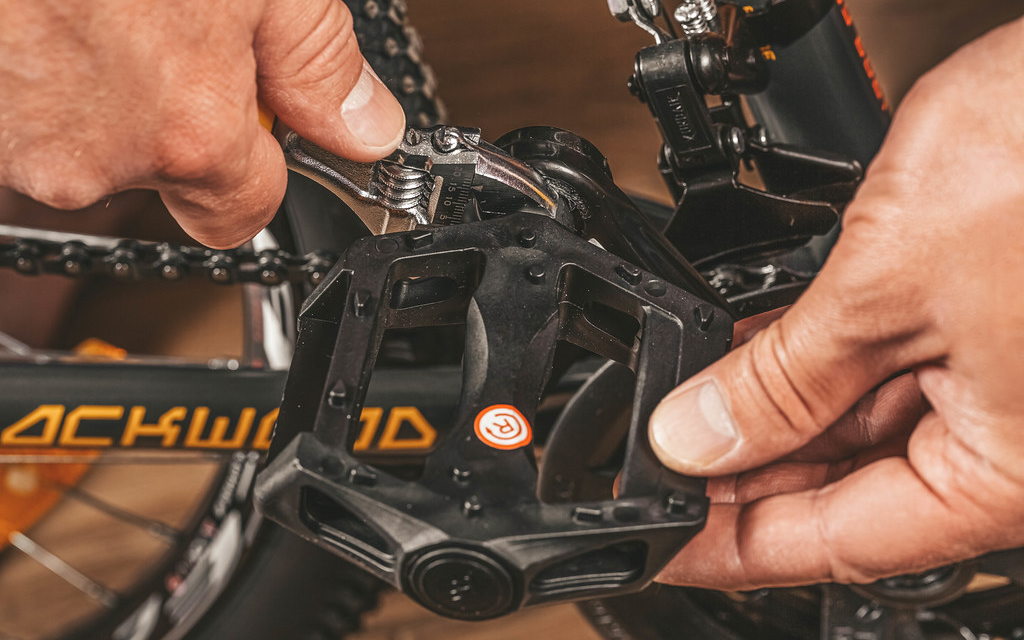
Installing new bicycle pedals is a task that, while simple, requires attention to detail to ensure safety and performance. Begin by aligning the new pedal with the threading on the crank arm; remember that the right pedal screws in clockwise and the left pedal counterclockwise.
Start by hand to prevent cross-threading, which can cause damage. Once the pedal is threaded by hand, take a pedal wrench and tighten it until it’s fully seated. It’s crucial to tighten the pedal securely to prevent it from coming loose while riding, which can be dangerous.
However, avoid over-tightening, which can strip the threads or make future removal difficult. A good rule of thumb is to tighten until there is resistance and then give a firm, final-quarter turn with the wrench.
This method ensures the pedals are attached firmly enough to withstand the rigors of riding but can still be removed when necessary.
7. Test and Adjust
After changing bicycle pedals, a test ride is essential to confirm their correct installation. Begin by checking each pedal’s security; they should be tightly fastened without wobble. During the test ride, please pay attention to the pedal feel; they should rotate smoothly without resistance or noise.
If you’ve installed clipless pedals, start with a lower tension setting to make clipping in and out easier. Gradually increase the tension to balance secure engagement and comfortable release. This adjustment is typically done using a small hex key on the tension screw found on the pedal.
It is important to adjust both pedals to the same tension level for consistency. After adjustments, take another ride to ensure the settings are comfortable and safe. Proper testing and adjustment not only enhance the riding experience but also prevent accidents and ensure the longevity of the pedal system.
Maintenance Tips
After knowing how to change bike pedal, you should know about regular pedal maintenance. Begin with a routine inspection for any signs of wear or damage. Clean the pedals with a brush and soapy water, removing all dirt and grime, especially from the threads and bearings.
Dry thoroughly to prevent rust. Apply a lubricant designed for bike pedals to the threads and moving parts, facilitating smooth rotation and protecting against corrosion. Reapply lubricant after rides in wet conditions or every few months as part of regular upkeep.
Tighten any loose components and check the integrity of the pedal platform and cleats. For clipless pedals, maintain the release mechanism by clearing out debris and applying a dry lubricant.
These simple steps will keep your pedals turning smoothly and prevent costly repairs or replacements, ensuring a safer and more enjoyable ride. Remember, consistent care is the secret to reliable pedals.
Conclusion
Learning how to change bike pedals is a straightforward process that improves your riding experience. In summary, start by gathering the appropriate tools and pedals, ensuring they are compatible with your bike.
Use a wrench to remove the old pedals, turning counterclockwise for the left pedal and clockwise for the right. Apply grease to the new pedals’ threads, then hand-screw them in before using the wrench to tighten them securely.
It’s important to remember that the right pedal tightens clockwise while the left tightens counterclockwise. Regular maintenance, such as checking your pedals, is essential for safe and effective riding.
Completing this simple task will help keep your bike in peak condition, leading to smoother rides. Feel free to ask any questions in the comments section below.
FAQs
Reverse-threaded nuts usually have left-hand threads and turn counterclockwise to tighten.
Apply penetrating oil, use a pedal wrench with leverage, then turn counterclockwise.
Align the wrench with the pedal spindle, turn clockwise on the left pedal, counterclockwise on the right, and unscrew.
Not all pedals fit all bikes; check pedal and crank arm threading compatibility before purchasing.