Encountering a flat tire is an inevitable part of cycling. Whether it’s due to a puncture from debris on the road or wear and tear over time, knowing how to change bike tube is a skill every cyclist should master.
Understanding the common reasons for tube changes, such as punctures and wear and tear, is crucial for cyclists of all levels. Being able to swiftly address these issues not only saves time but also ensures you can continue your ride without interruption.
In this guide, we’ll take you through the step-by-step process, ensuring you’re equipped to handle any unexpected flats with ease. By learning how to change a bike tube, you’ll be equipped to handle unexpected situations and maintain your bike’s performance.
So, let’s get started!
Understanding Bike Tubes
Bike tubes are essential components of a bicycle’s tire system. They play a crucial role in maintaining tire pressure and ensuring a smooth riding experience.

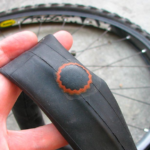
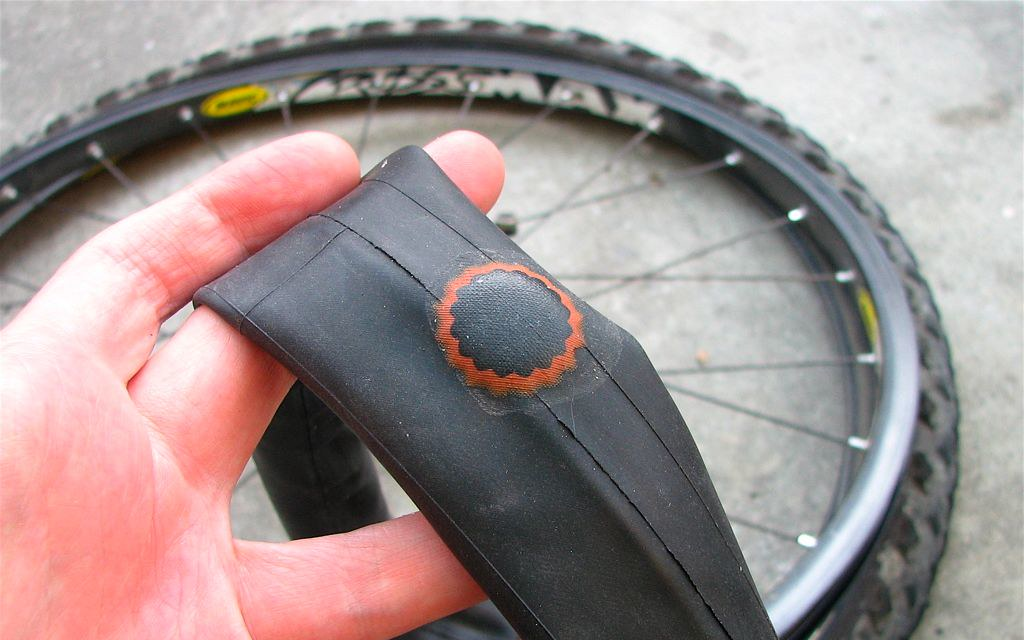
Essentially, a bike tube is a cylindrical, inflatable rubber component that fits inside the tire casing. It holds the air that provides the necessary pressure to keep the tire firm and functional.
Types and Sizes of Bike Tubes
Valve Types: There are primarily two types of valves found on bike tubes: Presta and Schrader valves. Presta valves, also known as French valves, are slender and have a small locking nut at the top. Schrader valves, commonly found on car tires as well, are wider and have a spring-loaded mechanism to prevent air from escaping.
Tube Sizes: Bike tubes come in various sizes to accommodate different tire dimensions and types of bicycles. It’s crucial to select the correct tube size to ensure compatibility with your bike’s tires. Tube sizes are typically indicated on the sidewall of the tire, along with other tire specifications.
- Road bike tubes are generally narrower in diameter and come in sizes like 700c x 18-25c.
- Mountain bike tubes are wider and more robust to withstand rough terrain. Common sizes include 26-inch, 27.5-inch, and 29-inch tubes.
- Hybrid bike tubes are designed to fit tires that offer a balance between road and mountain biking. They typically range in size from 700c x 35c to 700c x 45c.
Understanding these distinctions in valve types and tube sizes is crucial when replacing a bike tube to ensure compatibility and optimal performance.
Necessary Tools and Supplies
If you want to learn how to replace a bike tube, having the right tools and supplies on hand can make the process much smoother. Here is a list of all the things you’ll need.
- New Tube: This might seem obvious, but make sure you have a replacement tube that matches the size of your tire. Check the sidewall of your tire for the correct size, which is typically indicated as “700x23c” for road bikes or “26×2.1” for mountain bikes.
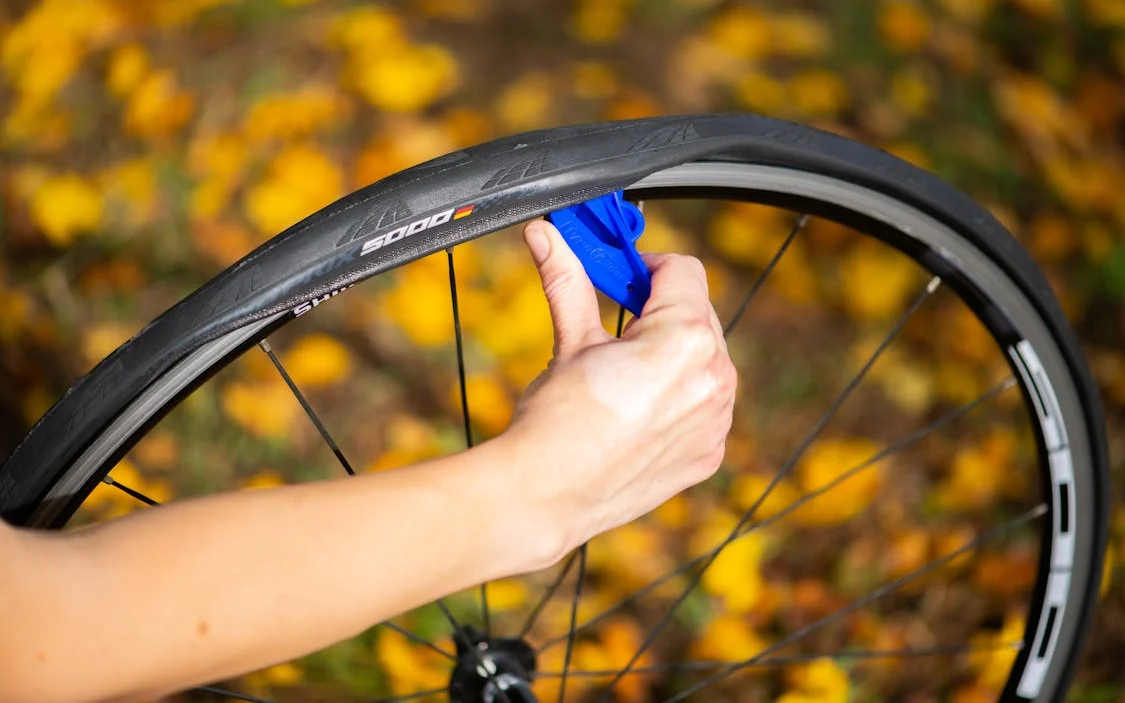
- Tire Levers: These handy tools help you pry the tire away from the rim, making it easier to remove the old tube and install the new one without damaging the tire or rim. Look for durable plastic levers that won’t scratch your rims.
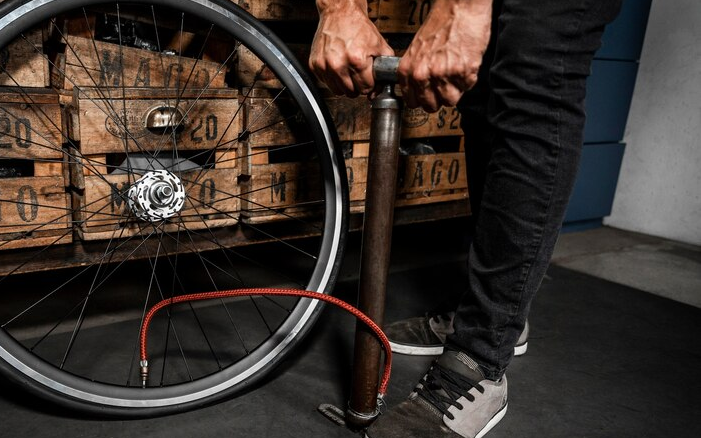
- Pump: After you’ve installed the new tube, you’ll need to inflate it to the appropriate pressure. A floor pump with a pressure gauge is ideal for this task, but a compact hand pump can work in a pinch if you’re out on the road.
- Wrench: Depending on your bike setup, you may need a wrench to loosen the bolts holding the wheel in place. This is typically only necessary for bikes with bolt-on wheels rather than quick-release skewers.
Optional
- Patch Kit: If you’re in a pinch and don’t have a spare tube on hand, a patch kit can be a lifesaver. It allows you to repair small punctures in your tube so you can get back on the road without having to replace the entire tube.
- Bucket of Water: If you suspect a puncture but can’t find the leak, submerging the inflated tube in water can help. Look for bubbles escaping from the tube to pinpoint the location of the puncture.
- Talcum Powder: Applying a light dusting of talcum powder to the inside of the tire before installing the new tube can help prevent pinch flats and make it easier to seat the tire correctly.
Having these tools and supplies on hand will ensure that you’re prepared to tackle any flat tire emergency, whether you’re at home or out on the road.
Selecting the Right Type of Bike Tube
Bike tubes come in various types and sizes, designed to accommodate different tire sizes and riding conditions. When selecting a tube, consider the following factors:
- Tube Size: Ensure the tube size matches your tire size for proper fit and performance. Refer to the tire sidewall for size specifications, which typically include diameter and width measurements.
- Valve Type: Bike tubes feature different valve types, including Presta and Schrader valves. Choose a tube with a valve that matches your rim’s valve hole and ensure it is compatible with your pump.
- Material: Bike tubes are commonly made of butyl rubber or latex. Butyl rubber tubes are durable and affordable, suitable for most riding conditions. Latex tubes are lighter and offer better performance but are more susceptible to punctures and require frequent inflation.
By considering these factors, you can select the right bike tube to ensure optimal performance and reliability for your rides.
How to Change Bike Tube? Step-by-Step Guide
Changing a bike tube may seem daunting at first, but with the right knowledge and guidance, it becomes straightforward. Knowing how to change a bike tube can save you time and money, especially when you’re out on the road or trail.
So, let us walk you through the process of changing a bike tube, covering everything from preparation to final checks.
Preparation
Before you begin changing the bike tube, it’s essential to prepare both your bike and workspace. Start by finding a flat, stable surface to work on, preferably with enough space to maneuver around the bike comfortably. Gather the necessary tools, including tire levers, a pump, and a spare inner tube.
Safety precautions should also be a top priority. Ensure that the bike is securely supported to prevent it from tipping over while you work. Additionally, wear gloves to protect your hands from sharp edges or debris, and consider wearing eye protection, especially when removing the tire from the rim.
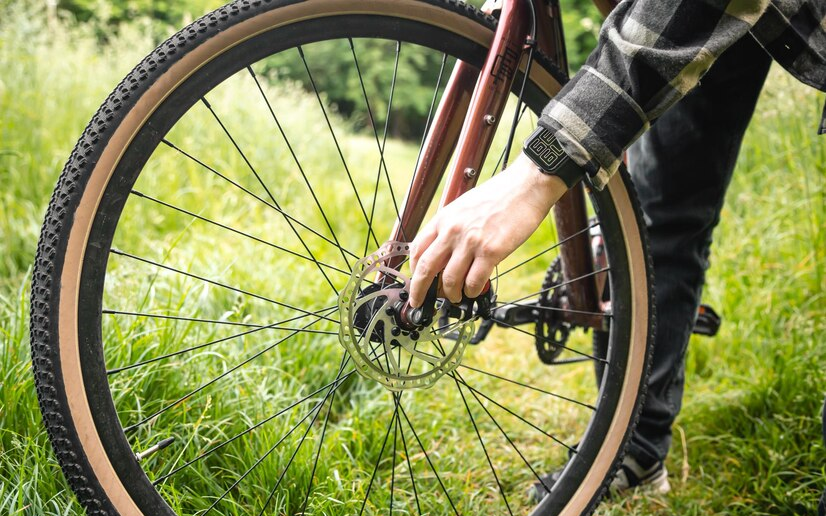
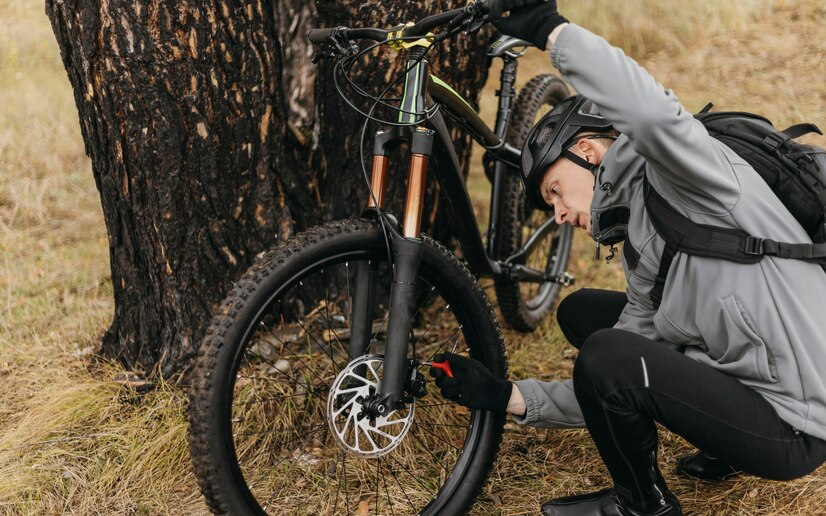
Removing the Wheel From the Bike
To access the inner tube, you’ll need to remove the wheel from the bike. Begin by shifting the bike into the lowest gear and releasing the brakes to provide clearance for the wheel removal. If you have quick-release skewers, loosen them to release the wheel. For bikes with thru-axles, use the appropriate tools to loosen and remove them.
Once the wheel is free from the frame, carefully set it aside, taking care to keep track of any nuts, washers, or spacers that may come loose during the process.
Taking Out the Old Tube
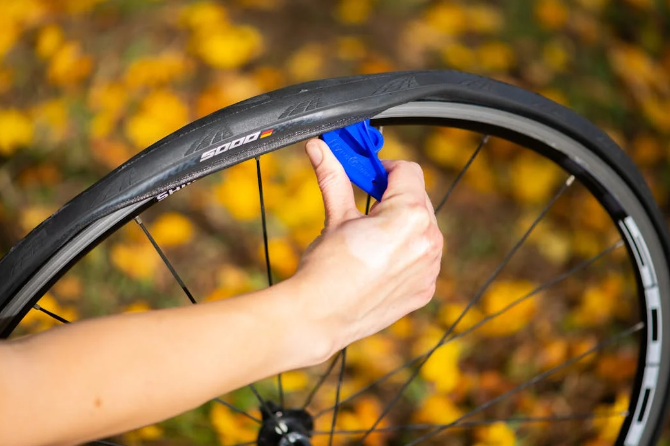
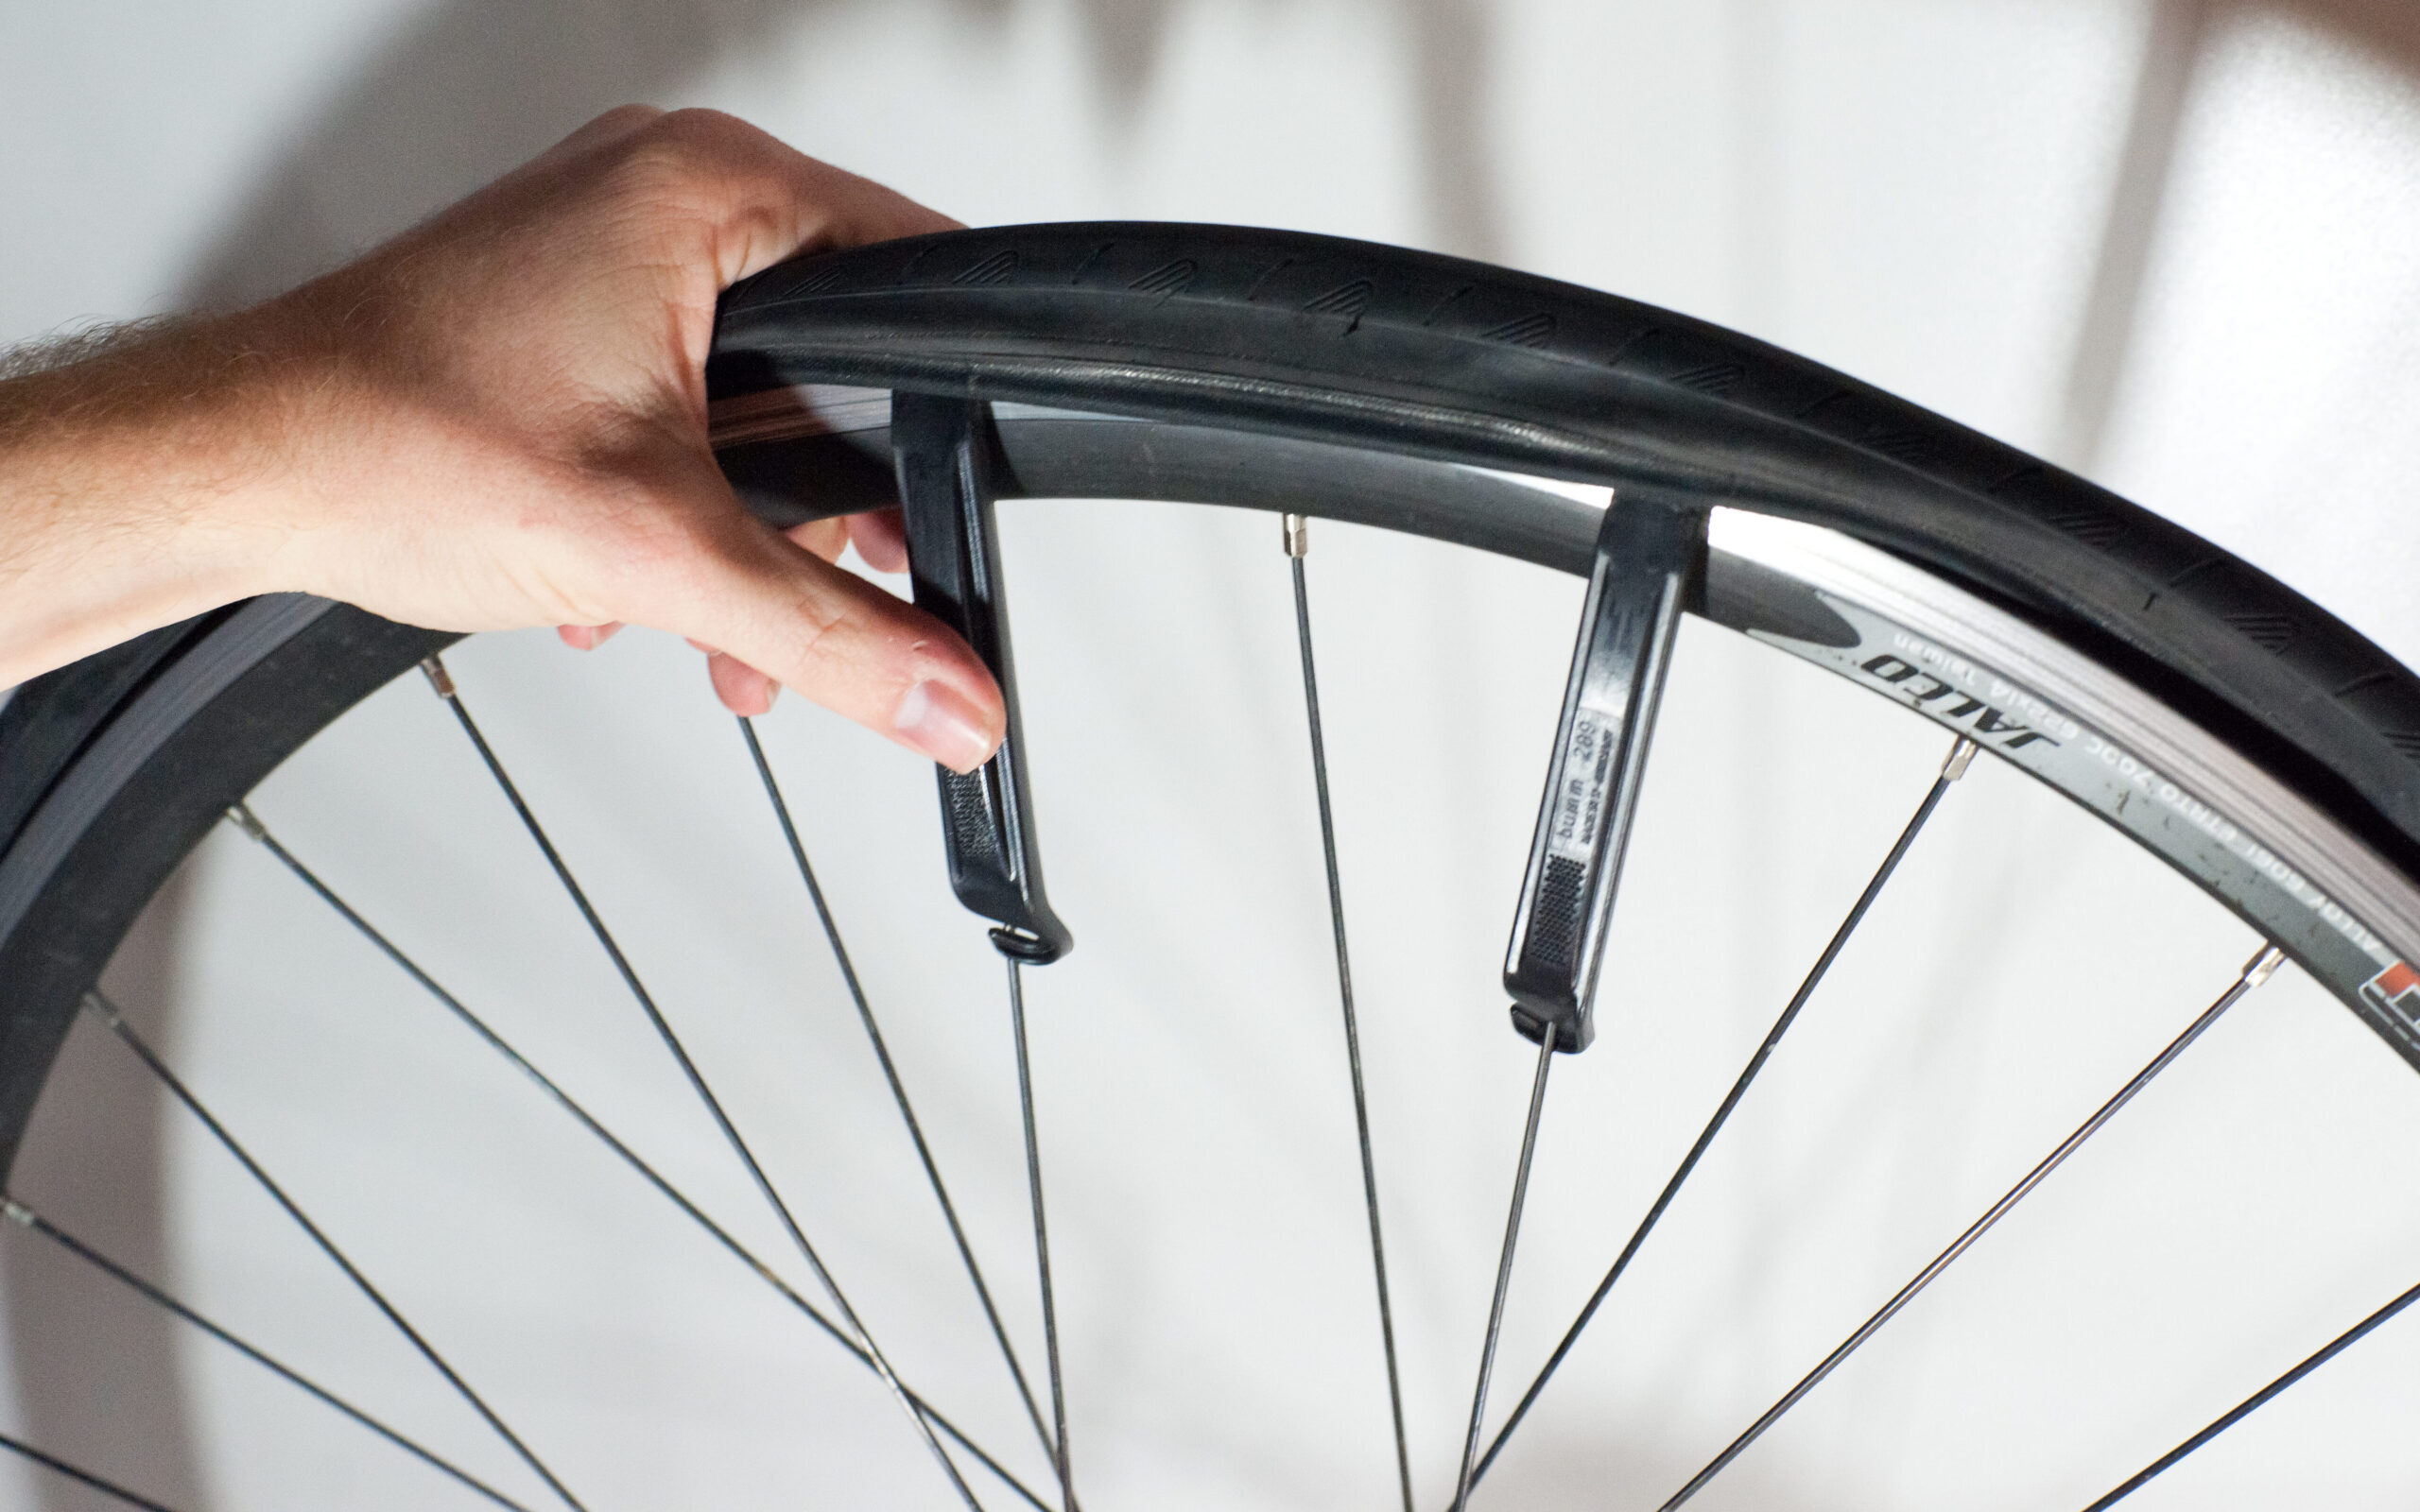
Before removing the old tube, it’s crucial to deflate the tire completely. Use a valve cap or your finger to press down on the valve stem and release any remaining air. Next, insert tire levers between the tire and the rim, starting opposite the valve stem, and gently pry the tire away from the rim.
Work your way around the tire, gradually releasing it from the rim until one side is completely free. Carefully remove the old tube from inside the tire, taking note of any punctures or damage that may have caused the flat.
Installing the New Tube
Before installing the new tube, partially inflate it to give it some shape. This will make it easier to insert into the tire without pinching or twisting. Check the valve for any signs of damage and ensure it’s aligned with the valve hole in the rim.
Carefully insert the valve stem into the valve hole, then tuck the rest of the tube inside the tire, working your way around the rim. Take care to avoid twisting or bunching the tube as you seat it inside the tire.
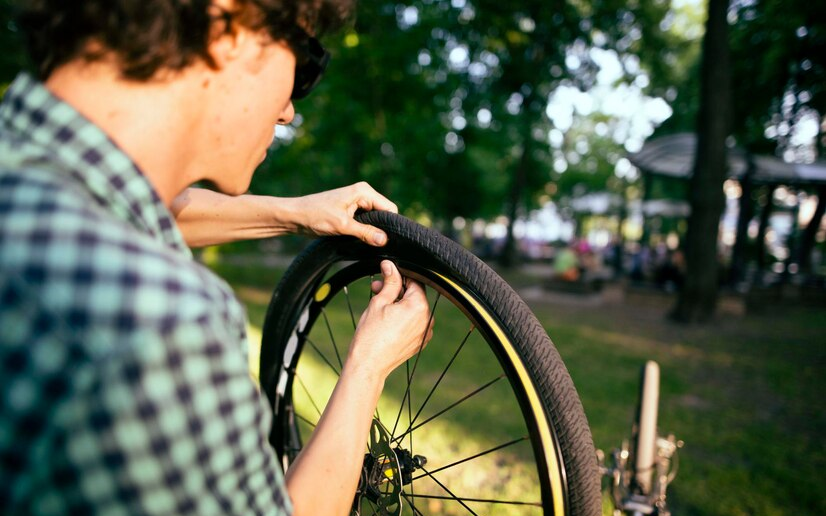
Reattaching the Tire
With the new tube in place, it’s time to reattach the tire to the rim. Starting opposite the valve stem, use your hands to push the tire back onto the rim, working your way around until the tire is fully seated. If necessary, use tire levers to help leverage stubborn sections of the tire over the rim, taking care not to pinch the tube in the process.
Once the tire is back in place, inspect it carefully to ensure that the tube is seated evenly. Additionally, ensure that there are no twists or wrinkles that could cause future issues.
Inflating the Tube
Using a pump, gradually inflate the tire to the recommended pressure levels, which are typically indicated on the sidewall. Avoid overinflating the tire, as this can increase the risk of a blowout and decrease ride comfort.
Once inflated, carefully check the tire for any signs of bulging or unevenness. It indicates a potential issue with the tube or tire seating.
Checking for leaks after inflation is also essential. Listen for any hissing sounds indicating air escaping from the tire, and feel around the tire for any signs of air leakage. If you suspect a leak, carefully inspect the tire and tube for punctures or damage. Make any necessary repairs or adjustments.
Testing and Final Checks
Before hitting the road, it’s essential to test the newly installed tube to ensure it’s functioning correctly. Spin the wheel and listen for any unusual noises or rubbing that may indicate a problem with the tire or wheel alignment. Additionally, check the brakes to ensure they engage properly and adjust as needed.
Finally, inspect the bike visually, paying attention to the tire and wheel alignment, brake clearance, and overall condition. Make any final adjustments as necessary, and once you’re satisfied that everything is in working order, you’ll be ready to hit the road or trail with confidence.
Note: If you specifically want to learn how to change inner tube on rear wheel of bike, the process remains largely the same as for the front wheel.
However, when removing and reinstalling the wheel, you might encounter extra parts like gears, chains, or brakes. Shift the gears to the smallest cog to loosen the chain, facilitating wheel removal and reinstallation.
As for how to change bike tube MTB, you can follow a similar process to changing the tube on any other type of bike.
Troubleshooting Common Issues
It is not uncommon to encounter issues while changing a bike tube. However, with a bit of know-how, these problems can be swiftly addressed. Here, we address some of the most common hiccups experienced during tube replacement and provide solutions to effectively resolve them.
Pinched Tubes
One of the frequent issues faced by cyclists when changing a bike tube is inadvertently pinching the new tube between the tire and the rim. This can lead to punctures or blowouts shortly after installation.
To avoid this, ensure that the tube is adequately tucked inside the tire and not caught between the tire bead and rim. Before fully inflating the tube, carefully inspect the inside of the tire to ensure there are no wrinkles or folds that might indicate a pinched tube.
Valve Issues
Valve-related problems can also arise during tube replacement. Sometimes, the valve may get damaged or fail to hold air properly, resulting in constant deflation.
If you encounter such an issue, carefully inspect the valve for any visible damage or debris. Ensure that the valve is properly seated in the rim hole and securely tightened. If the valve continues to malfunction, consider replacing it with a new one.
Difficulty Removing Tire
Removing the tire from the rim can be challenging, especially without the use of tire levers. However, it is possible with a bit of technique.
Start by deflating the tube completely, then squeeze the tire beads toward the center of the rim to loosen them. Next, work your way around the tire, pushing one bead over the rim edge at a time until the tire is entirely free from the rim.
Conclusion
In wrapping up, learning how to change bike tube is a vital skill for any cyclist. Remembering the steps outlined above — whether it’s how to change a bike inner tube, how to change a bike tire tube, or how to change bike tube without tool — will empower you to handle unexpected punctures confidently.
Regularly practicing this maintenance task on your bike, whether it’s an MTB or a road bike, ensures you’re always prepared for the road ahead. Additionally, knowing how to change an inner tube on your bike can save you time and hassle during your rides.
So, stock up on spare tubes, keep your tools handy, and make sure you’re equipped to handle any situation that arises. With these skills under your belt, you’ll enjoy smoother rides and fewer interruptions on your cycling adventures.
FAQs
Changing a bike tube can be challenging initially, but with practice, it becomes easier.
You must replace bike tubes every 2-3 years or when damaged, punctured, or worn.
Remove bike tire without lever by pushing tire bead into the rim’s center, then slide off with hands.
To change a bike tube without removing the wheel, deflate the tire, push the tire to the side, and slide out the old tube.