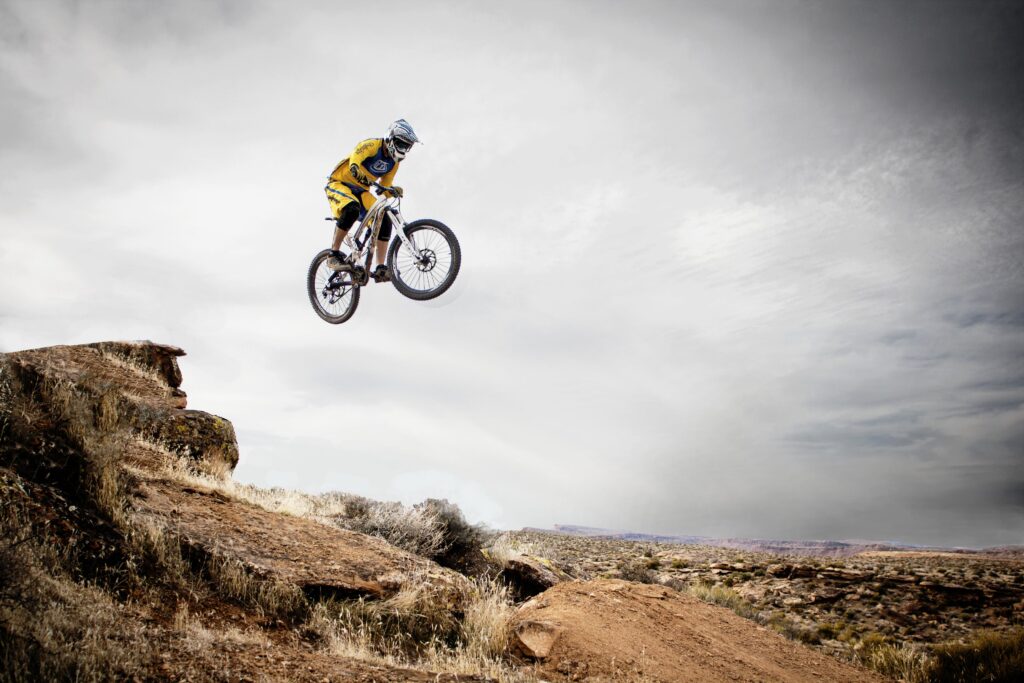
Do you want to learn how to jump MTB bike like a pro? MTB jumping is a fun and challenging skill that can enhance your riding experience.
You can clear obstacles, gain speed, and improve your balance, coordination, and confidence. You can also feel the thrill of flying and landing smoothly.
In this guide, we will teach you how to jump MTB bike safely and effectively. You will learn the essential equipment, the basic techniques, and the safety tips for MTB jumping.
By the end of this post, you will be ready to take your MTB jumping skills to the next level. Let’s get started.
How to Prepare for MTB Jump?
The key to mastery lies in starting small and practicing consistently. Begin with manageable jumps, focusing on refining technique and building confidence.
Regular practice improves your skills, ensuring a smoother progression. Safety is the priority when you want to learn how to jump your MTB bike.
You need a bike that is designed for jumping, with strong brakes, suspension, and tires. Additionally, you need to wear a helmet, gloves, and pads to protect yourself from injuries.
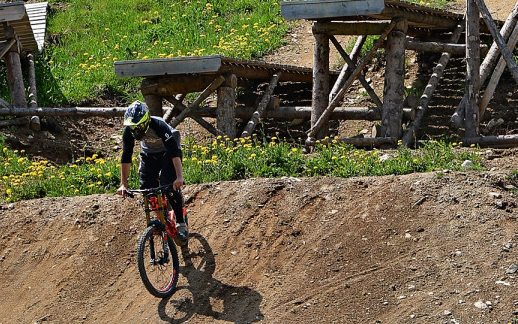
Before you jump, you should check your bike’s condition, such as the air pressure, chain, and bolts. You should also choose a ramp that is suitable for your skill level, not too steep or too high.
How to Jump MTB Bike?
Before you get all airborne and fancy with jumps, let’s break it down into two key things you must nail: how you position your body and how you roll up to the jump.
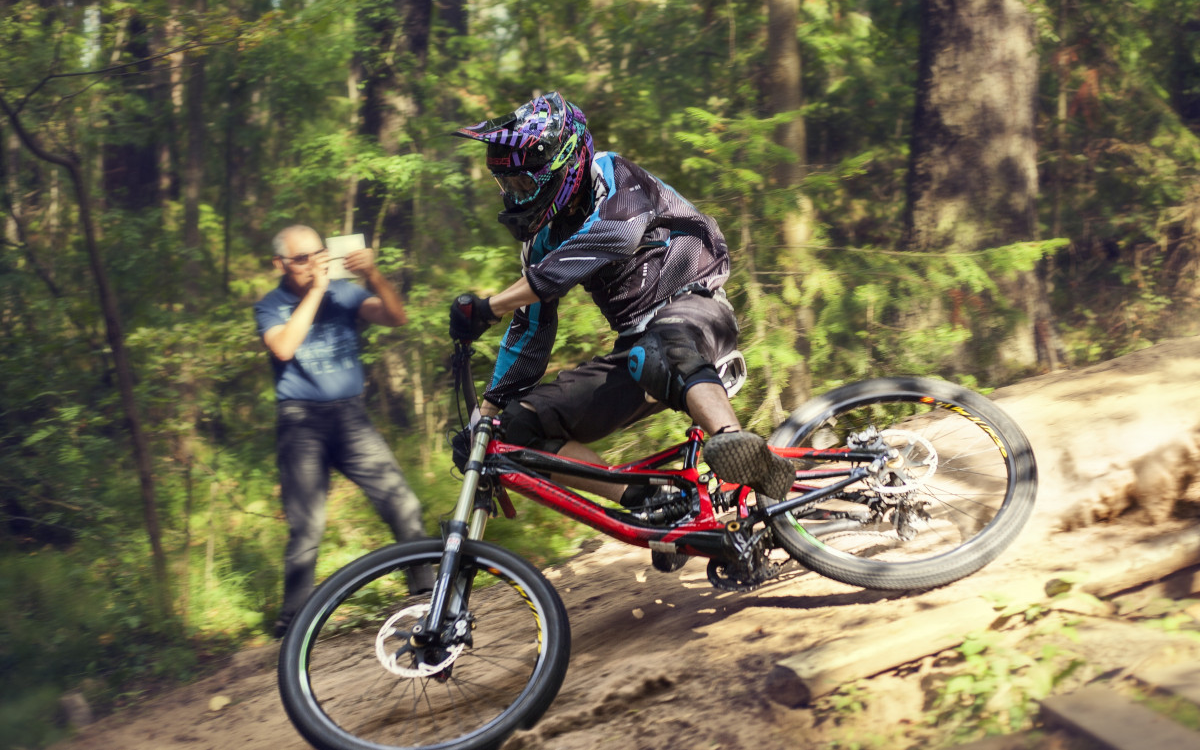
First off, body positioning is all about how you ride that bike. You’ve got your chill neutral stance for regular riding – level pedals, slightly bent elbows and knees, straight back, head up, eyes forward. This way, you can keep your balance, handle changes in terrain, and just look cool.
Now, when you’re about to launch, you switch it up a bit. For takeoff, shift your weight back, drop your chest, and extend your arms and legs. That’s your pre-jump setup. When you’re landing, it’s a bit different – shift forward, lift that chest, and bend your arms and legs. This helps you handle the impact and roll out like a pro.
Approaching the jump is another deal. Pick your speed based on the jump size and your skill. Not too slow, not too fast – you want to clear the jump, not zoom past it or crash. Choose a smooth line that lines up with the jump and landing. And when’s the right time to launch? Just as you hit the lip, use your arms and legs to lift off.
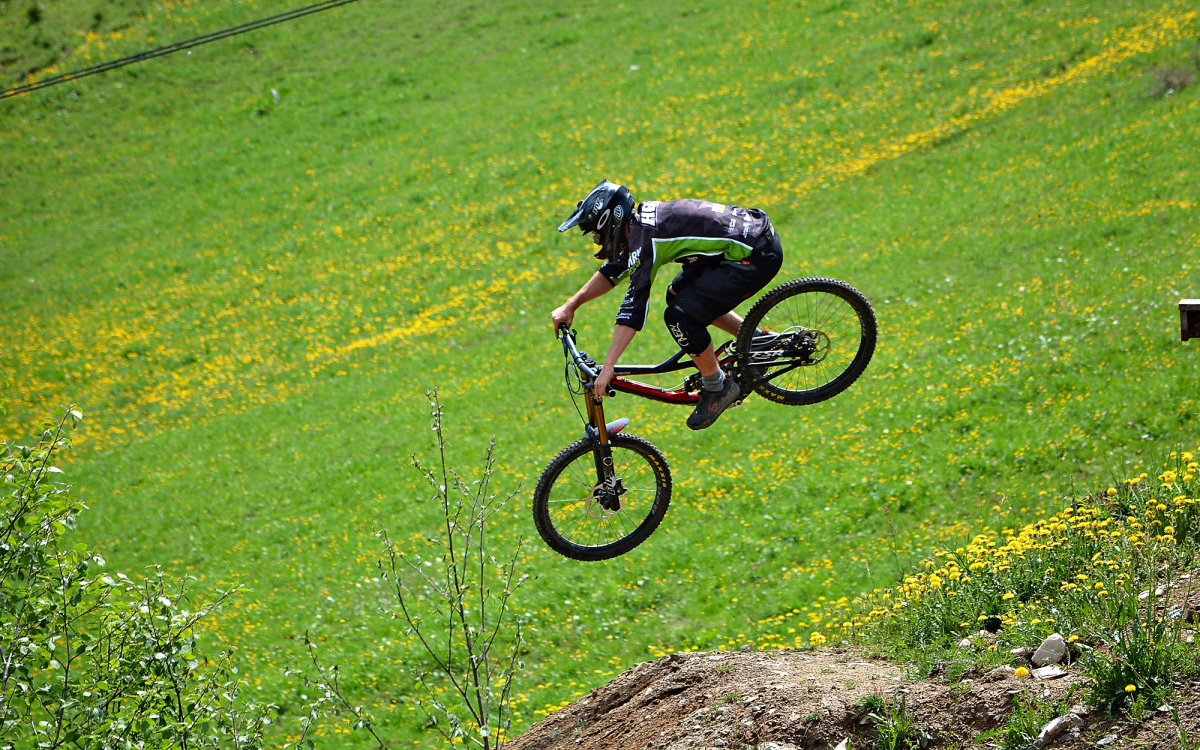
Now, with the basics of body positioning and jump approach in your pocket, let’s dive into the three cool steps of jumping: takeoff, mid-air control, and landing like a superhero.
1. Taking Off
The first step of jumping is taking off, which involves using your arms and legs to lift your bike off the ground. To take off, you need to preload your bike, which means compressing your suspension and creating tension in your muscles.
To preload your bike, you need to shift your body weight slightly back, lower your chest, and extend your arms and legs in the takeoff position. As you approach the lip of the jump, you need to explode your bike, which means releasing the tension and lifting your bike.
To explore your bike, you need to shift your body weight slightly forward, raise your chest, and bend your arms and legs in the landing position. As you do this, you need to pull up your handlebars and push down your pedals as if you are doing a manual. This will help you lift your front wheel and then your rear wheel off the ground.
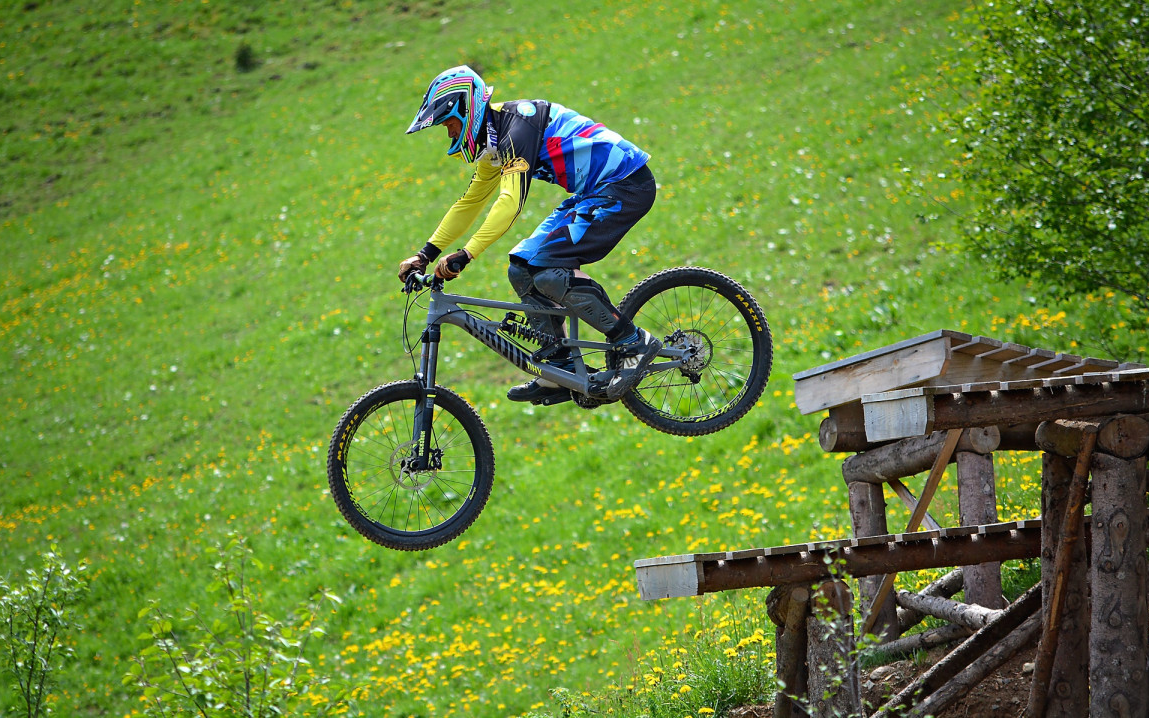
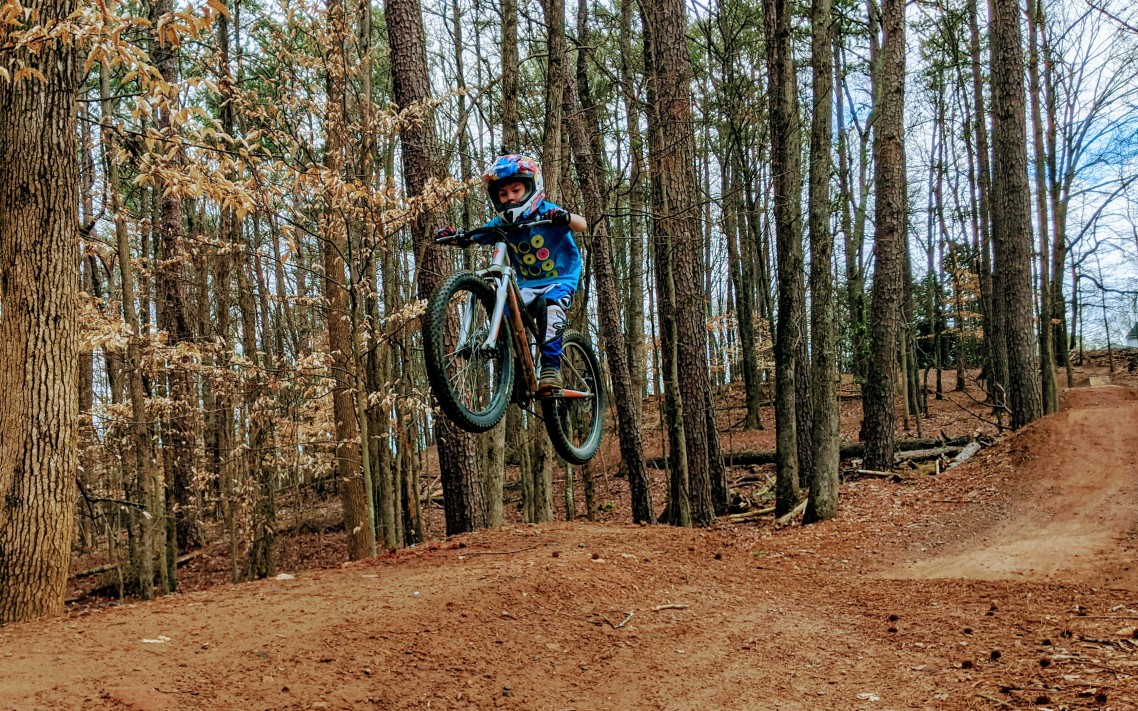
2. Mid-Air Control
The second step of jumping is mid-air control, which involves maintaining your balance in the air, adjusting your bike angle, and spotting your landing. To maintain your balance in the air, you need to keep your body centered over your bike and your bike parallel to the ground.
To make your biking experience more engaging, use your arms and legs to adjust the bike angle for the landing. Keep your eyes forward to spot the landing area, and be prepared for impact.
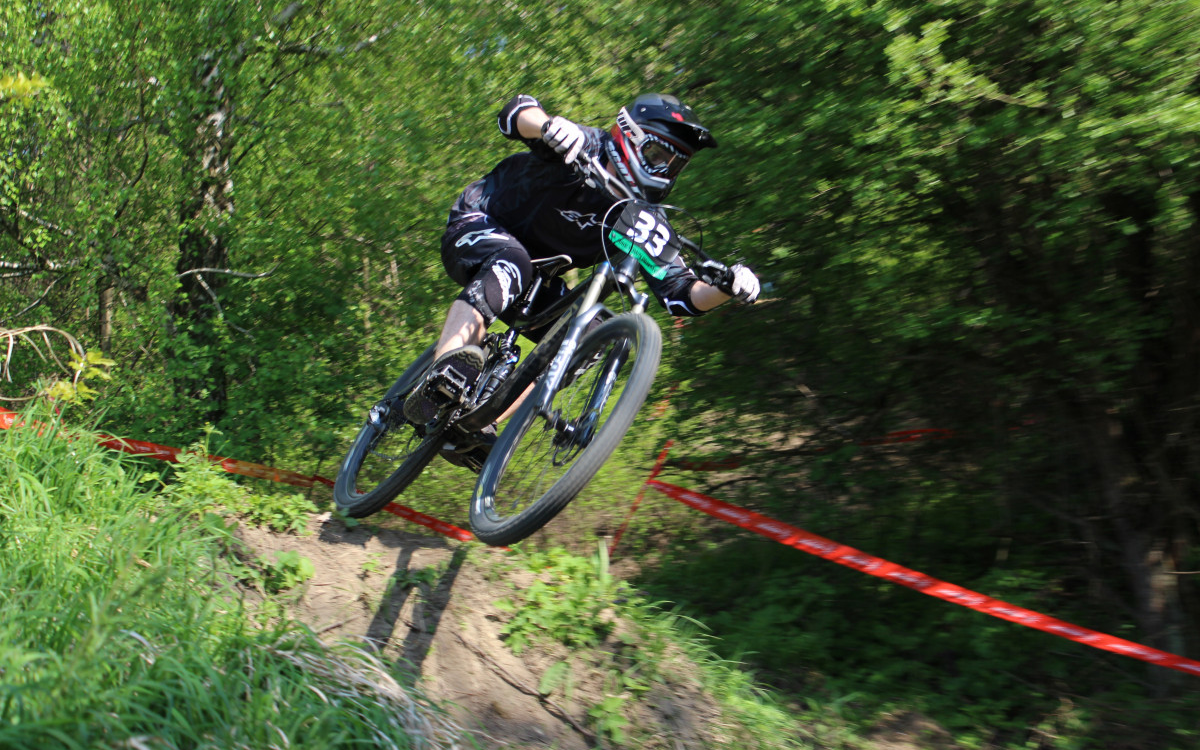
3. Landing Safely
The third and final step of jumping is landing safely, which involves bending your knees, absorbing the impact, and rolling out of the landing. To bend your knees and absorb the influence, you need to shift your body weight slightly forward, raise your chest, and bend your arms and legs in the landing position.
As you touch the ground, you need to relax your muscles and let your suspension do the work. To roll out of the landing, you need to keep your pedals level, your eyes looking ahead, and your speed consistent. You also need to avoid braking or turning abruptly, as this can cause you to lose control or crash.
Jumping your MTB bike can be a lot of fun, but it also requires practice and patience. Remember to start with small and easy jumps and gradually progress to bigger and harder ones. Always wear a helmet and protective gear, and ride within your limits.
Practice Strategies
Setting out on the path to becoming proficient at MTB jumps requires systematic practice. Begin by finding suitable trails that match your proficiency level, ensuring a gradual progression. Initiate your practice with small jumps, allowing for a controlled learning experience that builds confidence.
As you gain proficiency, gradually increase the difficulty of jumps to challenge yourself and refine your technique. Importantly, embrace the learning curve by analyzing and learning from mistakes.
Each error becomes a valuable lesson, contributing to your overall improvement. This strategic approach to practice ensures well-rounded skill development in navigating the exhilarating world of mountain bike jumping.
Avoiding Common Mistakes in MTB Jumping
You should be aware of common pitfalls to improve your experience. One prevalent mistake is leaning too far forward or backward during a jump, affecting balance and control. To counter this, focus on maintaining a neutral position and distributing weight evenly.
Another hurdle is a lack of confidence, hindering the ability to execute jumps effectively. Combat this by starting with smaller jumps, progressively building confidence.
Misjudging speed is also common; remedy this by carefully gauging the appropriate speed for each jump, ensuring a smoother takeoff and landing. Addressing these mistakes contributes to a more confident and controlled MTB jumping experience.
Conclusion
In conclusion, learning how to jump MTB bike for beginners is an exhilarating journey that enhances your riding experience. By prioritizing safety, mastering body positioning, and perfecting the three steps of jumping, you can navigate the thrilling realm of catching air with confidence.
Start with small jumps, gradually progressing to more challenging ones, all while wearing proper protective gear. Adopt a strategic practice approach, learn from mistakes, and build confidence incrementally.
Remember, the key is not only to have fun but also to ride responsibly. Feel free to share your experiences, questions, or feedback on your MTB jumping adventures.
FAQs
You should place your foot on the pedal so that the axle of the pedal sits behind the ball of your foot.
For the longest distance, you want a 45-degree lip. For the greatest height, you want a 60-degree or steeper lip.
Hardtail bikes are excellent because of their lighter weight, durability, and efficiency than full-suspension bikes.
It depends on the style and size of the jumps. Smaller wheels are more maneuverable, while larger wheels carry more speed.