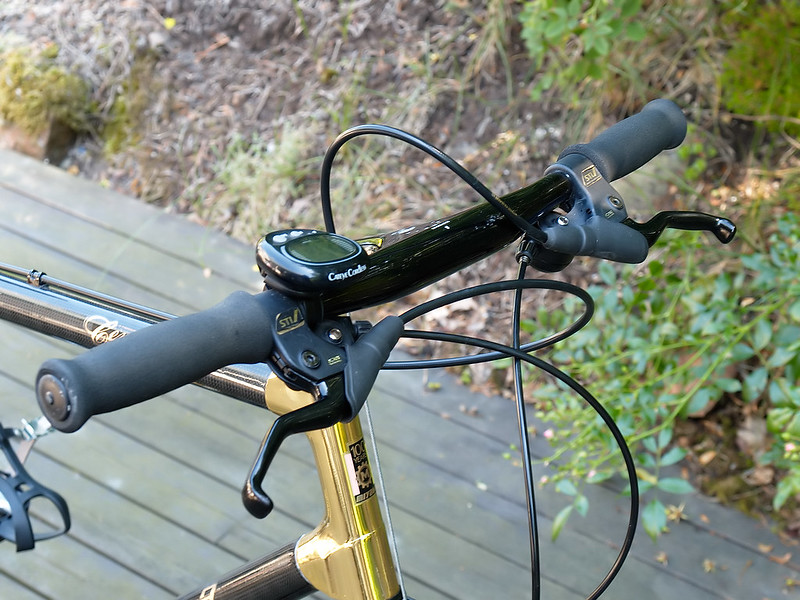
Knowing how to measure bike stem accurately is crucial for cyclists who value precision and performance. A bike stem connects the handlebars to the steerer tube of the bicycle fork, acting as a pivotal point for steering and stability.
Getting this measurement right is essential; it’s not just about ensuring your bicycle fits you perfectly. It’s about enhancing your comfort and control while riding. A stem that’s sized correctly can transform your cycling experience, offering improved handling and responsiveness.
Whether you’re a casual rider or a competitive racer, taking the time to measure your bicycle stem can lead to a more enjoyable and efficient ride. Remember, the key to a great cycling adventure starts with the perfect fit.
What Is a Bike Stem?
A bicycle stem is a critical component that secures the handlebars to the fork’s steerer tube, serving as a crucial connection point on a bicycle. It plays a pivotal role in dictating the rider’s posture and steering control.
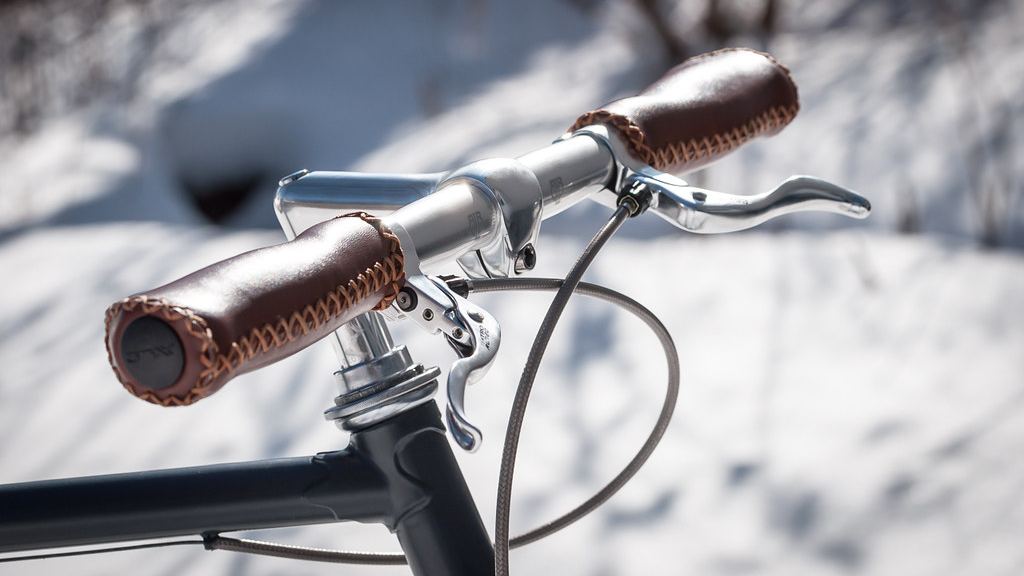
There are mainly two types of stems: quill and threadless. Quill stems insert into the steerer tube and are secured with a wedge, making them adjustable and common on vintage bikes.
Threadless stems, on the other hand, clamp onto the outside of the steerer tube and offer a sturdier, more reliable connection, favored in modern cycling for their robustness and ease of adjustment. Both types contribute significantly to the bike’s ergonomics and handling characteristics.
Why Measure Bike Stem?
Measuring the bike stem is essential for achieving the perfect bike fit, which is paramount for both comfort and performance. An accurately sized stem aligns with the rider’s body, ensuring a natural position that prevents strain on the arms, neck, as well as back pain.
Conversely, a stem that’s too long or too short can cause significant discomfort, leading to muscle pain and even long-term injury. Moreover, the stem size directly influences the bike’s handling; an improper fit can make the bicycle feel unresponsive or overly twitchy.
Therefore, taking the time to measure the bicycle stem is not just about comfort—it’s about securing a safe and enjoyable cycling experience.
Tools Needed for Measuring Bike Stem
To measure a bike stem accurately, you’ll need a few basic tools:
- Ruler or Tape Measure: To determine the stem’s length from the center of the handlebar clamp to the center of the steerer tube clamp.
- Calipers: To get precise diameter of the handlebar and the steerer tube, ensuring that the stem will fit both securely.
- Allen Wrenches: Necessary for loosening the stem bolts to either adjust the stem or remove it for measurement.
Together, these tools enable cyclists to fine-tune their ride for optimal comfort and performance.
How to Measure Bike Stem? Step-by-Step Guide
Follow these 4 steps to learn how to measure length of bike stem:
1. Preparation
Before you begin measuring your bicycle stem, it’s important to prepare your workspace to ensure accuracy. Start by positioning your bicycle on a flat, stable surface to prevent any tilting or movement that could skew measurements.
The level ground is key to maintaining the bike in an upright position. Next, align the handlebars meticulously; they should be parallel to the front wheel to guarantee that the stem’s angle and length are measured correctly.
This alignment is critical as it affects the bike’s handling and the rider’s comfort. By setting up your bicycle correctly, you’re laying the groundwork for a precise stem measurement, which is the first step towards a tailored and improved cycling experience. Remember, precision in preparation leads to perfection in performance.
2. How to Measure Bike Stem Length
Measuring the stem length of a bike is a straightforward process that requires precision. Use a tape measure, start at the exact center of the handlebar clamp, where the handlebars connect to the stem.
Stretch the tape measure to the center of the steerer tube clamp, which attaches the stem to the bike’s fork. Ensure the tape measure is straight and level for an accurate reading. It’s crucial to measure in millimeters for precision, as even small discrepancies can affect bicycle handling.
Double-check the measurement to confirm its accuracy. This method will provide the stem length, a key factor in achieving the optimal riding position and comfort. Remember, a well-measured stem contributes significantly to the bike’s performance and your overall cycling experience.
3. How to Measure Bike Stem Angle?
Measuring the stem length of a bike is a straightforward process that requires precision. Use a tape measure, start at the exact center of the handlebar clamp, where the handlebars connect to the stem.
Stretch the tape measure to the center of the steerer tube clamp, which attaches the stem to the bike’s fork. Ensure the tape measure is straight and level for an accurate reading. It’s crucial to measure in millimeters for precision, as even small discrepancies can affect bicycle handling.
Double-check the measurement to confirm its accuracy. This method will provide the stem length, a key factor in achieving the optimal riding position and comfort. Remember, a well-measured stem contributes significantly to the bike’s performance and your overall cycling experience.
4. How to Measure Bike Stem Diameter?
Accurately measuring the diameter of a bike stem is crucial for ensuring compatibility with handlebars. For quill stems, the process involves using a caliper or a precise ruler. Begin by removing the stem from the bike, then set the caliper to zero before placing its ends on opposite sides of the stem’s end that inserts into the fork.
If using a ruler, wrap a thin strip of paper around the stem, mark where it overlaps, and measure the length before calculating the diameter. Common diameters include 25.4mm and 31.8mm, which must match the handlebar’s clamping area to ensure a secure fit.
It’s important to note that a mismatched stem and handlebar can compromise the bike’s functionality and rider safety. Therefore, precise measurement is not only about fit but also about the rider’s security and confidence on their bike.
Interpreting Measurements
After learning how to measure a bike stem, you should know how Interpreting bicycle measurements is key to customizing your ride. Stem length, measured in millimeters, affects reach and comfort.
A longer stem stretches your position, suitable for racing, while a shorter stem offers quicker handling, ideal for trails. The stem angle, measured in degrees, influences handlebar height. A positive angle raises the bars for a relaxed posture, whereas a negative angle lowers them for aerodynamics.
Correctly interpreting these measurements ensures the bike fits your body, preventing strain and enhancing comfort. Adjusting stem specifications according to your measurements can transform your cycling experience, providing a tailored fit that supports long rides and ambitious adventures.
How to Choose the Best Stem Length?
Choosing the right stem length is pivotal for cycling comfort and efficiency. For road biking, a longer stem improves stability and aerodynamics, while mountain biking favors a shorter stem for better control and maneuverability.
To find the ideal size, consider your arm length and flexibility. A proper fit allows a slight bend in the elbows when hands are on the handlebars, ensuring a natural posture. Test different lengths to see which offers the most comfort without compromising on control.
Ultimately, the best stem length balances personal comfort with the bike’s intended use, enhancing your cycling experience without strain or discomfort. Remember, the right stem can make a significant difference in your ride quality.
Common Mistakes to Avoid
When measuring bike stems, a frequent oversight is neglecting the relation between the stem length and the bike’s handling. Precision is paramount; an incorrect measurement can lead to poor bicycle control and discomfort.
It’s essential to use accurate tools—a caliper rather than a ruler, for instance—to ensure exact measurements. Another common error is not accounting for the handlebar diameter, which must match the stem clamp to avoid slippage.
Always double-check the specifications of both stem and handlebars. Remember, a few millimeters can make a significant difference in your ride quality. Avoid guesswork; measure twice, install once, and enjoy a safer, more comfortable cycling experience.
Conclusion
Learning how to measure bike stem correctly is crucial for optimal cycling performance and comfort. This simple yet vital process ensures that your bicycle fits your body, preventing strain and enhancing overall ride quality.
By taking the time to measure accurately, you’re investing in your safety and the longevity of your bicycle components. So, grab your tools, follow the steps, and measure your bike stem. It’s a straightforward task that can lead to a significantly improved cycling experience.
Encourage fellow riders to do the same and share the knowledge; a well-measured stem is a step towards a more enjoyable ride.
FAQs
Opt for a smaller frame for better control and adjustability; larger frames can be harder to adjust and less comfortable.
Yes, pro cyclists often choose smaller frames for better stiffness, control, and aerodynamics.
Not all stems fit every bike; compatibility depends on the stem and steerer tube diameters.
Typical stem lengths range from 70-80mm, with 25.4mm and 28.6mm being common steerer tube diameters.