Every cyclist dreads the inevitable: a flat tire. Imagine being miles away from home with a flat tire and no way to fix it. That’s where knowing how to patch a bike tire becomes crucial.
Whether it’s a puncture from a sharp object on the road or wear and tear on your tire tread, flat tires are a common occurrence in the cycling world. However, with the right know-how, you can turn a potential ride-ending mishap into a minor pause.
Learning to patch a tire is a straightforward process that not only gets you back on the road faster but also saves money and extends the life of your tire. In this guide, we’ll walk you through the essential steps of patching a bike tire to help you tackle any flat tire situation with confidence.
So, let’s gear up and learn how to keep your wheels turning with a quick patch-up!
Types of Bike Tires
Bicycle tires come in various designs, each tailored to specific riding conditions and preferences.
Clincher tires are the most common type, featuring a bead that locks into the wheel rim and an inner tube to hold air. They’re user-friendly and easy to patch, making them a favorite among casual riders and professionals.
Tubular tires are sewn around the inner tube and glued to the rim. While they offer performance benefits, such as reduced rolling resistance, they are more complex to patch due to their construction.
Tubeless tires provide a modern solution by forming an airtight seal against the rim, eliminating the need for an inner tube. Patching tubeless tires can be straightforward with a sealant, but it requires specific knowledge and tools.
Each tire type presents its patching challenges, but understanding its unique features can help cyclists make informed maintenance decisions.
Necessary Tools and Materials
When patching a bike tire, having the right tools and materials is crucial for a smooth and successful repair. The following are the must-have tools:
- Patch Kit
- Tire Levers
- Tube of Vulcanizing Fluid
- Sandpaper
- Pump
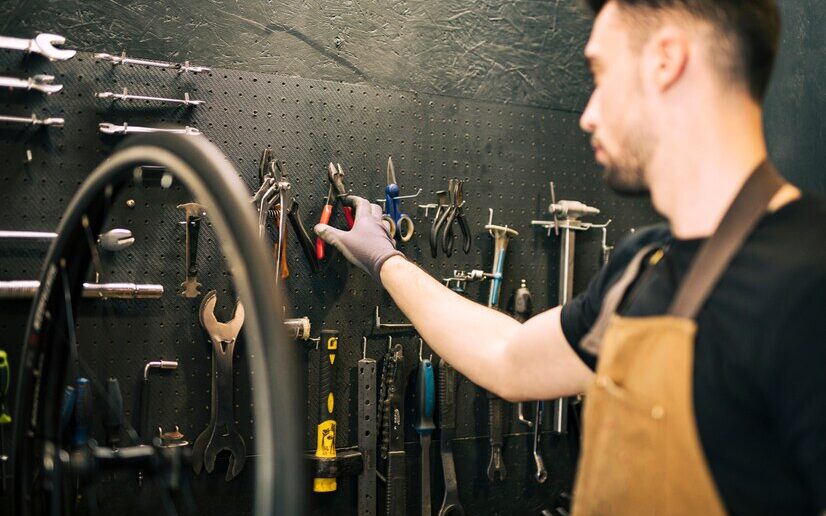
Together, these tools form the cyclist’s repair kit, empowering riders to tackle tire troubles head-on and keep their journeys going without a hitch. With these items, any cyclist can become a proficient puncture repairer, ready to confidently handle common tire issues.
How to Patch a Bike Tire?
Below are the 5 steps on how to patch a bike tire tube:
1. Preparation
Start by ensuring your workspace is clean, well-lit, and debris-free. Lay out your tools within easy reach. Next, position your bike so the affected tire is accessible; this may involve flipping it upside down or mounting it on a stand.

Carefully remove any accessories like lights or bags that might get in the way. Using the tire levers, gently pry the tire away from the rim to expose the inner tube. Inspect the tube for punctures, and once located, use the sandpaper to scuff the area around the hole lightly.
This preparation ensures a clean surface for the patch to adhere to, setting the stage for a successful tire repair. With everything in place, you’re ready to proceed with confidence.
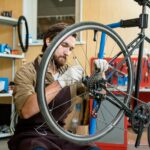
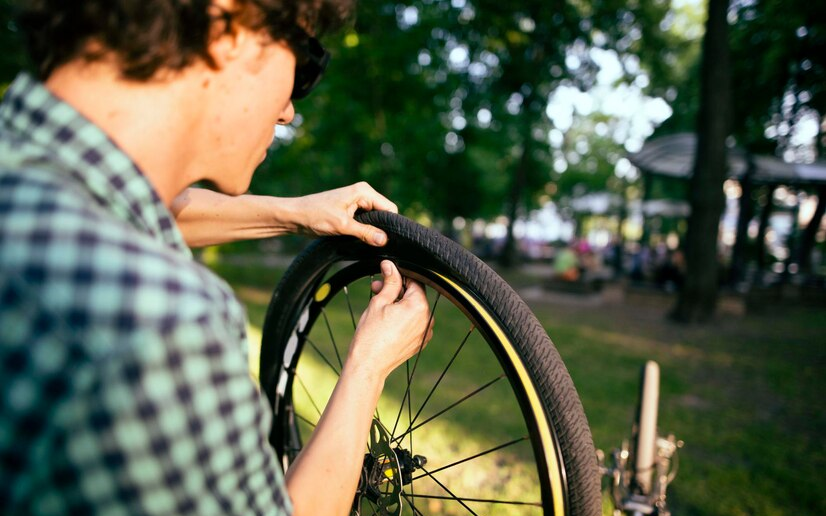
2. Remove the Wheel
Every rider should master the skill of removing the wheel. Begin by flipping the bike to rest on its handlebars and saddle, ensuring stability. Proceed to deflate the tire entirely by pressing down on the valve; this makes it easier to manipulate the tire.
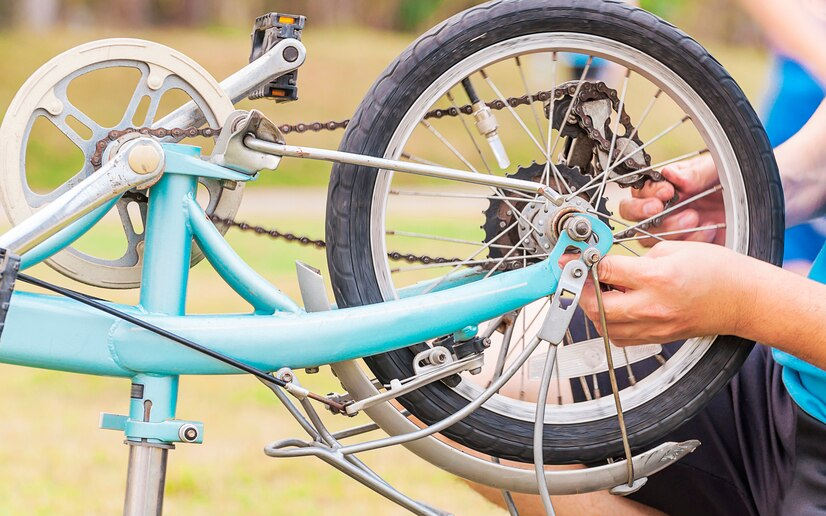
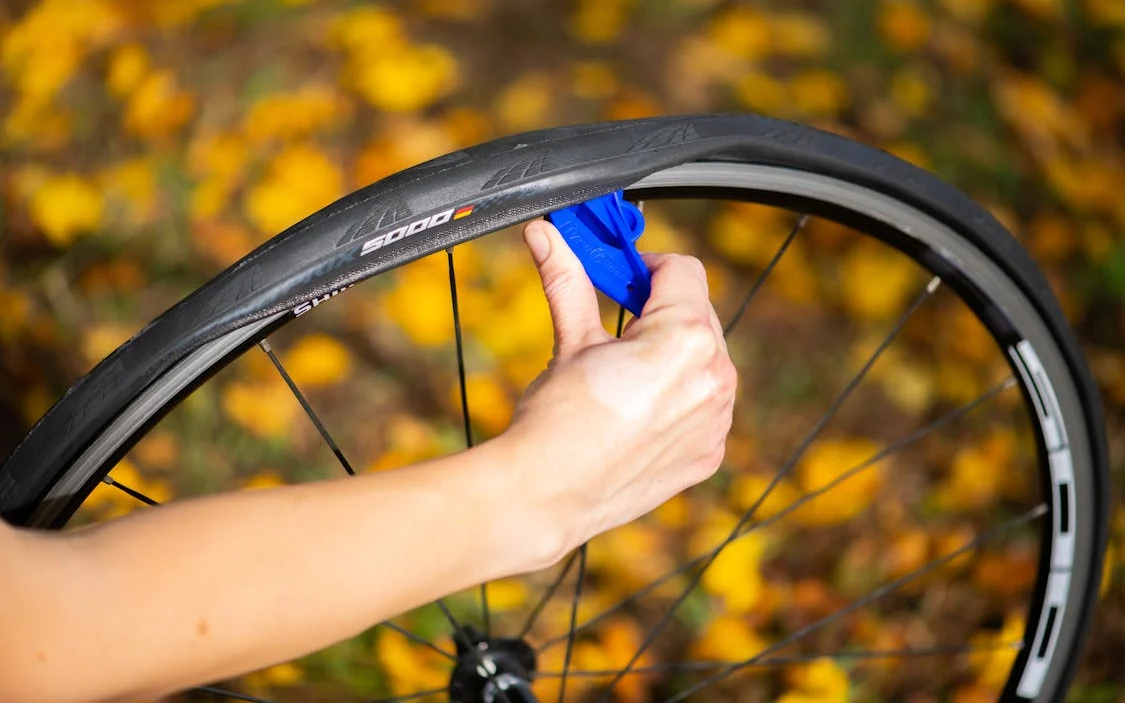
Next, loosen the bolts or quick-release mechanism that secures the wheel to the frame. Gently lift the wheel out of the dropouts, taking care not to damage the brake pads or derailleur. With the wheel free, grab your tire levers.
Insert one lever under the tire’s bead and lever it over the rim, hooking the end onto a spoke if possible. Slide the second lever around the rim, peeling the tire away until one side is accessible.
This process, while simple, is invaluable for cyclists who need to patch a tire or address other issues. A little practice makes this routine second nature.
3. Locate the Leak
To locate a leak in a bicycle tire after removal, begin with a thorough visual examination of the tire and inner tube, searching for any signs of puncture or damage. Next, inflate the tube gently; this slight increase in air pressure will often reveal the leak through an audible hiss or by feeling the escaped air on your skin.
For more precise detection, you can optionally submerge the inflated tube in water and watch for escaping bubbles, which will pinpoint the exact location of the leak. This systematic approach ensures the puncture is found efficiently, allowing for a swift repair and return to your cycling adventures.
Remember, patience and attention to detail are essential in successfully identifying the source of the problem.
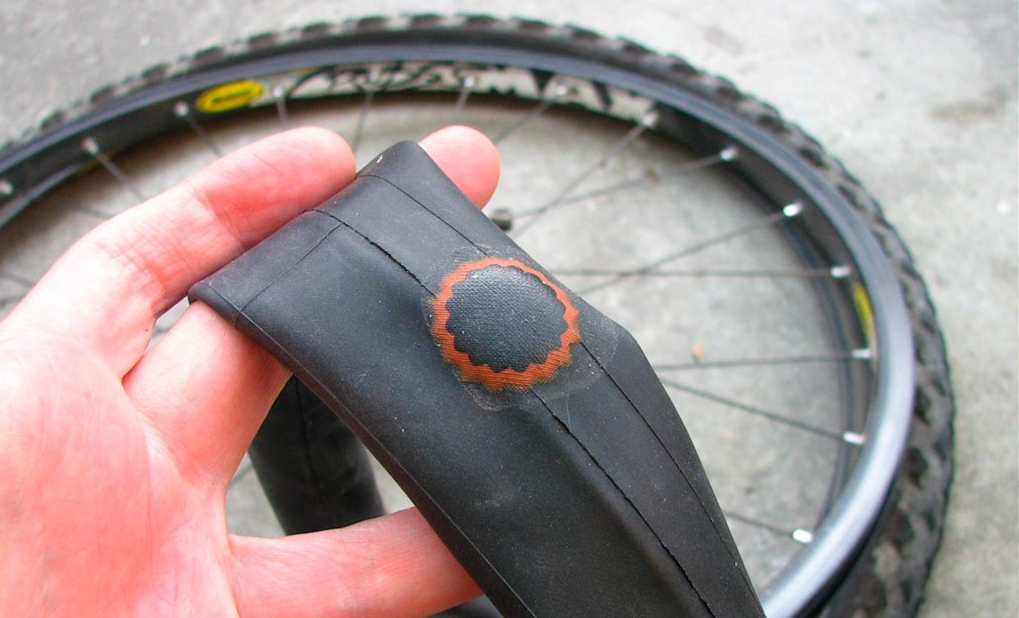
4. Patch the hole
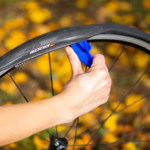
Patching is straightforward when you discover a puncture in your bicycle tire. Start using sandpaper to roughen the area around the puncture; this helps the patch adhere better. Next, apply a thin layer of vulcanizing fluid over the roughened area and wait for it to dry until it’s tacky—this usually takes about five minutes.
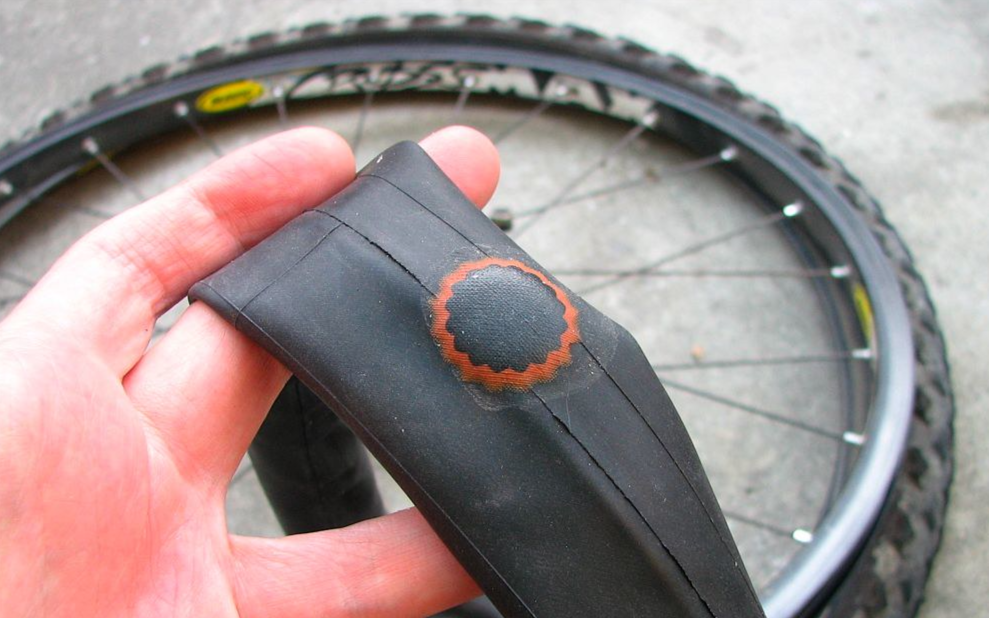
Once the fluid is set, press the patch over the puncture firmly and evenly to ensure it sticks properly. Hold the patch in place for a minute to create a strong seal. Finally, remove the protective backing from the patch. This method is reliable for fixing punctures and getting back on the road quickly.
Remember, the key to a lasting repair is ensuring the patch is bonded well to the tube.
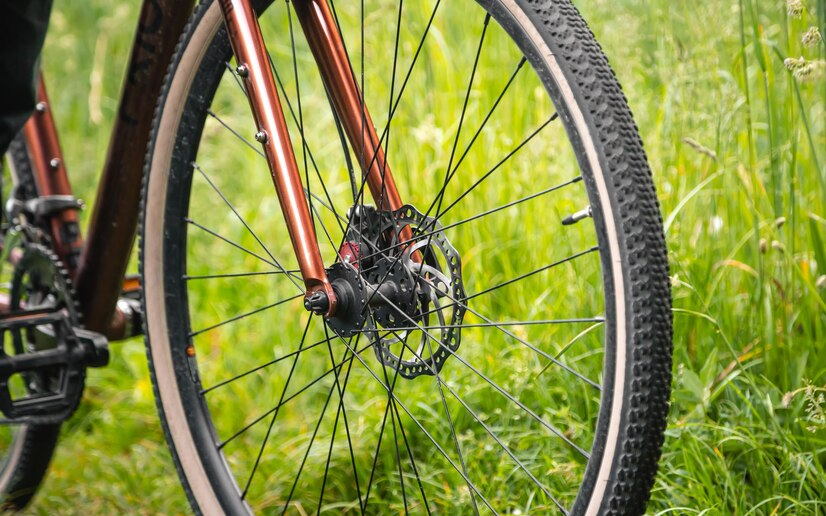
5. Reassemble the Tire
Reassembling a bicycle tire onto the rim is easy and precise. Begin by partially inflating the inner tube, giving it shape and preventing it from being pinched during installation.
Carefully position the tube inside the tire and then gradually work the tire back onto the rim, using tire levers if necessary to avoid damaging the tube. Once the tire is seated, inflate it to the pressure specified by the manufacturer, ensuring optimal performance and safety.
As you inflate, periodically check for any signs of air leakage by listening for escaping air and feeling around the tire for any unusual air movement. This process will ensure the tire is securely, correctly fitted and ready for your next cycling journey.
Remember, a correctly reassembled tire is crucial for a smooth ride and long-term durability.
Tips
Cleanliness is paramount for effective bicycle tire patching. Ensure the punctured area is free from dirt and moisture before applying the patch. When positioning the patch, be careful not to overstretch it or the tube, as this can compromise the repair.
Opt for high-quality patch kits, which offer better adhesion and durability, leading to more reliable repairs. Regular tire maintenance, such as checking for debris and proper inflation, can significantly reduce the likelihood of future punctures.
By following these simple yet crucial tips, you can enhance the success rate of your tire patching endeavors and extend the life of your bicycle tires. Meticulous care and the right tools are the cornerstones of a successful patch job.
Troubleshooting
After repairing a bicycle tire, it’s crucial to verify the effectiveness of your work. Begin by inflating the tire to the recommended pressure and inspect it closely for any signs of air leakage. Listen for hissing sounds and feel around the patch area for air escaping.
If you detect a leak, deflate the tire, reexamine the patch, and ensure it’s fully secured without gaps or creases. If the tire continues to leak, consider applying a new patch or replacing the tube entirely.
Consistent monitoring and a willingness to readdress the repair, if necessary, are essential to successful troubleshooting. This proactive approach not only confirms the integrity of your repair but also reinforces the reliability of your bicycle for future rides.
Remember, a meticulous check post-repair safeguards against recurring issues and maintains cycling safety.
How to Fix a Flat Bike Tire Without a Patch?
When faced with a flat bike tire and no patch kit, cyclists can still get back on the road with clever tricks. The first thing you should do is find the puncture and clean it. If the hole is small, try inflating the tire; sometimes, the pressure can seal it temporarily.
For larger holes, fold a banknote or use a piece of thin plastic as an improvised patch, placing it inside the tire over the puncture. Reinflate slowly to ensure the makeshift patch holds.
Alternatively, tie a knot in the tube at the puncture site to prevent air from escaping, though this method may affect the ride quality. Always carry a spare tube or a proper patch kit for a more permanent fix.
This approach is a quick fix, not a long-term solution, and repairing or replacing the tube as soon as possible is essential. Following these steps, cyclists can address a flat tire without a patch and continue their journey with minimal disruption.
Regular maintenance and carrying the right tools can prevent such situations and ensure a smoother ride.
Conclusion
Hope you’ve learned that learning how to patch a bike tire is a valuable skill that saves money and contributes to environmental conservation. This guide has outlined the essential steps to effectively repair punctures, ensuring cyclists can extend the life of their tires and minimize waste.
By grasping this technique, riders can maintain their bikes in top condition while embracing a sustainable cycling approach. It’s an economical and eco-conscious practice that every cyclist should consider adopting.
We welcome your thoughts and inquiries on this topic. Sharing knowledge helps us grow and learn together. Happy cycling and happy patching!
FAQs
Inflate the tire to locate the puncture, then apply a temporary sealant or use a tire boot as an internal patch.
Use adhesive tape or superglue with a rubber or thick cloth as a makeshift patch.
Employ the tire boot method or tie a knot in the tube at the puncture site for a temporary fix.
Patching is cost-effective for small punctures, but replace the tire if there’s significant damage or frequent flats.