Adjusting the height of your bike handlebars is not just about altering your ride’s look; it’s a crucial step towards a more comfortable and efficient cycling experience. Hence, it is important to know how to raise bike handlebars.
The right handlebar height can prevent back strain, improve bike handling, and boost overall performance. Raising your handlebars is a simple yet impactful process that caters to your body’s unique dimensions and riding style.
By fine-tuning this aspect, cyclists can enjoy longer rides with less fatigue and more enjoyment. Whether you’re a casual rider or a seasoned cyclist, understanding how to raise bike handlebars will enhance your biking adventures.
Why Adjusting Handlebar Height Matters?
It is essential for both comfort and control. Proper height alignment helps prevent back and neck strain, ensuring a more ergonomic riding posture. This adjustment is not just about comfort; it also significantly affects bike handling.

A well-set handlebar height enhances stability and control, allowing for a responsive ride that adapts to various riding styles and terrains. By fine-tuning handlebar height, cyclists can achieve a harmonious balance between a relaxed posture and precise bike control, making every journey more enjoyable and efficient.
What Are the Handlebar Components on a Bike?
Before learning how to raise handlebars on a bike, you need to know about the parts of the handlebars.
Stem: The stem connects the handlebars to the bike’s fork. It is pivotal in determining the handlebar’s height and reach, directly influencing rider ergonomics and steering control.
Spacers: Spacers are used to adjust the handlebar height without altering the stem. They provide flexibility in fine-tuning the riding position for optimal comfort and performance.
Faceplate: The faceplate secures the handlebars to the stem. An adequately tightened faceplate ensures a firm grip and prevents movement or slippage during rides.
Headset: The headset is the interface between the fork and the frame. It allows for smooth steering and improves the bike’s stability and responsiveness.
Pinch Bolts: Pinch bolts are part of the stem clamps around the handlebars and fork steerer tube. They must be evenly tightened to maintain a secure connection and safe handling.
Types of Handlebar Adjustments
In the world of cycling, handlebar adjustments are critical to a personalized and comfortable ride. Stem adjustments are a primary method, with various stem types like quill and threadless offering different approaches to height modification.
For quill stems, an adjustment involves loosening the top bolt and raising or lowering the stem to your preference, then re-tightening. Threadless stems require loosening the side bolts on the stem, adjusting the spacers, and securing the stem back in place.

Speaking of spacers, these rings sit on the fork’s steerer tube and are crucial for fine-tuning handlebar height. Adding or removing spacers allows cyclists to adjust the height without replacing the stem.
This process is straightforward: remove the stem’s top cap, adjust the spacers, and re-secure the stem. Both methods provide a custom fit that enhances comfort and efficiency, making them essential techniques for any cyclist’s toolkit.
Tools & Materials Needed
Raising bicycle handlebars is a straightforward task that requires a few essential tools and materials. To begin, you’ll need an adjustable wrench or a set of hex keys, commonly called Allen wrenches, which are crucial for loosening and tightening the bolts on the handlebar clamp.
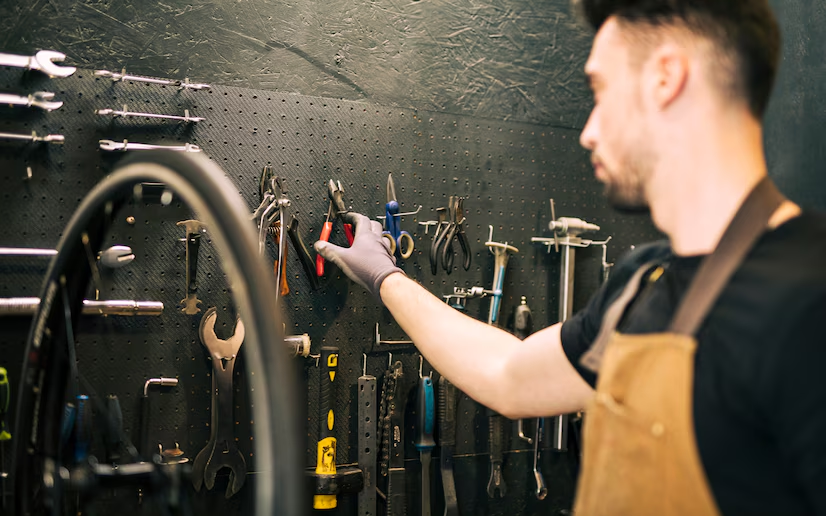
A torque wrench is also beneficial to ensure that all fittings are tightened to the manufacturer’s specifications, preventing damage. Additionally, handlebar spacers might be necessary if you plan to significantly increase the height; these are available in various sizes to fit your bike’s specifications.
To maintain the integrity of your bicycle, it’s essential to use quality products, such as rust-resistant bolts and lightweight but durable spacers. Lastly, consult your bicycle’s manual for specific guidelines and consider applying a thread locker to the bolts for added security.
This process not only enhances comfort but also improves posture during rides.
How to Raise Bike Handlebars?
How to Prepare Your Bike?
Before adjusting your bike’s handlebars, securing it in a stable position is essential. This can be done using a bike stand or leaning against a solid surface, ensuring it won’t move. Next, assess the current height of the handlebars by standing the bike upright and checking the level of your hip height.

Measuring the space on the steerer tube above the stem is essential. This will indicate how much you can raise the bar. If there’s insufficient space, you may need to replace the stem or add spacers.
Remember to loosen the stem bolts slightly before making any adjustments. This preparation ensures a smooth transition to a more comfortable handlebar height, enhancing your cycling experience without compromising safety or control.
Always retighten the bolts to the specified torque and double-check all fittings for a secure finish.
How to Flip the Stem on Your Bike?
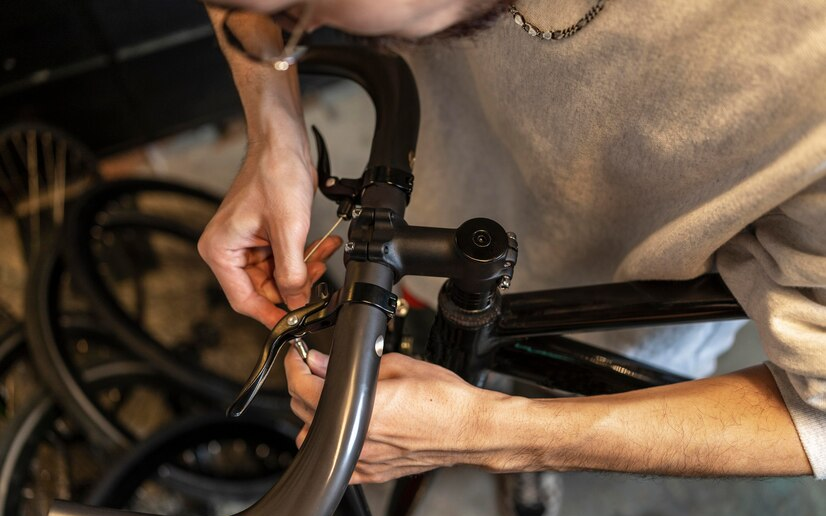
Flipping the stem on your bike is a simple yet effective way to adjust your riding position. Start by loosening the bolts that connect the stem to the steerer tube using an Allen wrench. Once these are loose, carefully flip the stem 180 degrees.
Depending on the stem’s initial angle, this adjustment can raise or lower the handlebars. After the flip, align the stem with your front wheel to ensure straight steering. Next, adjust the stem to your desired height, ensuring it’s within the safety limits on the steerer tube.
Finally, securely tighten the bolts in a cross pattern to evenly distribute pressure. This not only guarantees a secure fit but also maintains your bike’s structural integrity. Regularly check the bolts for tightness and alignment, especially after your first ride post-adjustment, to ensure ongoing safety and performance.
How to Add or Remove Headset Spacers?
Handlebars can also be adjusted by adding or removing headset spacers. Begin by loosening the top cap and stem bolts with an Allen wrench. Carefully remove the stem, allowing you to add or subtract spacers as needed.
When adding spacers, place them onto the steerer tube below the stem; move spacers above the stem to lower the bars. Reattach the stem, ensuring it’s aligned with your front wheel for accurate steering.
Tighten the stem bolts in an alternating pattern to evenly distribute pressure, then secure the top cap. Maintaining the headset’s preload — the tension in the bearings — is crucial to avoiding play in the steering.
Check the alignment once more after tightening, and make adjustments if necessary. This process customizes your bike fit for optimal comfort and maintains the bike’s performance and safety.
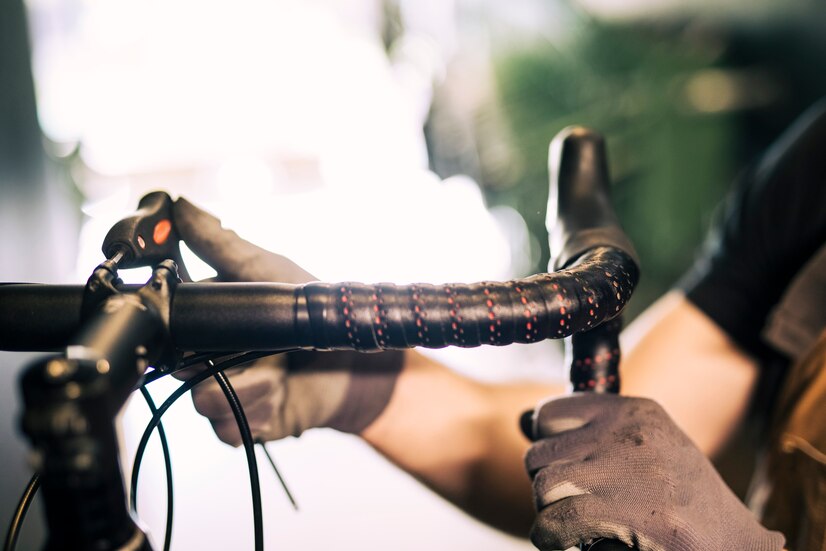
How to Raise Handlebars on Road Bike?
The process involves loosening the stem bolts with an Allen wrench, which allows for vertical adjustment. If the bike has a threaded headset, you may need to adjust the locknut for height changes. Spacers can be added or removed for threadless headsets to alter the handlebar height.

It’s essential to ensure that the handlebars are at a level where your arms and shoulders remain relaxed during rides. After achieving the desired height, retighten the stem bolts in a crisscross pattern to maintain even pressure and alignment.
Always adhere to the manufacturer’s torque specifications to prevent damage. This adjustment improves ergonomics and optimizes performance by allowing for a more aerodynamic position when needed.
Regular maintenance checks post-adjustment are recommended to ensure ongoing stability and safety.
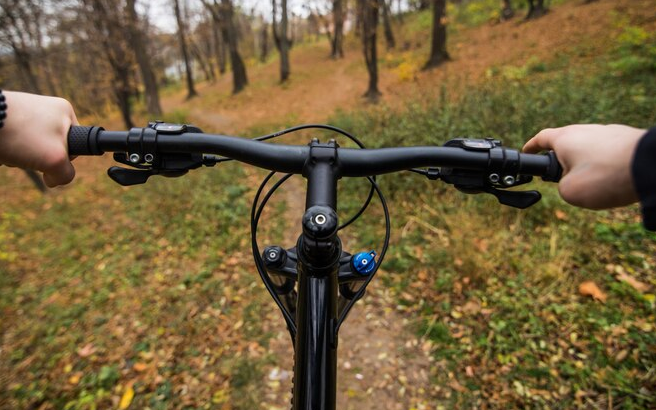
How to Raise Handlebars on Mountain Bike?
Begin by loosening the stem cap, the bolt on top of the stem, with an Allen key. Next, adjust the side bolts to allow the stem to pivot freely. Carefully raise the handlebars to your preferred height, ensuring they remain centered.
Once the desired height is achieved, retighten the stem cap and side bolts in an alternating pattern to secure the handlebars. It is crucial to not exceed the maximum height marker on the stem to maintain safety.
Finally, take a test ride to confirm the handlebars are at a comfortable height, making any minor adjustments if necessary. This simple modification can significantly improve your mountain biking experience, providing a more tailored fit for your body and riding style.
Conclusion
Hope you have found out how to raise bike handlebars to experience comfortable and efficient riding. Finding the optimal handlebar height can enhance your control and reduce strain on your arms and back.
I encourage you to test different heights to discover what works best. Your feedback and questions are invaluable as they help others in their journey to achieve the perfect bike setup. Remember, a small change can significantly affect your ride quality.
So, don’t hesitate to adjust and fine-tune your handlebars to suit your needs.
FAQs
High handlebars provide a more comfortable upright riding position, reducing strain on the back and neck during long rides.
The best handlebar position allows easy control access and a comfortable arm reach with a slight elbow bend.
Seat height above handlebars is for aerodynamics and pedaling efficiency; below is for control and reduced arm fatigue.
Correct leg position has a slight bend in the knee when the pedal is at its lowest point.