Removing a bike crank is an essential skill for cyclists when performing routine maintenance or replacing a worn-out component. A well-maintained bike ensures a smoother ride and prolongs the lifespan of its parts. This requires knowing how to remove bike crank.
In this comprehensive blog post, we will cover everything you need to know. From the tools you’ll need to the signs that indicate it’s time for a crank replacement to the best practices for successful removal, this detailed guide will ensure you’re equipped to handle this task effectively.
This blog aims to provide valuable insights into maintaining your bike for both experienced cyclists and DIY enthusiasts. Read on as we explore how to remove bike crank.
What Is the Cransket?
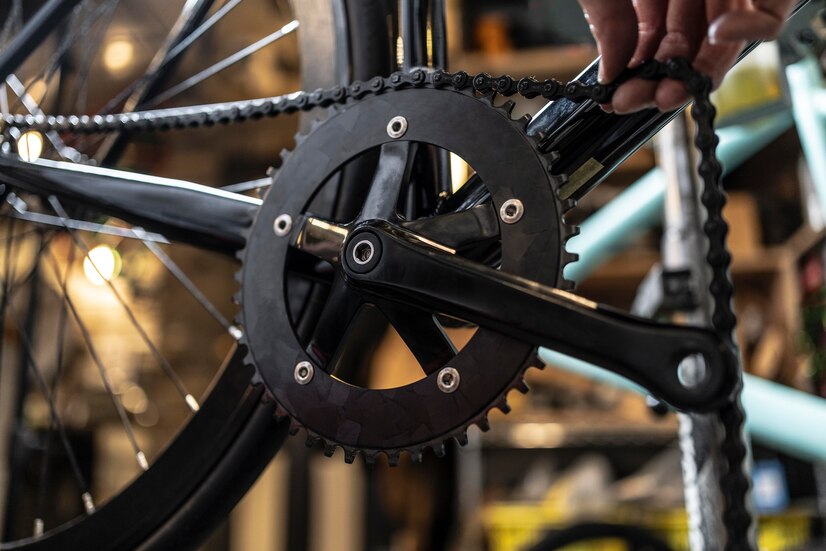
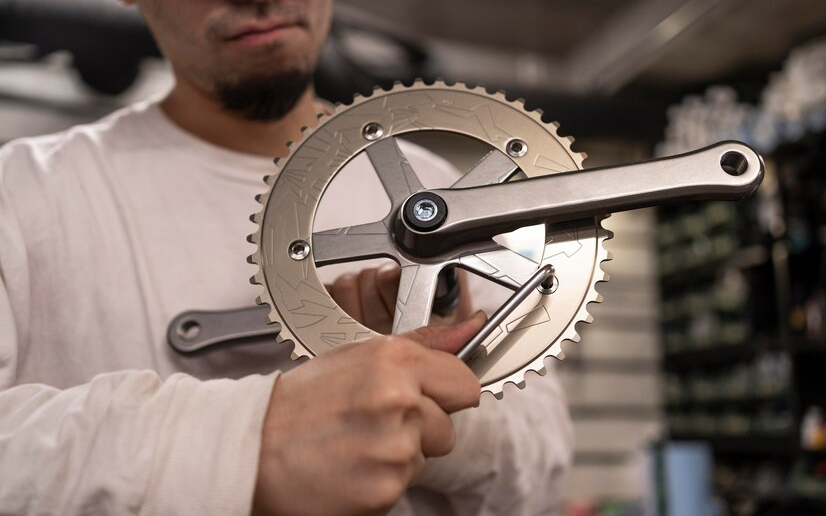
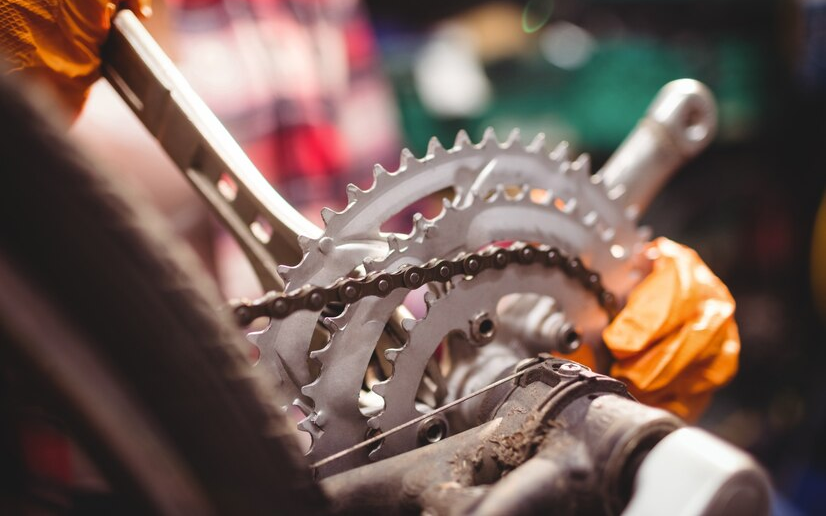
The bike crank, often called a ‘crankset,’ is the heart of a bicycle’s drivetrain, comprising the bike’s chainrings, crankarms, and the bottom bracket spindle. It is pivotal in converting the rider’s pedaling action into the motion that drives the bike forward.
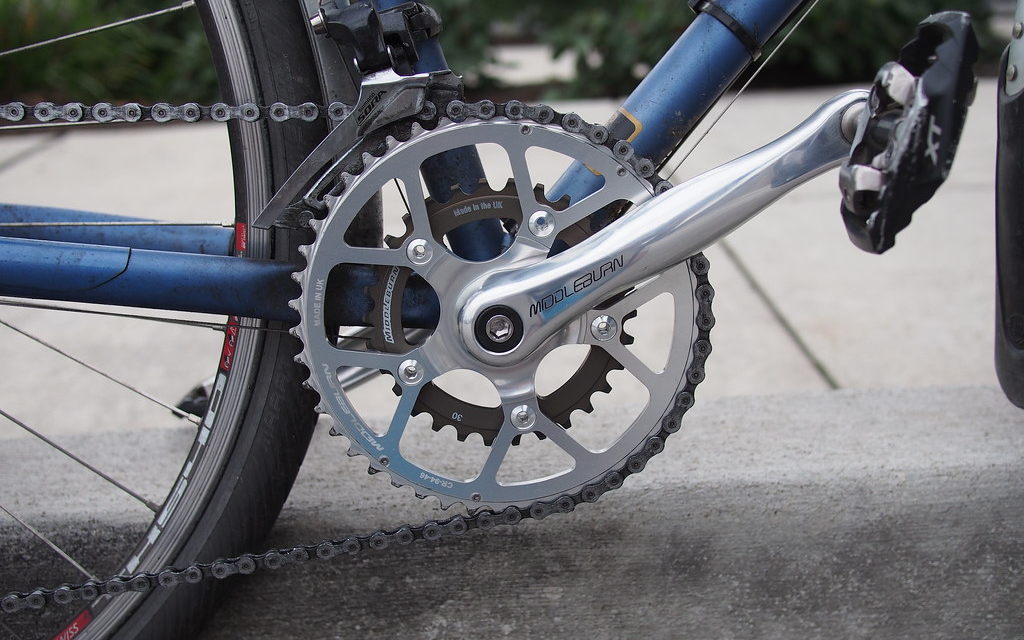
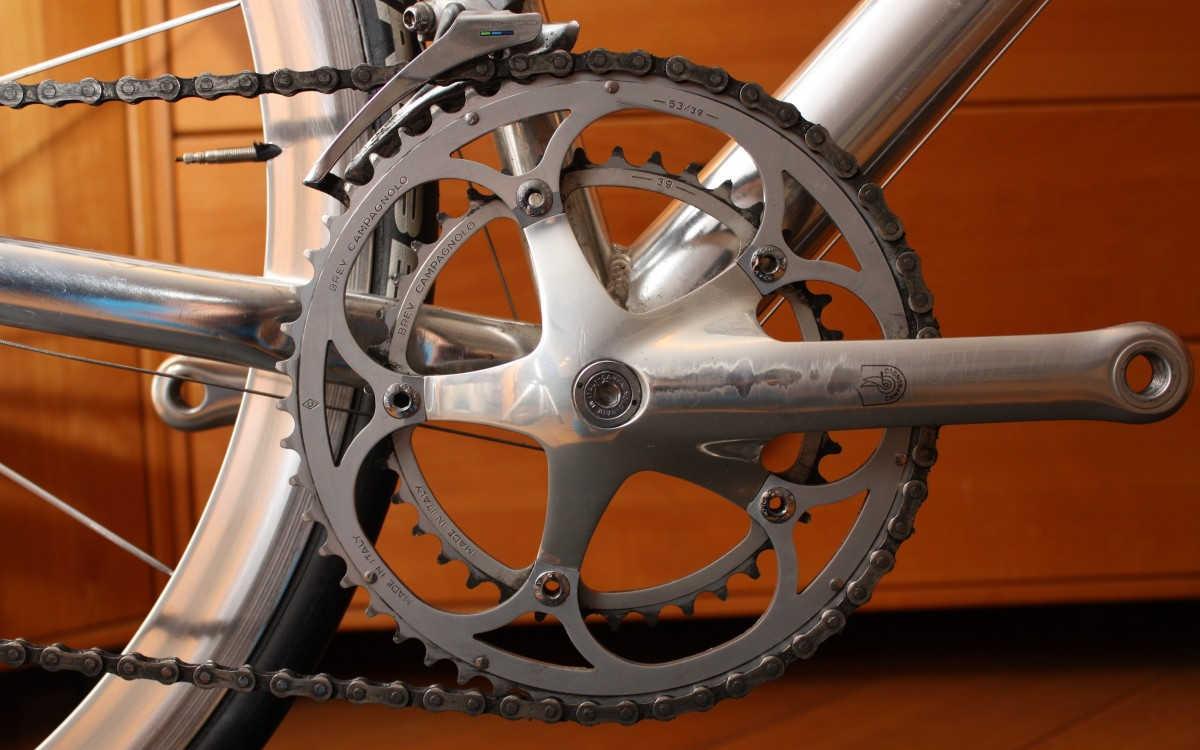
Cranksets come in various designs, but most share standard features such as chainrings, spider arms, and an integrated spindle or bottom bracket interface. The number and size of the chainrings can vary, with single, double, and triple chainring setups tailored to different riding styles and terrains.
Quality cranksets are typically made from durable materials like aluminum or carbon fiber to withstand the rigors of cycling while keeping weight low for efficient performance. Understanding the crankset’s function and features is crucial for any cyclist looking to optimize their ride.
Tools and Materials Required
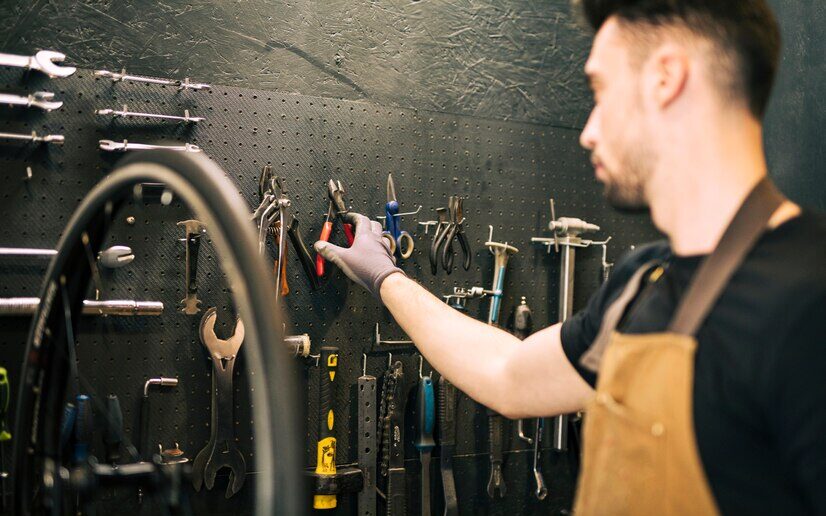
You’ll need a specific set of tools and materials to remove a bike crank efficiently and safely.
- The crank puller is indispensable for detaching the crank from the spindle,
- An adjustable wrench or a set of hex keys is necessary for loosening bolts.
- Lubricant is also crucial for easing the removal process and preventing corrosion.
- Safety gloves to protect your hands and safety glasses to shield your eyes from any debris.
Using the correct tools ensures a smooth operation and guards against damaging delicate bike components. It’s the difference between a quick maintenance task and a costly trip to the bike shop.
So, ensure your toolkit is ready before you start, and you’ll be set for a successful crank removal.
Preparation
Before removing the crank, prepare your workspace and bike. Begin by cleaning the crank area to prevent dirt from entering the components. Secure your bike in a stable position, ideally with a bike stand, to prevent it from shifting during the process.
Gather all necessary tools within reach to streamline the workflow. Inspect the crank for any visible damage or wear, which may affect the removal process. If you’re working with a quick-release system, ensure it’s fully disengaged before proceeding.
Double-check that you have the correct size tools for your bike’s specific crank model to avoid stripping bolts or damaging parts. Lastly, mentally walk through the steps of crank removal to anticipate any potential issues.
With these precautions, you’re set for a smooth and efficient crank removal.
How to Remove Bike Crank? Step-by-Step Guide
Removing the Crank Arm
How to remove a crank on a bike? It is straightforward, but it requires precision and the right tools. First, ensure you have a crank puller, a wrench, and a clean workspace. Begin by loosening the crank bolt with the wrench; this may require some force, so apply steady pressure.
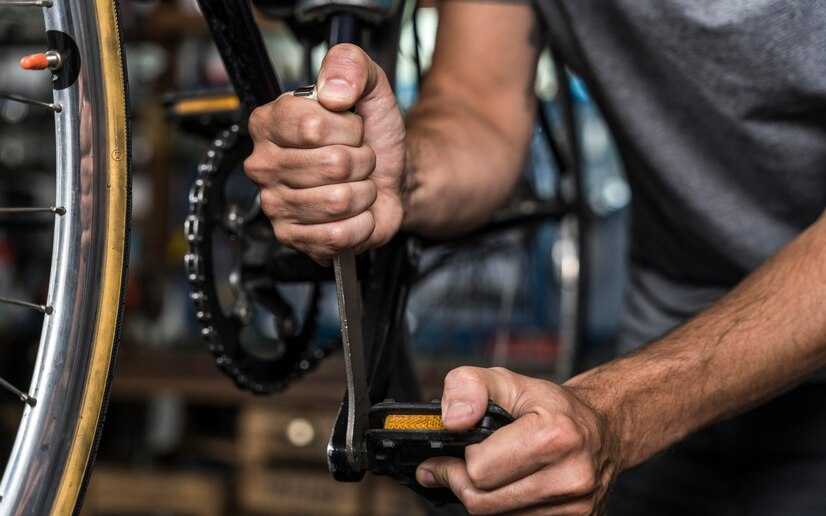
Once the bolt is removed, thread the crank puller into the arm. It’s crucial to thread it in straight to avoid damaging the threads. With the puller in place, turn its handle clockwise. As you turn, the puller’s internal mechanism will push against the spindle, gradually extracting the crank arm from its position.
Continue turning until the crank arm releases from the spindle. These steps must be performed carefully to maintain the integrity of the crank arm and spindle for future use. This efficient method preserves the components, making it a preferred choice for cyclists looking to perform maintenance or upgrades on their bicycles.
Remember to keep the workspace organized and the components clean for a smooth reassembly process.
Removing the Bottom Bracket
When it comes to bicycle maintenance, removing the bottom bracket requires knowledge of the bracket type and the use of specific tools. The first step is identifying whether your bike has a cartridge or external bearing bottom bracket.
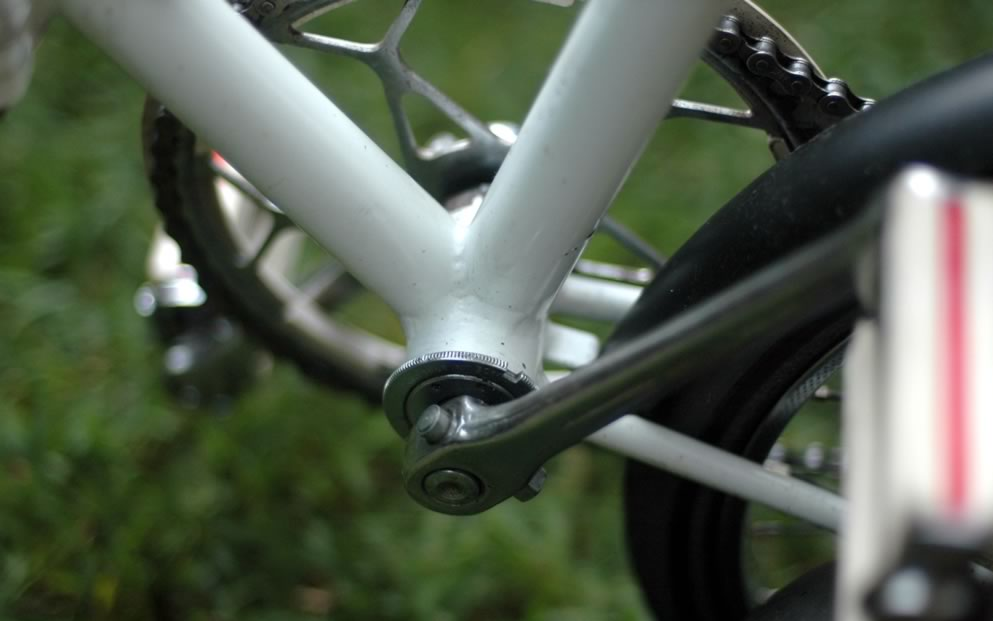
You’ll need a crank puller and a bottom bracket tool for a cartridge type that matches the make and model. After removing the cranks, insert the bottom bracket tool into the bracket’s notches and turn counterclockwise to loosen and remove.
A hollow tech wrench is necessary to deal with an external bearing bottom bracket. Secure it onto the bracket’s ring and rotate it counterclockwise. It’s essential to apply consistent pressure to prevent stripping the threads.
Once loosened, you can unscrew the bracket by hand. Always keep track of any washers or spacers for correct reinstallation. This procedure keeps your bike in optimal condition and ensures a smoother ride.
Proper removal and installation can extend the life of your bicycle, making it a critical skill for any cycling enthusiast. Remember, precision and patience will yield the best results in maintaining the heart of your bike’s drivetrain.
Inspecting the Crank & Bottom Bracket
Inspecting a bicycle’s crank and bottom bracket is crucial for ensuring a safe and efficient ride. After removal, closely examine the crank arms for any signs of stress, such as cracks or bending, which can compromise the bike’s performance.
Check the bottom bracket for smooth rotation; any grinding or resistance indicates worn bearings. Look for rust or corrosion on both parts, as these are telltale signs of wear. If the crank arms wobble or the bottom bracket has significant play, it’s time to consider a replacement.
Regular inspection helps detect issues early, preventing costly repairs and maintaining the bicycle’s longevity. Replacing these parts before they fail is advisable, as this can lead to further damage or, worse, an accident.
Keeping these components in top condition is vital to a bicycle’s reliability and a rider’s peace of mind.
Reassembling the Crank System
Reassembling the bicycle crank system is a meticulous process that ensures the bike operates smoothly. Start by positioning the bottom bracket, aligning it perfectly with the frame. Thread it carefully by hand to avoid cross-threading.
Once in place, use the appropriate tools to tighten it securely. Next, attach the crank arms, ensuring they are opposite each other at a 180-degree angle for proper balance. Slide them onto the spindle, making sure they fit snugly.
Tighten the crank bolts uniformly, checking for any play or misalignment. Achieving an even torque is essential to prevent stress on the components. Finally, reattach any chainrings, pedals, or washers that were removed.
A final inspection to confirm that all parts are secure and properly aligned will complete the reassembly. This attention to detail will prepare a reliable and efficient crank system for any cycling adventure.
Post-Removal Maintenance
Apart from learning how to remove a crank from a bike, you should be aware of post-removal maintenance. It is essential for ensuring longevity and optimal performance. Regularly inspect the crankset and bottom bracket for wear or damage, such as stripped threads or bent components.
Clean these parts with a degreaser and apply lubricant to moving parts to reduce friction and prevent rust. Check the tightness of all bolts and screws, as vibrations from riding can loosen them over time.
It may be time to replace the affected parts if you notice any irregularities during the inspection, such as roughness in the bottom bracket bearings or unusual noise. Adhering to a consistent maintenance schedule can avoid unexpected breakdowns and keep your bicycle running smoothly.
It’s also wise to consult with a professional mechanic periodically to ensure your maintenance routine is comprehensive and practical.
How to Remove Bike Crank Without Puller?
Following these steps, removing a bicycle crank without a puller is straightforward. First, loosen the bolt in the center of the crank using an Allen key or wrench. Next, unscrew the bolt entirely and set it aside.
Take a mallet and gently tap the crank arm away from the bike. If the crank doesn’t budge, apply penetrating oil around the crank bolt hole and let it sit for a few minutes to loosen any corrosion. Once the crank starts to move, gradually increase the force of your tapping.
Tapping evenly and directly is essential to avoid damaging the crank arm. After a few firm taps, the crank should slide off the spindle. Remember to keep all parts organized for reassembly and avoid using excessive force to prevent damage to the crank or bike frame.
You can successfully remove the crank without specialized tools with patience and care.
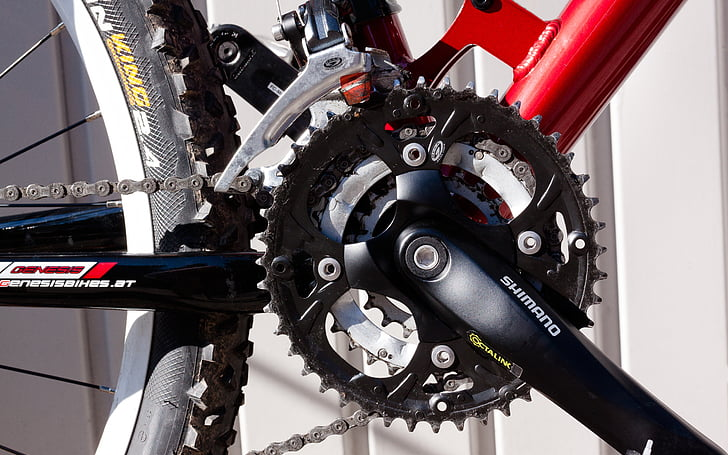
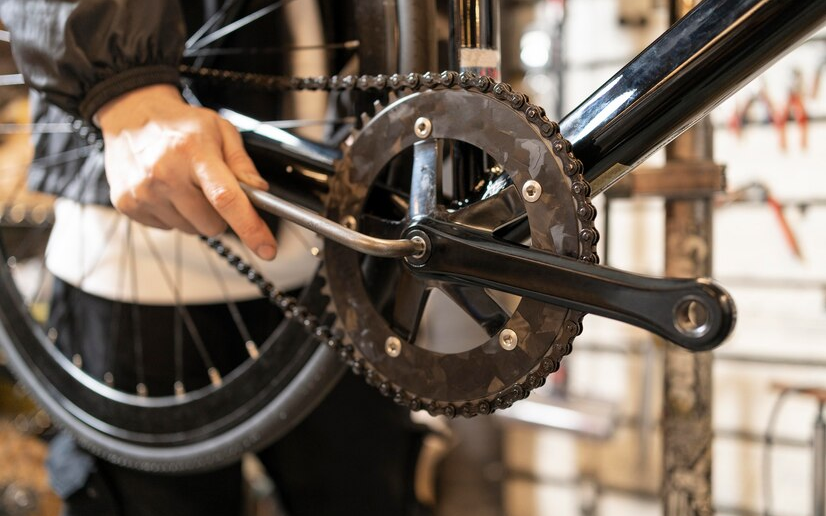
How to Know that Your Crankset Has Worn Out?
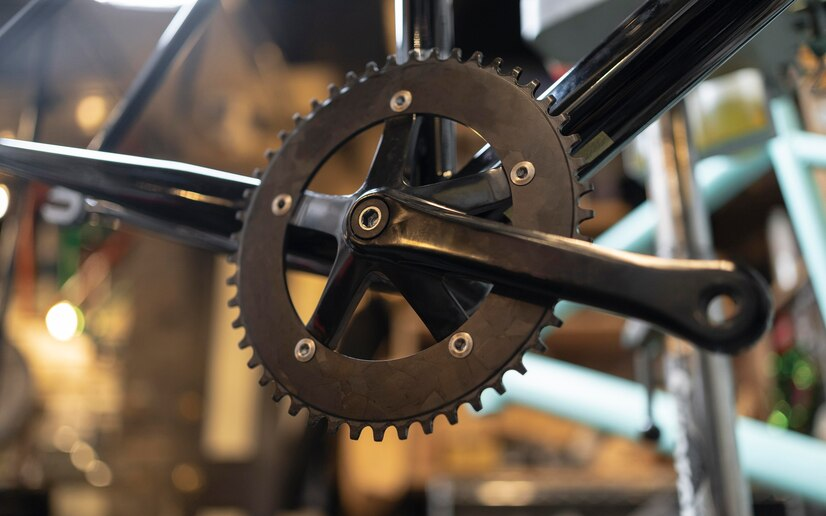
Identifying a worn-out bicycle crankset is crucial for maintaining optimal performance. Begin by inspecting the teeth on the chainrings; if they appear excessively thin, resembling sharp points rather than robust, flat-topped shapes, this indicates significant wear.
Additionally, check for any side-to-side movement or wobbling of the crank arms, which shouldn’t occur in a healthy crankset. Listen for unusual noises or creaking during pedaling, as these sounds can signal internal wear.
Another telltale sign is the difficulty maintaining consistent cadence, possibly due to worn bearings within the bottom bracket connected to the crankset. Regular inspection and timely replacement of the crankset will ensure a smooth ride and prolong the lifespan of your bicycle’s drivetrain.
By staying vigilant for these signs, you can promptly address wear issues and enjoy a safer, more efficient cycling experience.
Conclusion
Understanding how to remove bike crank is essential for proper bike maintenance. This knowledge saves time and prevents potential damage to your bicycle. It’s a skill that enhances the overall cycling experience and safety.
We invite you to share your crank removal stories or pose questions below. Your insights can help fellow cyclists, and together, we can foster a community of informed and proactive bike enthusiasts.
Remember, a well-maintained bike is a reliable companion on all your journeys. So, keep pedaling and maintain your bike with confidence!
FAQs
Remove Shimano cranks by unscrewing the bolts and using a crank puller to detach the arm from the spindle.
Remove bicycle crank bearings using a bearing puller or hammer and punch carefully.
No, bike crank bolts are not reverse threaded; they follow standard right-hand threading.
Crank pullers are not universal; ensure compatibility with your bike’s bottom bracket and crank type.