Do you want to teach your child how to ride strider bike in a fun and easy way? Strider bicycle is a balance bike that has no pedals or training wheels.
Instead, it relies on the kid’s feet to move and stop the bike. This way, the child can learn how to balance and steer without worrying about falling or pedaling.
Learning to ride a balanced bike can help your kid develop better balance, coordination, and confidence. It can also prepare them for future biking adventures.
This blog post will show you how to ride strider bike in seven simple steps, from adjusting the bicycle to adding pedals.
Contents
Getting Started
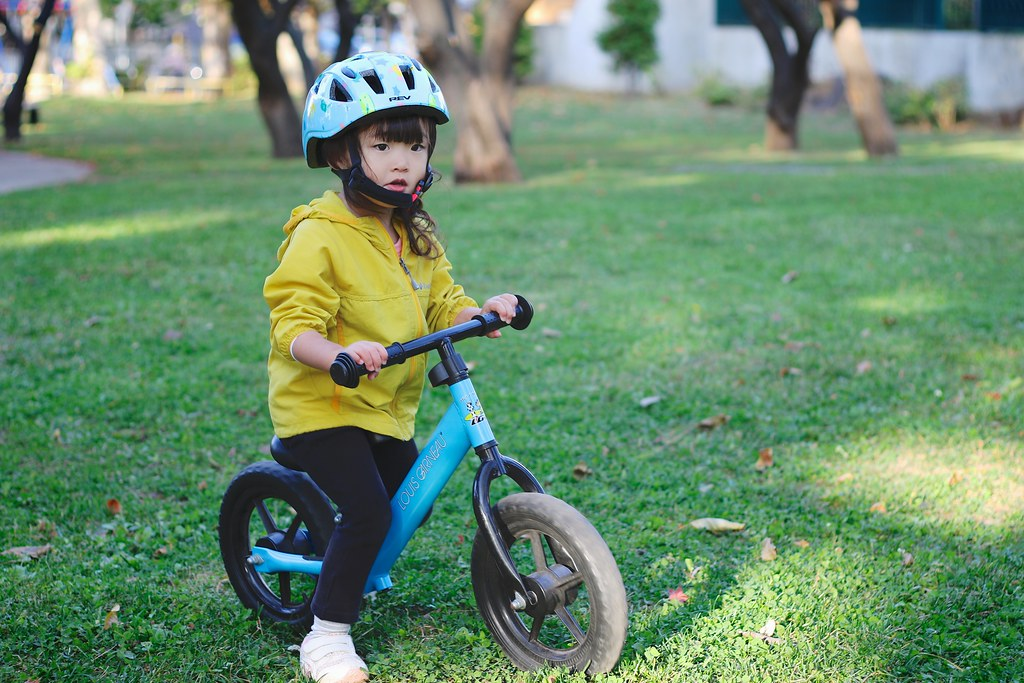
It can be a fun and rewarding experience to teach your kid to ride a strider bicycle. However, before you start, there are some things you should consider to ensure a safe and enjoyable learning process.
First, you should equip your kid with proper safety gear, such as a helmet, gloves, and knee pads. This will protect them from injuries and boost their confidence.
Second, you should choose an appropriate riding environment, such as a flat, smooth, and open area. This will help them practice their balance, steering, and speed control without distractions or obstacles.
By following these tips, you can make your kid’s balance bike journey a smooth and successful one.
How to Ride Strider Bike?
Here are the 7 steps to teach a kid how to ride a balance bike:
Step 1: How Do I Set Up a Balance Bike Properly?
Adjust the Bike
The first step to ride a strider bicycle is to adjust the seat of the bicycle so that both of the kid’s feet are flat on the ground and there is a slight bend in the knee. This will ensure that the kid can comfortably and safely control the bike.
Having the right seat height is crucial for learning to balance and steer. To adjust the seat, you will need to measure the child’s inseam, which is the length from the crotch to the floor. You can use a tape measure or a book to do this.
Then, you can use the quick-release clamp on the seat post to loosen or tighten the seat until it matches the child’s inseam. You can also check the seat height by having the kid sit on the bicycle and see if their feet touch the ground.
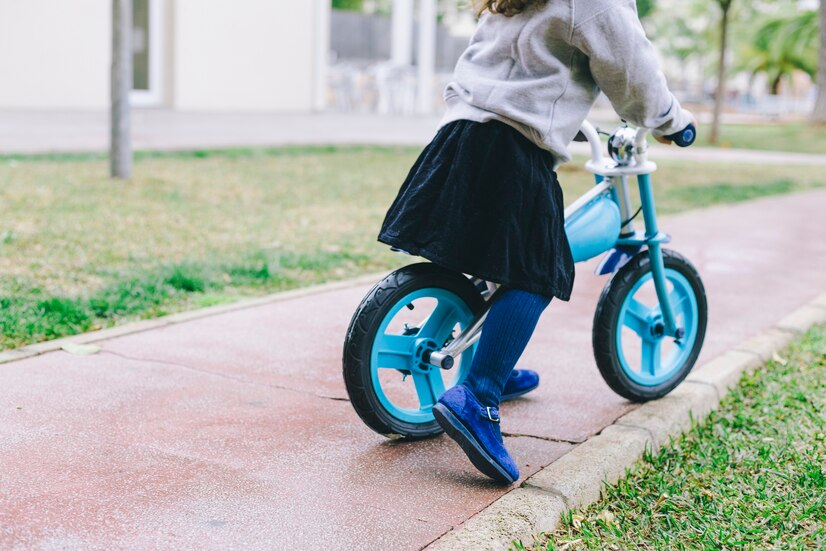
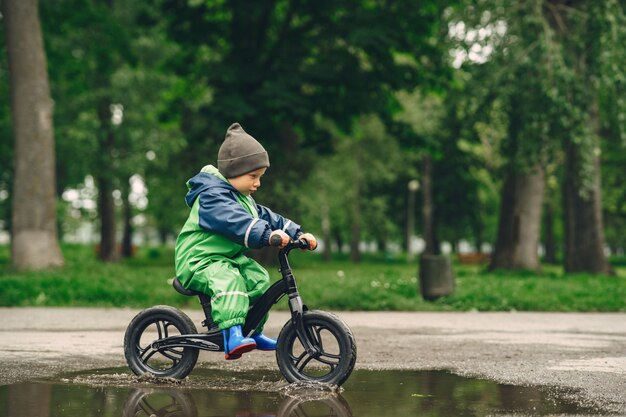
Step 2: Stride
The second step is to stride on the bike, which is the process of walking or running with the bike while sitting on the seat. This will help the child develop balance, steering, and speed control. Striding is the foundation of riding a balance bicycle.
The kid should hold the handlebars with both hands and sit on the seat to stride. Then, they should use their feet to push the bicycle forward and backward.
It is also essential to practice turning the handlebars left and right to steer the bicycle. They should start with slow and short strides and gradually increase their speed and distance.
To encourage the kid to stride, you can use a gentle slope, play games, or set goals. For example, you can find a small hill and let the child roll down with the bicycle.
You can also play follow the leader, tag, or obstacle course with the bike. You can also challenge the child to stride for a certain time or distance.
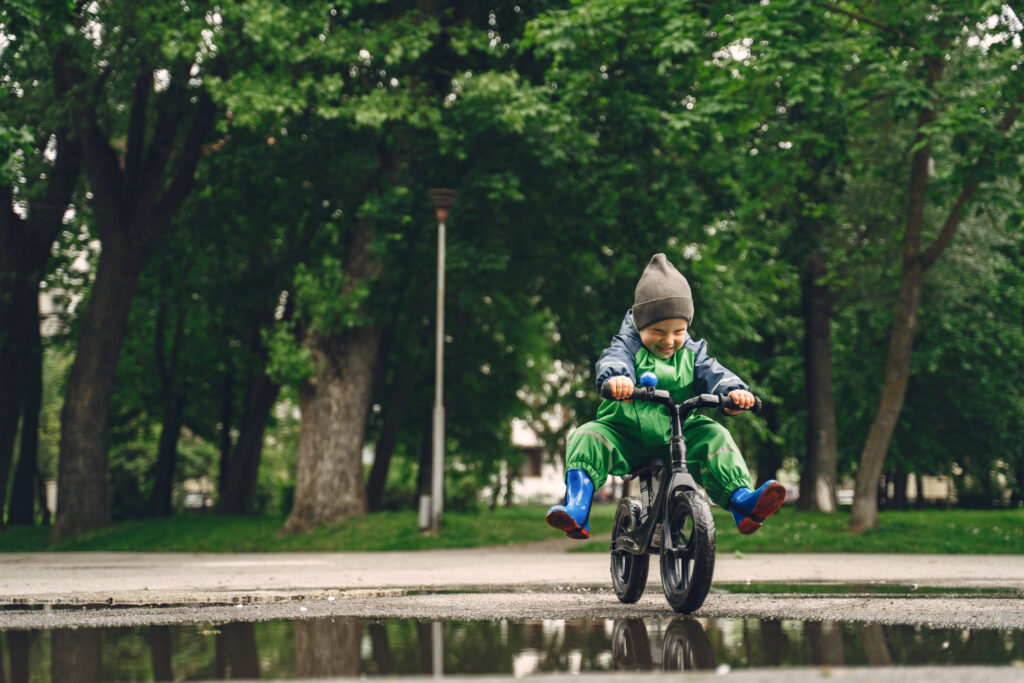
Step 3: Glide
Another step is to glide on the bike, which is the process of lifting both feet off the ground and coasting with the bicycle. This will improve the child’s balance, coordination, and confidence.
The kid should start with striding and then lift their feet off the ground and tuck them under the seat. They should keep their eyes forward and their body relaxed.
Moreover, they should also hold the handlebars lightly and lean slightly forward. They should try to glide for as long as possible and then lower their feet to stop.
To teach the kid to glide, you can use a flat surface, hold the handlebars lightly, and lean slightly forward. You can also use a flat surface, such as a parking lot, a playground, or a sidewalk.
Another option is to hold the handlebars lightly and let the child feel the balance of the bike. You can also lean slightly forward and show the child how to shift their weight.
Step 4: Turn
The fourth step is to turn on the bike, which is the process of using the handlebars and body weight to change direction. This will enhance the child’s steering, agility, and awareness. Turning is an essential skill.

To learn to turn, the child should start with gliding and then turn the handlebars in the direction they want to go. They should also lean their body slightly in the same direction.
The kid should avoid turning too sharply or too slowly. They should also look ahead and scan the surroundings for potential hazards.
To practice turning, you can use cones, curves, or obstacles to create a course. For example, you can set up cones in a zigzag pattern and have the child weave through them.
You can also find a curved path, such as a sidewalk, a trail, or a track, and have the child follow it. You can also place obstacles, such as toys, boxes, or rocks, and have the child avoid them.
How Does a Child Stop on a Balance Bike?
Step 5: Stop
The next step is to stop on the bike, which is the process of using the feet and brakes to slow down and stop. This will teach the kid speed control, safety, and responsibility. Stopping is a vital skill.
The kid should start with gliding and then lower their feet to the ground and drag them to slow down and stop. They should also use the rear brake, if available, to assist in the stopping process.
Then, apply gentle pressure on the brake lever and avoid squeezing it too hard. They should also keep their balance and steer the bicycle straight.
To stop, one can employ a combination of techniques, including the use of the rear brake, lowering the feet, and applying gentle pressure. Practicing stopping at varying speeds and distances contributes to skill mastery.
Furthermore, setting up markers such as stop signs, lines, or targets can offer practical scenarios for the child to practice stopping before or on them. Introducing activities like red light, green light, or incorporating a Simon says element while on the bicycle can add an engaging dimension to the learning process.
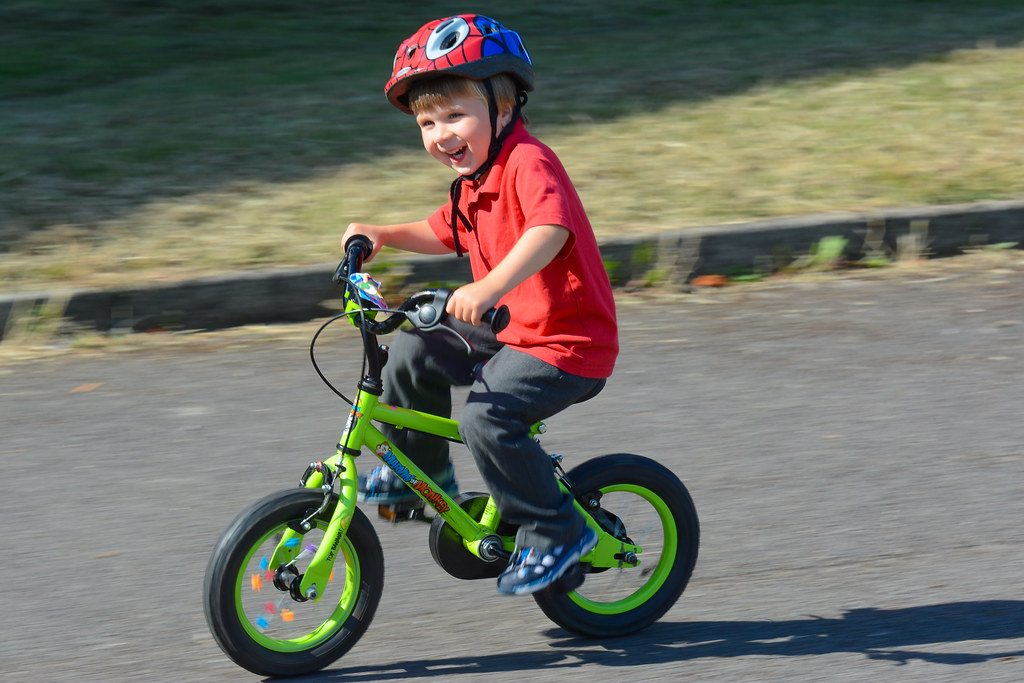
Step 6: Pedal
Now, it’s time to level up to start pedaling, this is the process of adding pedals to the bike and using the feet to propel the bicycle forward. This will increase the child’s speed, endurance, and fun. Pedaling is the final step.
The kids should start with gliding and then place their feet on the pedals. They should then push one pedal down and then the other in a circular motion. Additionally, they must keep their balance and steer the bicycle as usual.
To transition to pedaling, you can use the pedal kit, find a safe area, and start with gliding. You can also use the pedal kit that comes with the balance bicycle or buy it separately.
In addition, you can find a safe and flat area, such as a park, a field, or a driveway. You can also start with gliding and then gradually introduce the pedals.
How Much Time Does a Kid Take to Learn a Balance Bike?
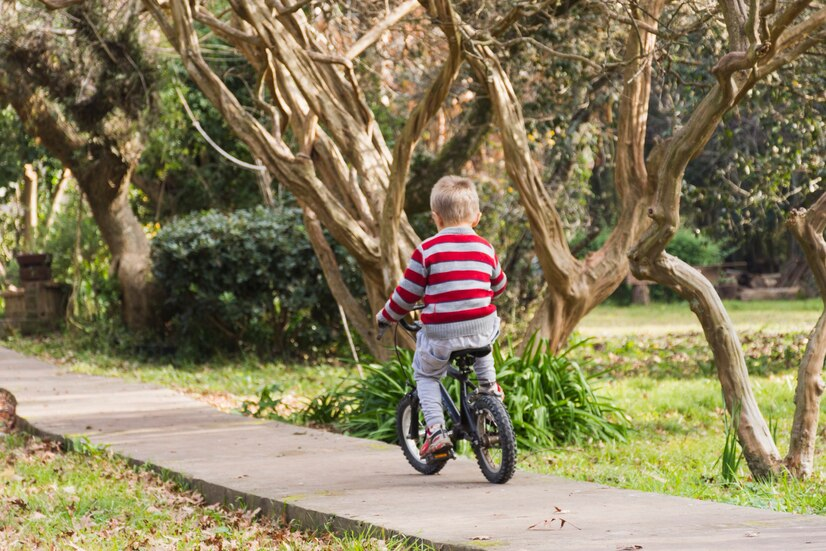
Step 7: Keep Practicing
The final stage is practicing. This will help the child master the skills and enjoy the ride. To keep practicing, the kid should ride regularly and consistently.
The kid must try new challenges and explore new places, as well as be ready to upgrade to a bigger bicycle when they outgrow the balance bicycle.
To motivate the kids to keep practicing, you can join them, praise them, or reward them. You can also join them and ride your bicycle with them.
You can also praise them and acknowledge their progress and improvement, or reward them with stickers, certificates, or treats.
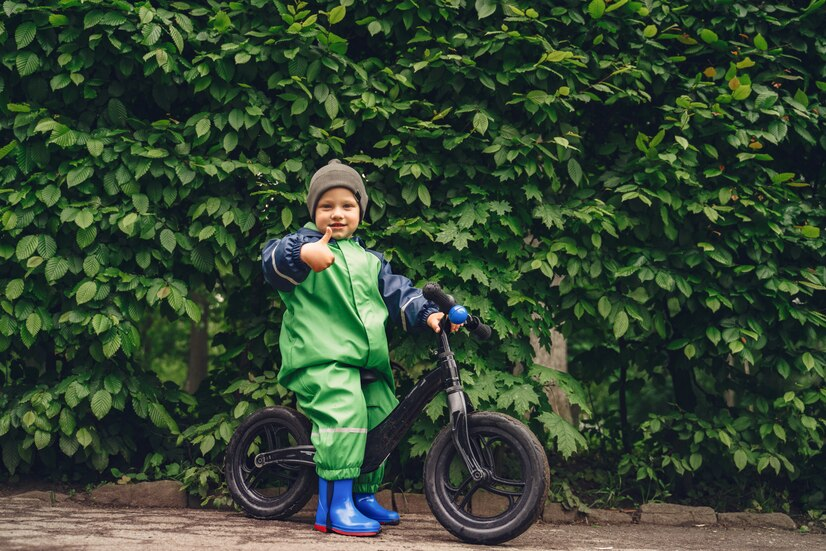
What About Falling off a Balance Bike?
Falling off a balance bicycle is inevitable, but it is not as scary as it sounds. Balance bicycles are designed to be low to the ground, so the child can easily stop and catch themselves with their feet. Most falls are minor and do not cause serious injuries.
However, to prevent or reduce the risk of falling, parents should always supervise their child, make sure they wear a helmet and gloves, and choose a safe and smooth riding area.
By following these tips, parents can help their kids enjoy the fun and benefits of riding a balance bicycle.
Conclusion
We discussed how to ride strider bike in seven simple steps, from adjusting the bike to pedaling. We hope this guide helps you and your child enjoy the fun and benefits of riding a balance bike.
Learning this skill can help your kid develop better balance, coordination, and confidence. It can also prepare them for future biking adventures. If you still have any confusion or question, make sure to ask us in the comments.
FAQs
Limited use on uneven terrain, potential for scratches, and some models lack hand brakes.
Kids usually use them for 1 to 3 years, depending on age, confidence, and skill development.
Strider bikes generally don’t have traditional brakes. Kids learn to stop using their feet to promote balance development.
Yes, balance bikes enhance motor skills, confidence, and an easy transition to pedal bikes, making them a valuable investment.