For cyclists, encountering a bent bike rim can be a frustrating setback. However, knowing how to straighten a bike rim is a vital skill that can save both time and money in the long run.
A bent rim can arise from everyday mishaps such as hitting a pothole, navigating rough trails, or an accidental impact against a curb. Whether it’s from a minor bump or a more significant collision, a bent rim can lead to wobbly rides and compromised safety.
In this guide, we’ll dive into the essential techniques for straightening a bike rim, covering methods with and without specialized stands. By following these steps, you can ensure your wheels remain true, resulting in smoother rides and prolonged bike performance.
So, let’s roll up our sleeves and explore the step-by-step process of straightening a bike rim!
Types of Bike Rims
Bike rims come in various materials, each offering distinct advantages and challenges.
- Aluminum Rims: These are widely favored for their balance of weight, cost, and performance, making them a versatile choice for both casual riders and professionals. They’re known for good heat dissipation during braking and are generally more affordable than other types. However, they can dent more easily than heavier options.
- Carbon Fiber Rims: These stand out for their stiffness and lightness, which translate into faster acceleration and a competitive edge. They provide a smoother ride by absorbing road vibrations. Despite these benefits, carbon rims can be costly and less durable in rough conditions.
Signs of a Bent Rim
Detecting a bent bike rim early is crucial for maintaining optimal performance and safety. The most apparent sign is a wobble or vibration when riding, which you can often feel through the handlebars or seat.

Another telltale indicator is brake pad rubbing, which occurs because the rim isn’t rolling evenly, causing intermittent contact with the brake pads. This not only affects your ability to brake smoothly but can also lead to further damage to the rim and brake system.
Additionally, a visual inspection might reveal uneven wear on the tire, which stems from inconsistent contact with the road. Ignoring these signs can compromise the bike’s handling and increase the risk of accidents.
Tools & Materials Needed
To start with the process of learning how to make a bike rim straight effectively, you’ll need these tools:
- Spoke Wrench
- Truing Stand
- Lubricant
- Clean Rag
- Replacement Spokes and Nipples
How to Straighten a Bike Rim?
A bent bike rim can be a cyclist’s nightmare, causing wobbles, instability, and potential safety hazards. However, fear not, as straightening a bike rim is a manageable task with the right tools and techniques.
In this step-by-step guide, we’ll walk you through the process of straightening a bike rim, whether you have access to a specialized stand or not. By following these instructions carefully, you’ll be back on the road with smooth, reliable rides in no time.
How to True a Bike Wheel with a Stand?
Follow these steps to find out how to straighten a bent bike rim:
Prepare Your Workspace
Preparing your workspace is a pivotal step before straightening a bicycle rim. Choose an area that is well-lit and has a flat surface to ensure stability and visibility while working. Space should be ample enough to accommodate your tools and allow for easy movement around the bike.

Prioritize safety by wearing protective gloves to shield your hands from sharp edges and grease. Eye protection is also essential to guard against any debris that might dislodge during the repair process.
Keep your tools organized and within reach to streamline the workflow. By setting up an orderly and secure environment, you can focus on the task at hand with greater precision and care, ensuring a successful rim straightening experience.
Inspect the Rim
Begin inspection by cleaning the rim to remove any dirt or debris that could obscure damage. Examine the entire circumference, paying close attention to the inner and outer edges where bends often occur.

Use a reliable straight edge or rim gauge to check for flatness; any deviation could indicate a bend. Focus on the bead seat — the area where the tire meets the rim — as imperfections here can cause air leaks.
Look for signs of impact, such as dents or cracks, particularly near the spokes or where the rim may have struck a curb. If you find areas that are not true, mark them for correction.
Professional straightening is advised, as precision is key to maintaining the integrity of the rim and ensuring a safe, smooth ride.
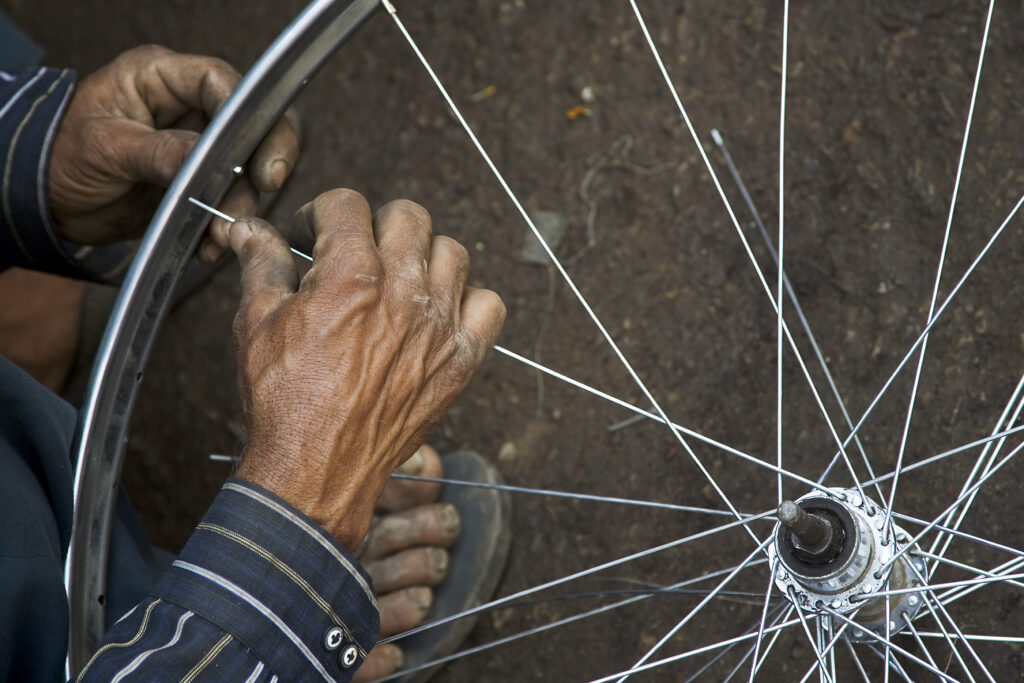
Loosen Spokes
When addressing a bend in the wheel, locate the affected area and identify the spokes that require loosening. Using a spoke wrench, turn the nipple counterclockwise, but be cautious to make only minor adjustments.

A quarter turn can significantly alter tension, so proceed with care. It’s crucial to loosen the spokes incrementally to prevent further warping of the wheel. After each adjustment, check the wheel’s alignment with a truing stand or by spinning the wheel in the frame.
The goal is to achieve uniform tension across all spokes, ensuring the wheel rotates evenly without wobbles.
Use a Truing Stand
A truing stand is an indispensable tool for achieving the perfect alignment of your bicycle wheel. Start by securing the wheel in the stand, ensuring it is centered. The wheel should be mounted so that it mimics its position on the bike, with the right side of the wheel on the right side of the stand.
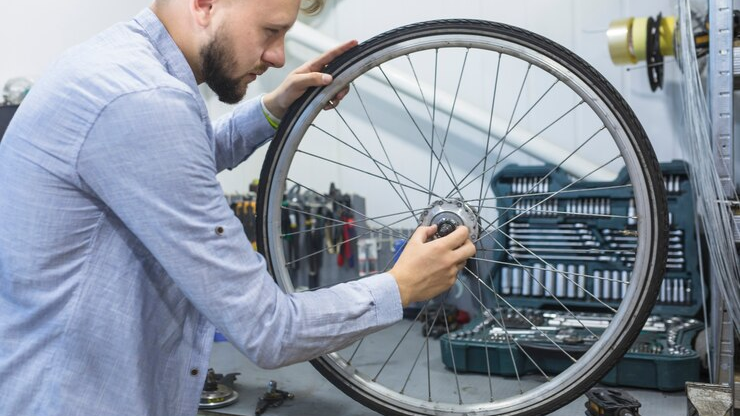
Adjust the calipers to lightly touch the rim, and spin the wheel to pinpoint the areas of deviation. As the wheel rotates, the stand’s indicators will show where the rim moves away from the centerline. Make note of these spots for correction.
It’s important to keep the calipers at a consistent distance from the rim to ensure accurate readings. With the wheel in the correct position, you can proceed to tighten or loosen the spokes as needed to straighten the rim, turning it into a true circle for a balanced ride.
Straightening Process
Straightening a rim is a meticulous task that requires a careful approach to restore its proper shape. Begin by identifying the misaligned sections of the rim. For minor bends, use a rim straightener tool, applying gentle pressure to nudge the rim back into place.
It’s crucial to work slowly, making slight adjustments and frequently checking the alignment with a truing stand. For more pronounced bends, a hydraulic rim straightener may be necessary. This tool allows for controlled, precise pressure to be applied, gradually bringing the rim back to its original contour.
Throughout the process, it’s important to avoid forceful bending, as this can weaken the rim’s structure. Instead, focus on progressive, even pressure to ensure the rim maintains its strength and integrity.
With patience and the right technique, both minor and significant bends can be corrected, resulting in a true and balanced wheel.
Tighten Spokes
Tightening spokes is a critical step in wheel maintenance, ensuring stability and performance. Begin by inspecting each spoke for uniform tension, using a spoke tension meter for accuracy. Adjust the nipples with a spoke wrench, turning clockwise in small increments, no more than a quarter turn at a time.
Work in a pattern around the wheel, tightening opposite spokes to maintain balance. It’s vital to frequently check the wheel’s trueness, making adjustments as needed. Aim for equal tension across all spokes, as this distributes stress evenly, preventing warping and ensuring longevity.
Avoid overtightening, which can lead to spoke breakage or rim damage. By methodically adjusting the tension, you’ll enhance the wheel’s structural integrity and ensure a reliable, smooth cycling experience.
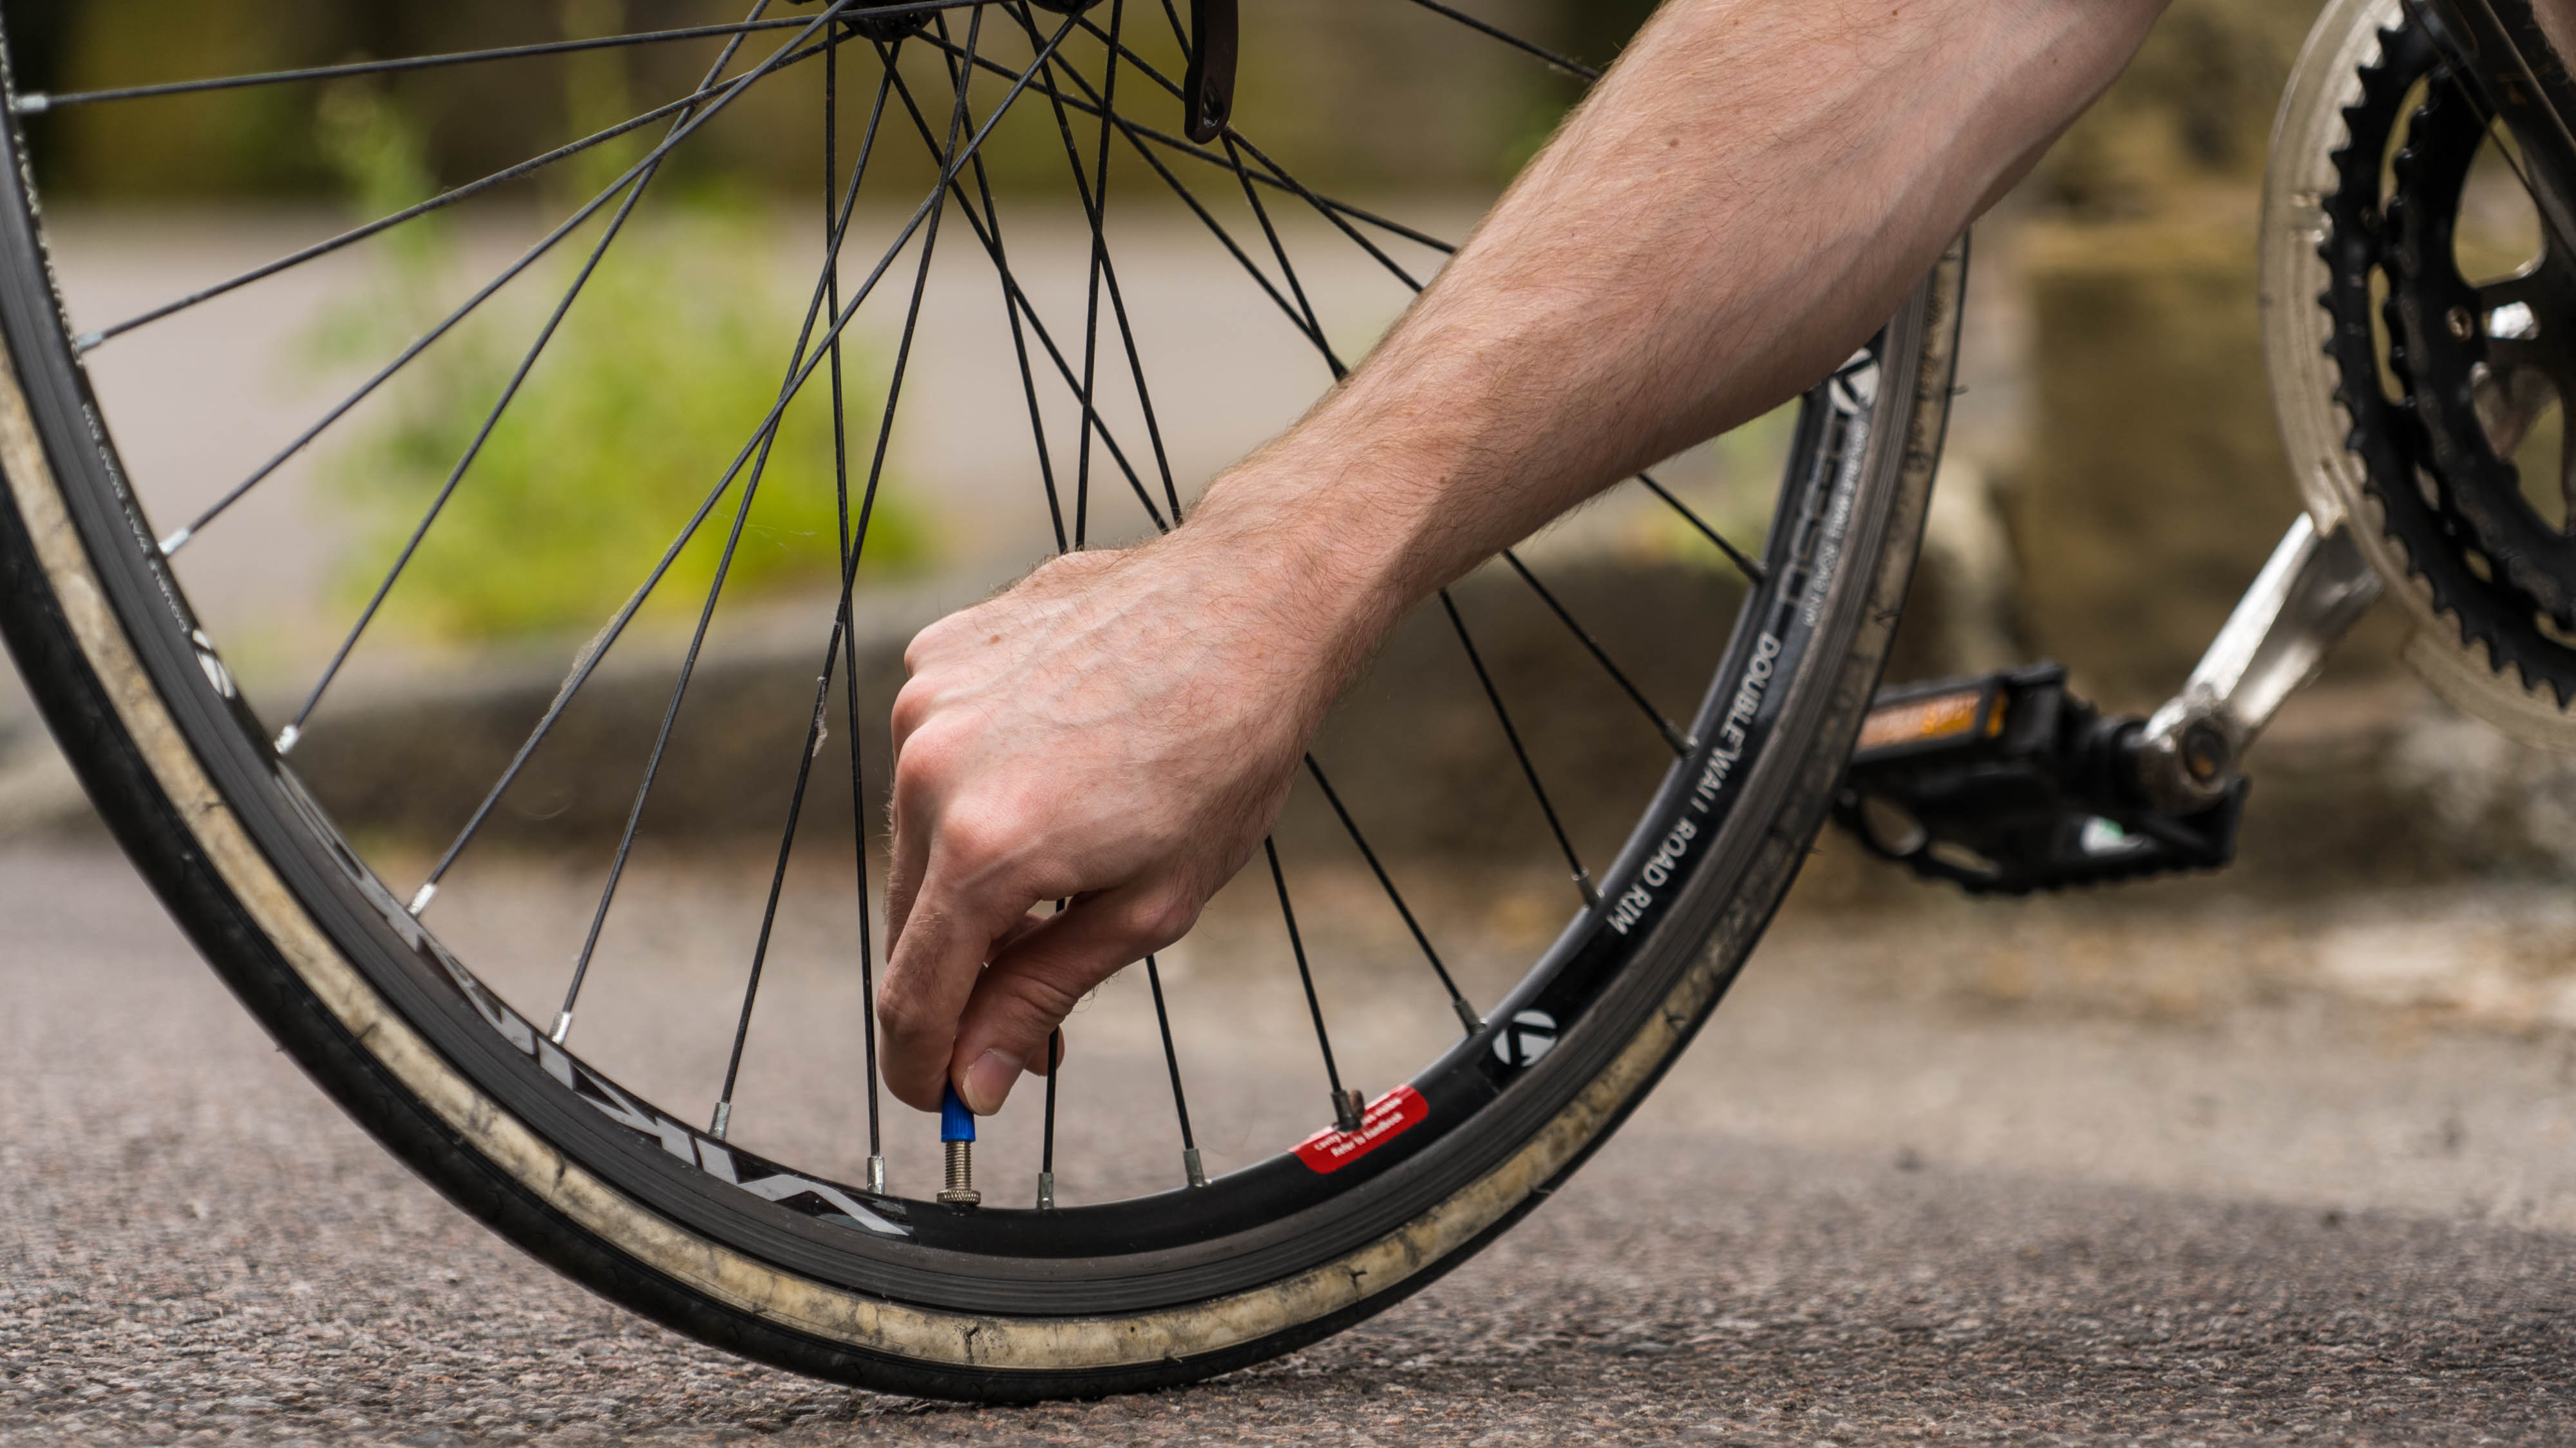
Check Alignment
To ensure the precision of a wheel, checking the alignment of the rim is crucial. Begin by spinning the wheel and observing it from a fixed point; any lateral movement indicates misalignment.

Feel along the rim’s edge for inconsistencies as it rotates. If adjustments are necessary, use a spoke wrench to gently tighten or loosen the spokes, affecting the tension and altering the rim’s trajectory.
Rotate the wheel after each adjustment to assess the impact. This methodical approach allows for incremental changes, ensuring the wheel’s true alignment. Remember, patience is key; hasty adjustments can lead to further misalignment.
Aim for uniform tension across all spokes for optimal performance and longevity of the wheel. This process not only enhances the wheel’s functionality but also contributes to a safer and more enjoyable cycling experience.
Test Ride and Adjustments
A test ride is a definitive step to assess the true alignment of a bicycle’s wheels. After meticulous straightening, mount your bike and take it for a spin. Notice how it handles; a well-aligned wheel will offer a smooth, stable journey.

If you detect any irregularities, such as wobbling or resistance, it’s time for fine-tuning. Return to your workspace and make slight adjustments to the spokes, ensuring even tension. This can be a trial-and-error process, so repeat the test ride as needed.
Each ride brings you closer to the pinnacle of cycling efficiency. By honing in on these details, you elevate the bike’s performance, ensuring a ride that’s both exhilarating and secure.
How to True a Bike Wheel Without a Stand?
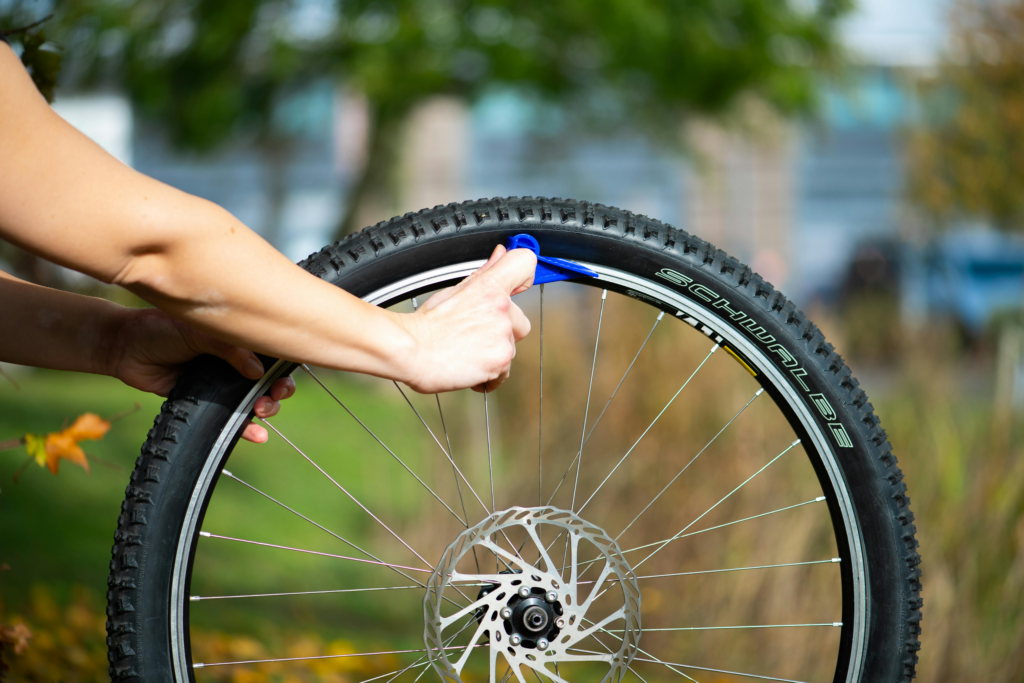
Learning how to straighten a bike rim at home can be a straightforward process with the right technique. First, flip the bike upside down, resting it on the seat and handlebars. Spin the wheel and look for wobbles.

Use brake pads or zip ties attached to the frame as a reference point for detecting irregularities. When a section of the wheel moves closer to the brake pad, it indicates a need for adjustment.
Tighten or loosen the spokes connected to the wobbly section using a spoke wrench; this will pull the rim toward the desired direction. Perform minor adjustments and spin the wheel after each tweak to check progress.
Continue this process until the wheel spins without significant lateral movement. This method, while not as precise as using a truing stand, can effectively maintain wheel alignment and ensure a smoother ride.
Conclusion
Learning how to straighten a bike rim involves careful observation and precise adjustments. Begin by inspecting the rim for bends or wobbles, then methodically adjust the spoke tension to correct any misalignment.
This process not only restores the wheel’s shape but also enhances your ride’s quality and safety. Regular maintenance is essential to prevent issues from escalating, and seeking professional assistance for intricate repairs can ensure longevity and optimal performance.
We invite cyclists to contribute your insights and strategies for rim care, fostering a community of shared knowledge and passion for cycling. Together, we can keep our wheels turning smoothly on every journey.
FAQs
Straightening a bike rim at a shop typically costs between $10 to $30.
Riding a bike with a bent rim can cause further damage, affecting stability and safety.
Yes, truing a bike wheel is worth it for improved stability and ride efficiency.
Unbending a bike frame is often not recommended; aluminum frames can’t be straightened once bent.