For every cyclist, the journey to mastering bike maintenance begins with the chain – the heart of your bike’s drivetrain. Its condition is pivotal to the smoothness of your ride and the longevity of your gear system, making it essential to know how to take a chain off a bike.
Learning this skill empowers you to perform essential upkeep and equips you with the knowledge to confidently handle mid-ride mishaps. Whether you’re a daily commuter or a weekend warrior, this skill ensures you keep the wheels turning and the adventures rolling.
So, let’s gear up to understand how to take a chain off a bike to ensure your cycling escapades are never cut short by a mechanical snag.
Tools & Materials Required
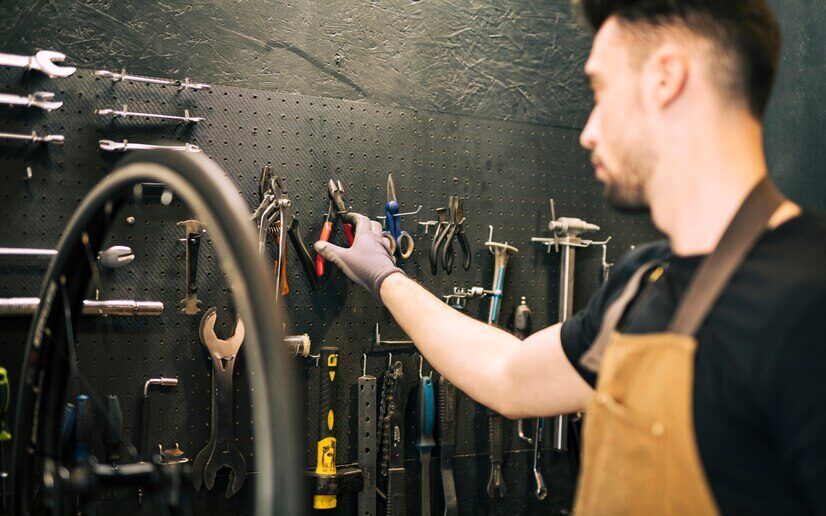
Equipping yourself with the proper tools is the first pedal stroke towards efficient bike chain removal. The following are the must-have tools:
- Master Link Pliers
- Chain Tool
- Clean Rag
- Lubricant
Having these tools at hand is not just about convenience; it’s about ensuring the integrity of your bike’s components. The right tools minimize the risk of damage and ensure the task is completed correctly and safely.
As you gather your toolkit, remember that quality tools can distinguish between a smooth ride and a roadside breakdown. So, invest in reliable tools and ride with the assurance that you’re prepared for any chain-related challenge that may come your way.
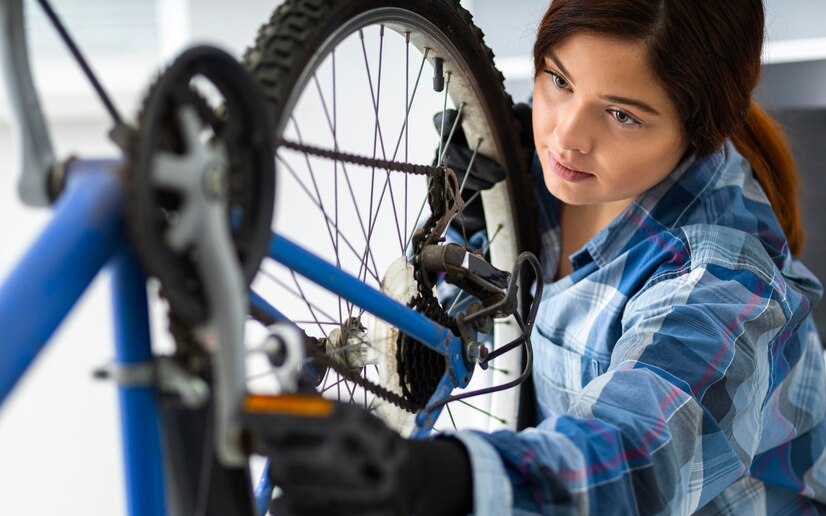
Preparation
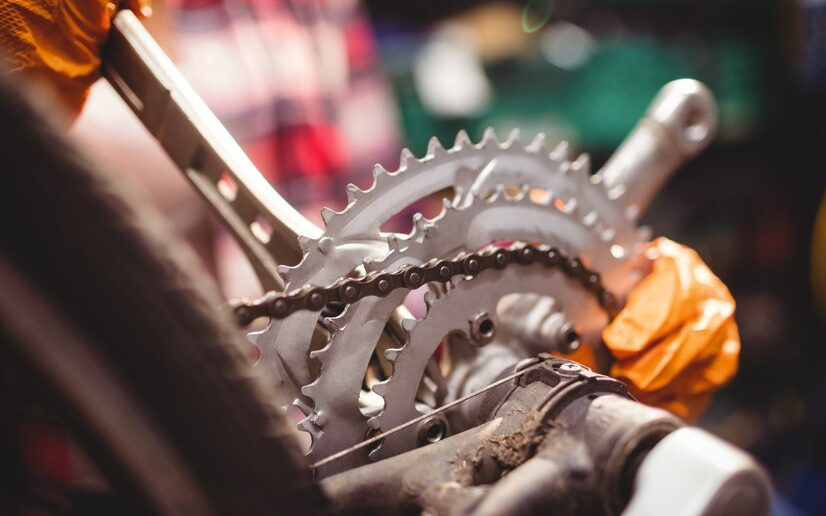
Before you begin removing a bike chain, setting the stage for a safe and efficient process is essential. Start by donning sturdy gloves to shield your hands from grease and potential pinches.
Secure your bike in a stand or flip it upside down, ensuring it won’t wobble as you work. Select a well-lit area with ample space to maneuver, preferably with a clean, flat surface to lay out your tools and components.
Clear the workspace of debris that could interfere with the task or damage the bike’s parts. By preparing your environment and yourself, you’re not just preventing accidents but also creating a conducive setting that will streamline the maintenance procedure, making it a hassle-free experience.
Remember, a little prep goes a long way in keeping both you and your bicycle in top condition.
How to Take a Chain Off a Bike? Step-by-Step Guide
Identify the Type of Chain
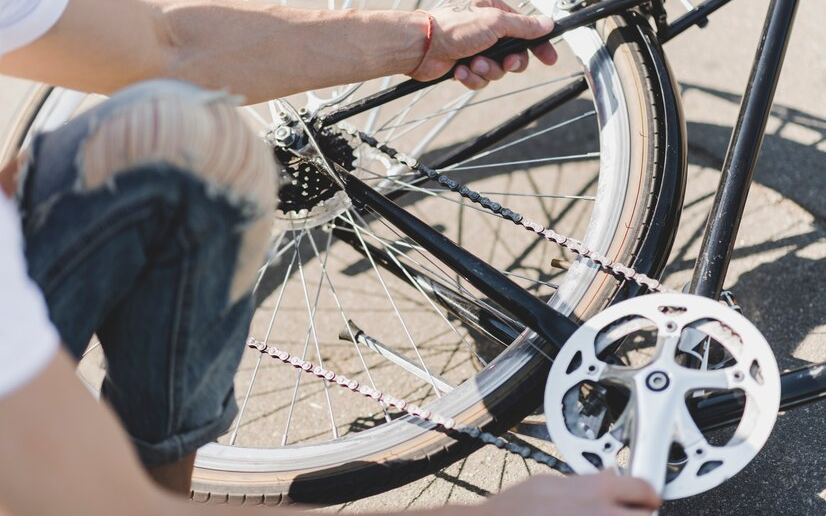
Identifying the chain type on your bicycle is a critical step in proper bike maintenance. Most road and mountain bikes use derailleur chains, which are designed to handle multiple gears and are typically narrower than other types.
Single-speed bikes and BMXs often employ single-speed chains, known for their more comprehensive links and robustness. When inspecting your chain, look for a master link; it’s a distinctive link that differs in appearance from the others, often with a pin or plate that stands out.
This unique link is a telltale sign of a removable chain, which can be detached without a tool. If your chain lacks a master link, it’s likely a non-removable type, which requires a chain tool to push out a pin for disassembly.
Knowing your chain type is crucial for effective maintenance and will help you select the right tools for the job.
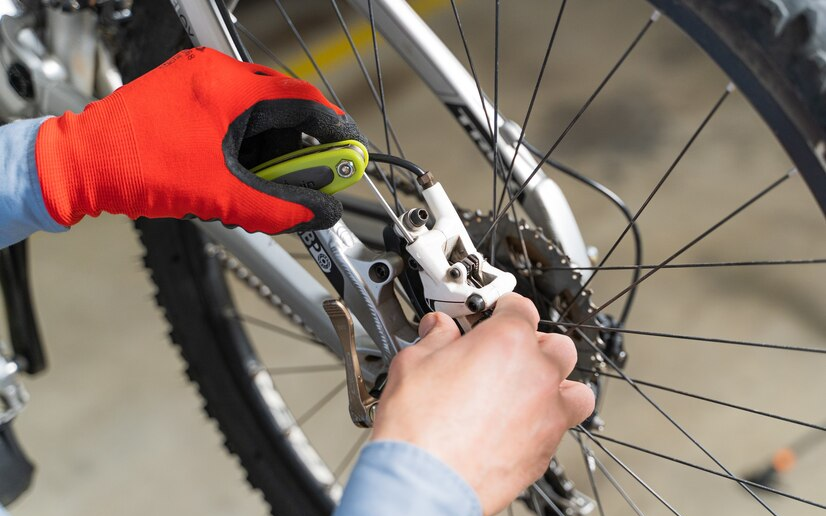
How to Remove a Bike Chain With a Master Link?
Removing a bike chain with a master link is straightforward, but precision is critical. Begin by locating the master link on your chain, usually marked by a different color or an external plate with a clip.
Position the master link pliers so that the jaws align with the rollers on either side of the master link. Gently squeeze the handles to push the pins together, releasing the link. Some master links have a locking mechanism that requires you to slide them laterally after pinching.
Once disengaged, the chain should separate easily, allowing you to remove it from the bike. It’s essential to handle the master link carefully to avoid damaging it, as you’ll need it to reassemble the chain. With the proper technique, your chain will be off quickly and ready for maintenance or replacement.
How to Remove a Bike Chain Without a Master Link?
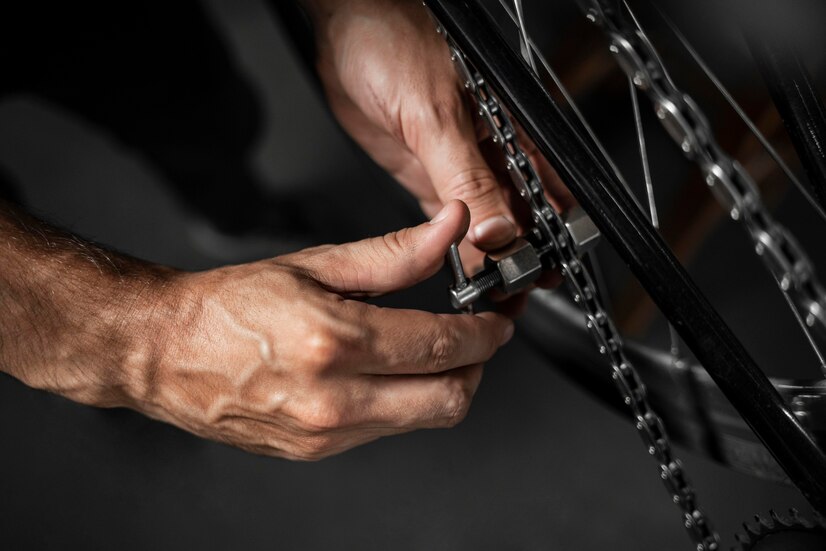
Removing a bike chain without a master link requires a chain tool, which pushes the pins out of the chain links. Begin by positioning the chain within the tool’s jaws and aligning the tool’s pin with a chain pin.
Turn the handle clockwise, pushing the pin out just enough to separate the chain without obliterating it. This prevents the link from falling apart and makes reassembly easier. Once the pin is partially out, slightly twist or bend the chain to disengage the links.
To rejoin the chain, align the links and push the pin back using the chain tool. Ensure the pin is flush with the chain’s outer plates for a secure fit. Regular maintenance and proper lubrication will keep the chain flexible, allowing for smoother removal and installation.
This method is straightforward and efficient, ensuring cyclists can quickly resume their rides.
Tips for Easy Chain Removal
For effortless bicycle chain removal, consistent maintenance is vital. You must make sure to clean the bike chain and lubricate it properly. This not only facilitates easy disassembly but also enhances overall performance.
Before removing the chain, apply a quality lubricant to reduce friction and prevent the links from sticking. This simple step can significantly streamline the removal process.
Additionally, regular chain cleaning helps maintain its condition, preventing the buildup of grime and debris that can complicate disassembly. Adopting these practices will make chain removal a breeze and prolong the life of your bike’s components, allowing for a smoother and more enjoyable cycling experience.
Remember, a well-maintained chain is the foundation of a reliable and efficient bicycle, ensuring you can focus on the joy of the ride.
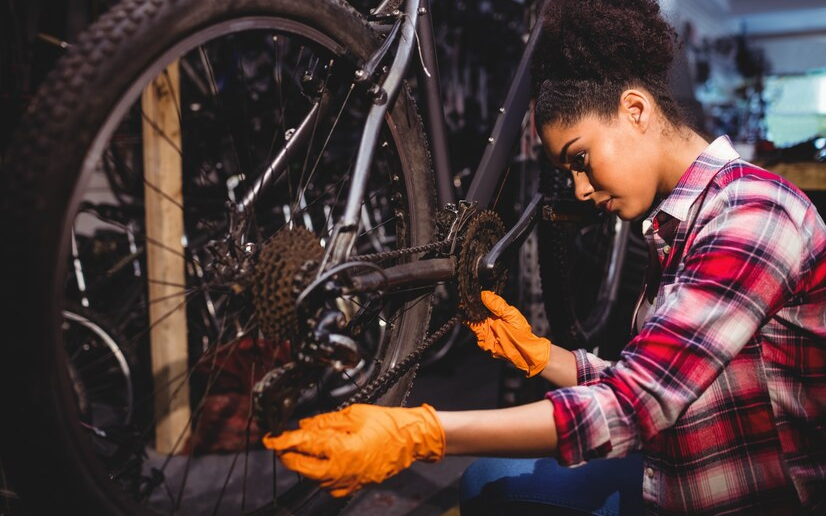
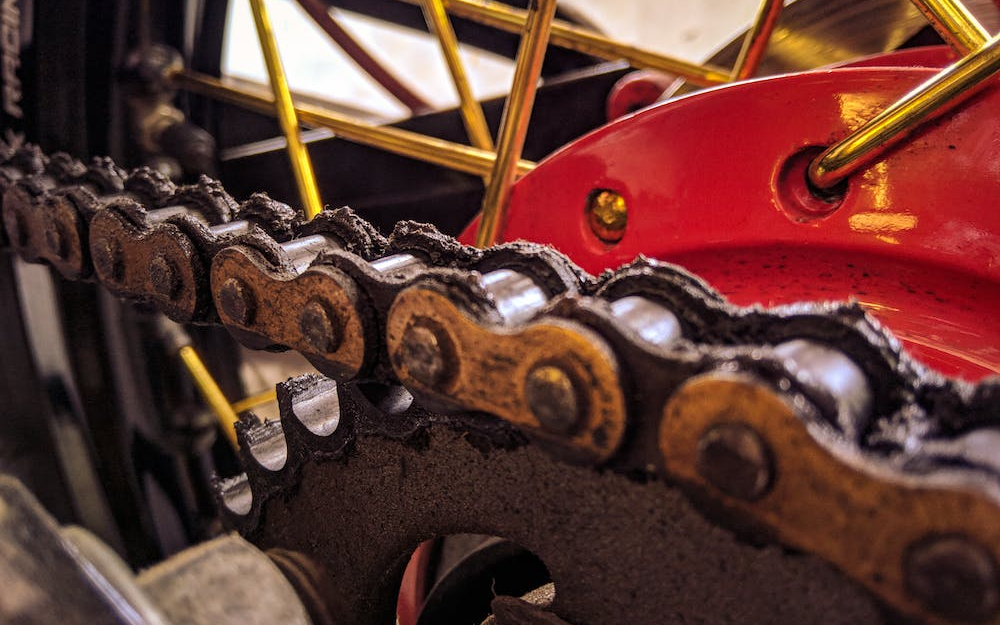
Cleaning & Inspection
Cleaning and inspecting a bicycle chain is crucial for optimal performance. Start by removing the chain and applying a degreaser. Use a brush to scrub off dirt and grime, ensuring each link and roller is clean.
Rinse with water and dry thoroughly. Once clean, inspect each link for signs of wear, such as stretched links, which indicate it’s time for a replacement. Check for stiff links, which can cause skipping and affect your ride.
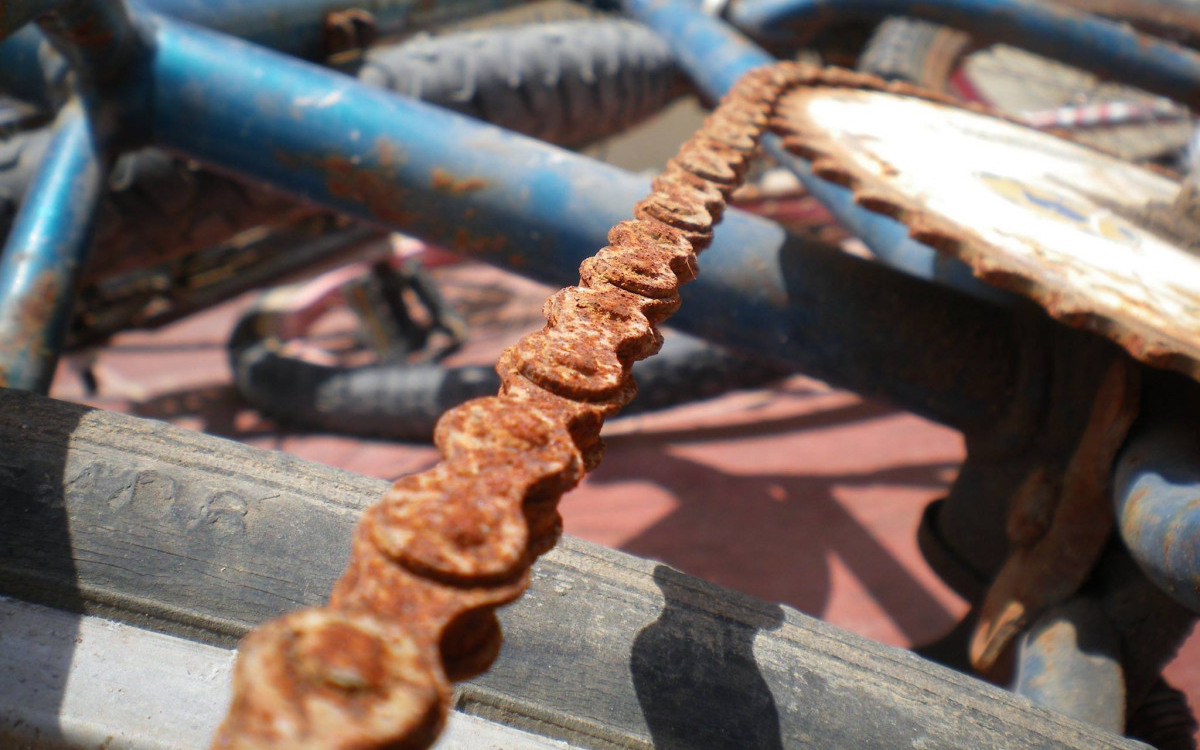
If the chain passes inspection, lubricate it before reattaching to ensure smooth operation. This routine not only keeps your bike in top condition but also extends the life of the chain and improves your cycling experience.
A clean, well-maintained chain is less prone to breakage and ensures a safer, more efficient ride. Remember, a little care goes a long way in maintaining your bicycle’s longevity and enjoyment of the sport.
How to Replace a Bicycle Chain?
Replacing a bicycle chain is a straightforward process that ensures your bike functions smoothly. If your chain is in good condition but has been removed, thread it through the front and rear derailleurs.
Align the ends of the chain and use a chain tool to reconnect the links. If you need a new chain, measure the length of your old chain as a guide and select a compatible chain for your bike type.
Thread the new chain onto the bike, ensuring it runs along the gear sprockets and through the derailleurs correctly. Use the chain tool to link the ends together, and check that the chain moves freely without snagging.
Regular inspection and timely replacement of your bicycle chain will keep your rides smooth and prevent excessive wear on other bike components. You can easily maintain your bicycle’s performance with the right tools and patience.
Common Mistakes to Avoid
When removing a bicycle chain, it’s crucial to avoid common pitfalls that can lead to further complications. Excessive force can warp links, leading to an uneven ride or a snapped chain.
Always apply steady, moderate pressure and ensure your tools are fit for purpose; the wrong size or type of tool can cause damage to the chain or the bike itself.
Additionally, neglecting to inspect the chain for wear and damage before removal can miss an opportunity for timely maintenance and potentially cause safety issues. A careful approach, proper tool selection, and a vigilant eye for pre-existing issues will ensure a smooth and successful chain removal and keep your bicycle in top condition for the next ride.
Conclusion
Understanding how to take a chain off a bike is essential for any cyclist. It not only empowers riders to manage their maintenance but also ensures the longevity and performance of their bicycle. Regular upkeep, including chain removal, is critical to a smooth and safe cycling experience.
This process, while simple, holds significant importance as it prevents wear and tear and maintains optimal functionality. By mastering this essential yet vital task, cyclists can enjoy an uninterrupted journey, confident in their ability to keep their bikes in prime condition.
FAQs
Inspect your chain for a link that differs in appearance, often with a pin that’s easier to remove.
Avoid using two master links; it compromises chain strength and safety.
New bike chain costs vary; average prices range from $10 to $50.
Yes, you can saw off a chain using appropriate tools for resizing.