If you are a bike enthusiast, you should know how to tighten bike brakes. Not only does it ensure your safety by enabling precise control over your speed and stopping power, but it also enhances your riding performance across diverse terrains and conditions.
Despite their crucial role, bike brakes are susceptible to loosening or misalignment over time, attributed to regular wear and tear, accumulation of dirt, or improper installation. Such issues manifest in nuisances like squeaks, pulling, or rubbing, compromising both your bike’s integrity and your overall riding experience.
Fortunately, you can rectify these problems by tightening and adjusting your bike brakes independently, armed with basic tools and a straightforward procedure. This guide will show you how to tighten brakes on a bike in five easy steps and what tools you will need for the job.
Understanding Bike Brake Systems
There are two main types of bike brake systems: rim and disc brakes. Rim brakes use pads that press against the rims of the wheels to create friction and slow down the bike.
Disc brakes use rotors that are attached to the hubs of the wheels and calipers that squeeze the rotors to create braking force. Rim brakes are cheaper, lighter, and easier to maintain than disc brakes, but they are less effective in wet or muddy conditions and wear out the rims over time.
Disc brakes are more expensive, heavier, and harder to adjust than rim brakes, but they offer more consistent and powerful braking performance in all weather conditions and do not affect the rims.
Why Do I Need to Adjust My Brakes?
Bicycle brakes are vital for ensuring a safe and smooth ride. However, over time, they can become loose and ineffective due to wear and tear, cable stretch, or improper installation.
Some common signs of loose brakes are squeaking noises, reduced stopping power, or brake levers that touch the handlebars. Loose brakes can pose serious risks to the rider, such as losing control, crashing, or injuring themselves or others.
Therefore, adjusting the brakes regularly and keeping them in optimal condition is important. Adjusting the brakes involves tightening the cables, aligning the pads, and lubricating the parts.
Depending on the type of brake system, the adjustment process may vary slightly. For more detailed instructions, consult the manufacturer’s manual or a professional bike mechanic.
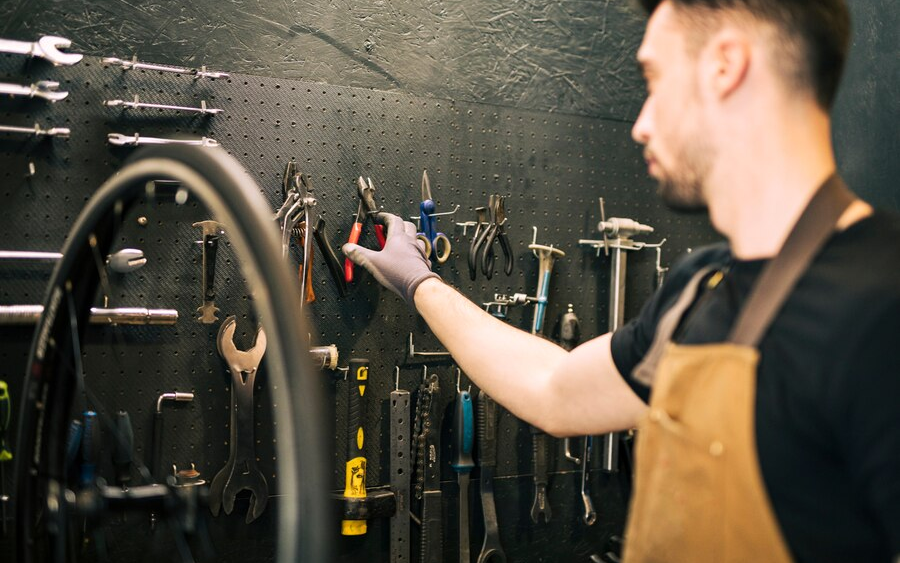
Necessary Tools & Materials
To tighten the brakes, one needs the following tools and materials: a hex wrench, a cable cutter, a cable end cap, and some lubricant.
- A hex wrench is used to loosen and tighten the bolts that hold the brake cable and pads.
- A cable cutter is used to trim the excess cable after adjusting the tension.
- A cable end cap is used to prevent the cable from fraying and to protect the rider from sharp edges.
- Lubricant is used to reduce friction and corrosion on the cable and the brake parts.
How to Tighten Bike Brakes?
Learn how to tighten bike brake in the following steps:
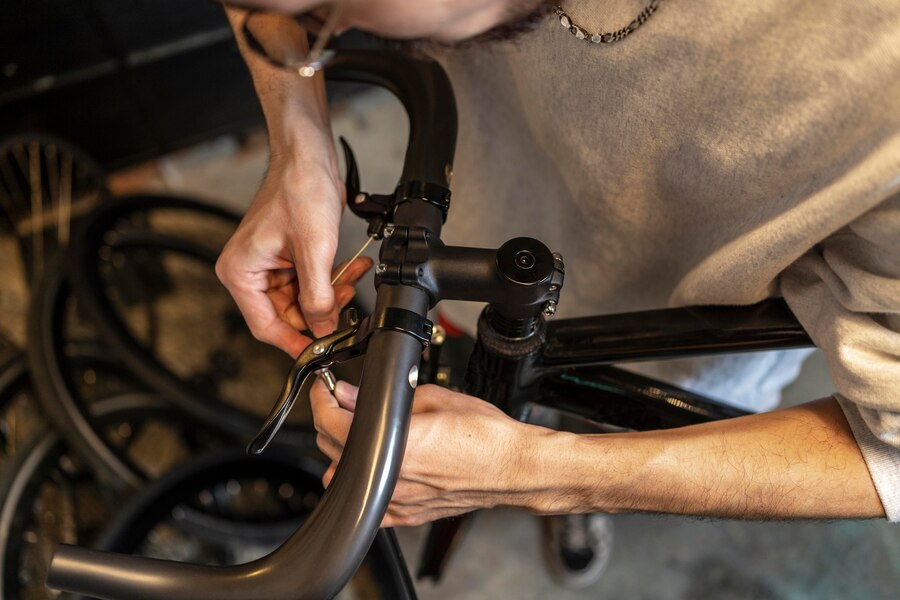
1. Loosen the Barrel Adjuster
The barrel adjuster is a small knob that allows you to fine-tune the tension of the brake cable. It is usually located on the brake lever, near the handlebar. To loosen the barrel adjuster, you need to turn it counterclockwise as if you are unscrewing it.
This will create more slack in the brake cable, which means the brake pads will move further away from the rim or the rotor. Loosening the barrel adjuster can help you fix minor brake issues, such as rubbing, squeaking, or dragging.
However, if the barrel adjuster is too loose, the brake lever may feel spongy or reach the handlebar before the brake engages. In that case, you need to tighten the barrel adjuster by turning it clockwise or adjusting the brake cable at the caliper end.
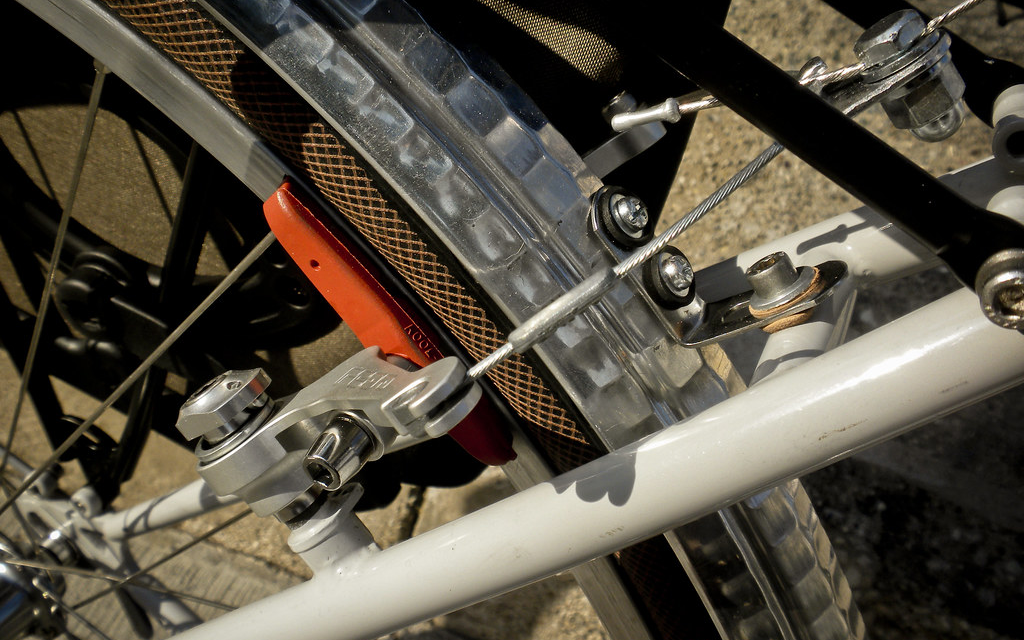
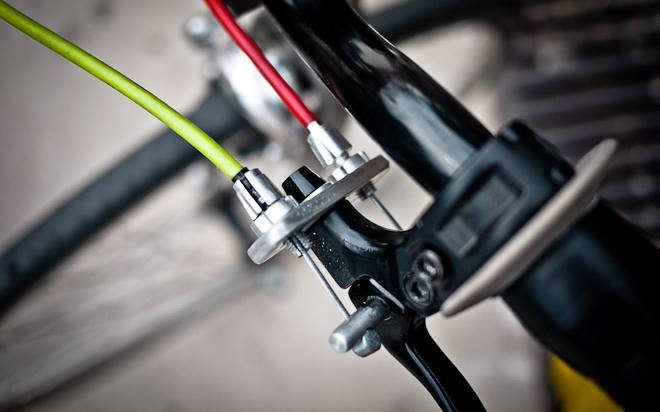
2. Adjust the Caliper of the Brakes
The caliper is the part of the brake system that holds the brake pads and squeezes them against the rim or the rotor. It is usually located near the wheel hub, on the fork, or on the frame.
To adjust the caliper, you need an Allen wrench that fits the bolts on the brake pads. First, loosen the bolts slightly so that the brake pads can move freely in the brake pad holder.
Then, move the brake pads up or down until they are aligned with the rim or the rotor, making sure they do not touch the tire or the spokes. Finally, re-tighten the bolts firmly with the Allen wrench while holding the brake pads in place.
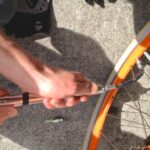
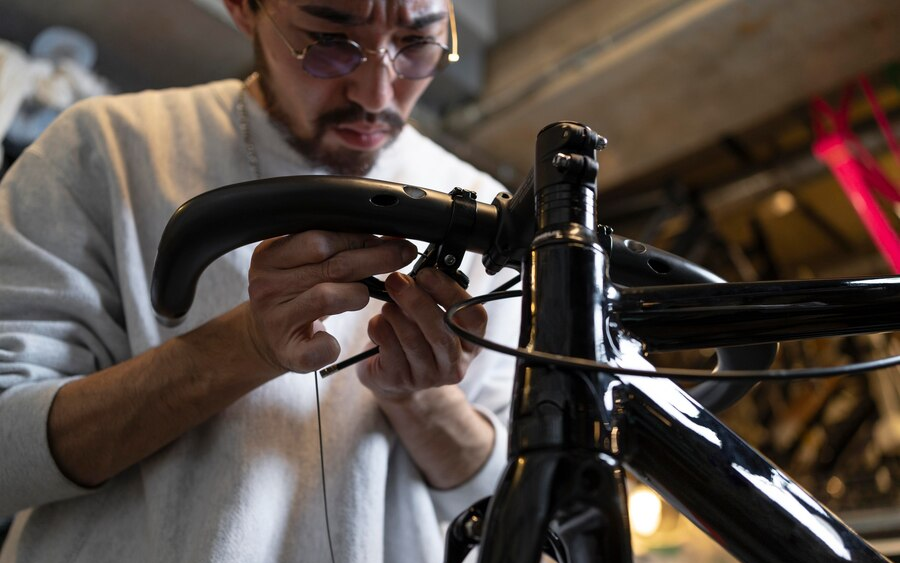
3. Pull the Brake Cable
If you want to adjust the tension of your bicycle brake cable, you need to pull it outward slightly to tighten it. This will make the brake more responsive and effective.
Here’s how you can do it:
- Locate the end of the brake cable near the brake lever on the handlebar. You will see a metal cap that secures the cable to the lever.
- Use a pair of pliers to gently pull the cap and the cable outward. You will feel some resistance from the spring inside the lever.
- While holding the cable in place with your fingers, squeeze the brake lever to test the tension. You should feel the brake pads clamp on the wheel’s rim with enough force to stop the bike.
- If the tension is too loose or too tight, release the cable and pull it again until you find the optimal level. Make sure the cable is not frayed or damaged.
- Once you are satisfied with the tension, secure the cable back to the lever with the cap. You have successfully pulled the brake cable.
4. Tighten the Caliper Bolt
To tighten the caliper bolt that holds the brake cable in place, you need to use an Allen wrench. This will ensure that the brake cable is securely attached to the brake caliper. Here’s how it can be done:
- Locate the caliper bolt on the brake caliper. It is usually a hexagonal-shaped bolt that connects the brake cable to the caliper arm.
- Use an Allen wrench that fits the size of the caliper bolt. Insert the wrench into the bolt and turn it clockwise to tighten it. Do not over-tighten the bolt, as this may damage the cable or the caliper.
- Check the tension of the brake cable by releasing the brake lever and squeezing it again. You should feel the brake pads clamp on the wheel’s rim with enough force to stop the bike.
- If the brake cable is too tight or too loose, loosen the caliper bolt slightly and adjust the cable tension by pulling or releasing the cable. Then, tighten the caliper bolt again.
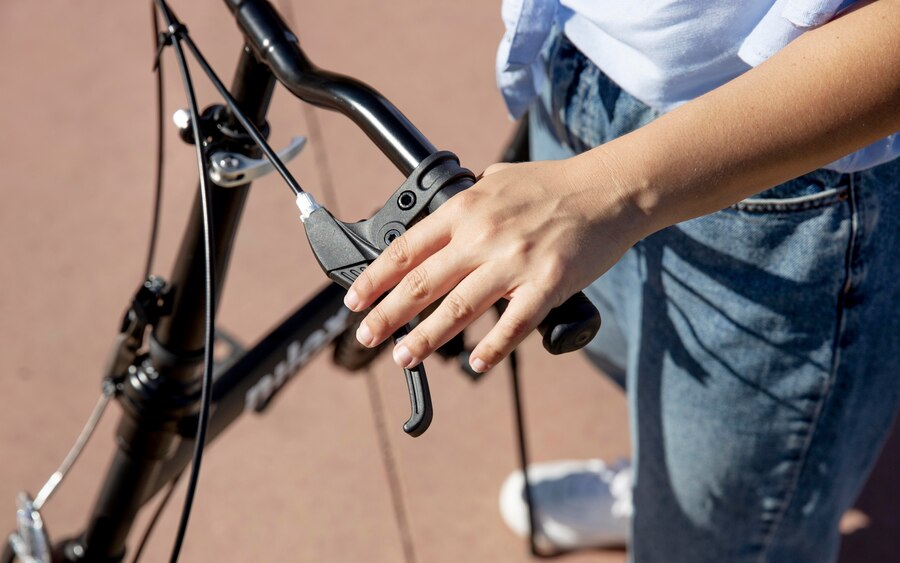
5. Re-tighten the Barrel Adjuster
The barrel adjuster is a small knob that allows you to fine-tune the brake cable tension and alignment. It is located on the brake lever or near the brake caliper. To re-tighten the barrel adjuster, you need to follow these steps:
- Turn the barrel adjuster clockwise until you feel some resistance. This will shorten the brake cable and increase the tension.
- Test the brake lever by squeezing it. You should feel the brake pads clamp on the wheel’s rim with enough force to stop the bike. The brake lever should not touch the handlebar when fully squeezed.
- Check the brake pads for clearance and contact with the rim. The brake pads should be aligned with the rim and have a small gap between them and the rim when the brake is not applied. If the brake pads are rubbing on the rim or not touching it evenly, you need to adjust the barrel adjuster again.
Maintenance Schedule
Bicycle brakes are essential for safe riding, but they can wear out over time and affect your braking performance. That’s why it’s important to check and adjust your brakes regularly, according to the manufacturer’s instructions.
A general rule of thumb is to inspect your brakes every month or more often if you ride in wet or dusty conditions. You should also check your brake pads for wear and tear and replace them when they are worn down to the indicator line.
Regular bike maintenance not only ensures your safety but also extends the lifespan of your bike and saves you money on repairs. By following a simple brake maintenance schedule, you can enjoy smooth and reliable braking on every ride.
Conclusion
In this article, we have learned how to tighten brakes on bike in a few simple steps. First, we need to check the brake pads and cables for wear and tear. Second, we need to adjust the brake levers and calipers for optimal braking power.
Third, we need to test the brakes and fine-tune them if needed. Proper brake maintenance is crucial for rider safety, as it prevents accidents and injuries.
Please let us know how this article was helpful and informative to you. We would appreciate any questions or feedback you may have. We would love to hear from you.
FAQs
To tighten bike pedal brakes, also known as coaster brakes, you need to adjust the chain tension and the brake arm.
Tighten bike clamp brakes by squeezing brake arms and adjusting the barrel adjuster clockwise.
Bike brakes may not grip well if the brake pads are worn, misaligned, or contaminated, or if the wheel rim or disc is dirty or damaged.
Bike brakes may be loose due to cable tension issues; adjust tension or replace cables if needed.