Have you ever wondered how to wrap a bike? Wrapping a bike is a simple and fun way to give your ride a new look, protect it from scratches and dirt, and express your personality.
Whether you want to change the color, add some patterns, or create a unique design, wrapping is an easy and affordable option. You can do it yourself with some basic tools and materials, and you can always remove or change the wrap whenever you want.
In this blog post, we will show you how to wrap a bicycle in a few simple steps and share some tips and tricks to make your bicycle look amazing. Are you ready to transform your bike? Let’s begin!
Benefits of Bike Wrapping
Wrapping is a great way to enhance your bike’s appearance and durability. Applying a thin layer of vinyl over your bicycle frame can prevent scratches, dings, and UV rays from causing damage.
You can also choose from a variety of colors, patterns, and designs to suit your style and preferences. It is also a cost-effective alternative to paint, as it is cheaper, easier, and reversible.
You can change the look of your bicycle anytime you want, without affecting its original paint. It is a smart and fun way to upgrade your bike and enjoy its benefits.
Materials & Tools Required
To do so, you will need the following materials and tools:
Bike Wrapping Film: Choose vinyl wraps from different brands such as 3M, Avery Dennison, or VViViD. Make sure you get enough film to cover your bicycle’s surface area.
Cleaning Supplies: Alcohol and a microfiber cloth to remove any dirt, grease, or wax.
Squeegees: Used to press the film onto the bicycle and remove any air bubbles.
Heat Gun: To stretch and mold the film around curves and edges.
Razor Blades: For trimming the excess film and making precise cuts.
Masking Tape or Painter’s Tape: Tape parts of your bicycle that you don’t want to wrap, such as the tires, chain, or brakes.
Preparing Your Bike
To wrap your bicycle with a vinyl film, you need to first clean and degrease it thoroughly using alcohol and a microfiber cloth. This will remove any dirt, oil, or wax that may prevent the film from sticking well.
Next, you need to remove any accessories or components that may get in the way of the wrapping process, such as the seat, mounts, or lights. This will make the wrapping easier and faster.
Finally, you need to sand or smooth out any rough surfaces on your bike, such as scratches, dents, or rust. This will create a more even surface for the film to adhere to and give it a smoother finish.
How to Wrap a Bike?
Learn the wrapping process section-wise in the following steps:
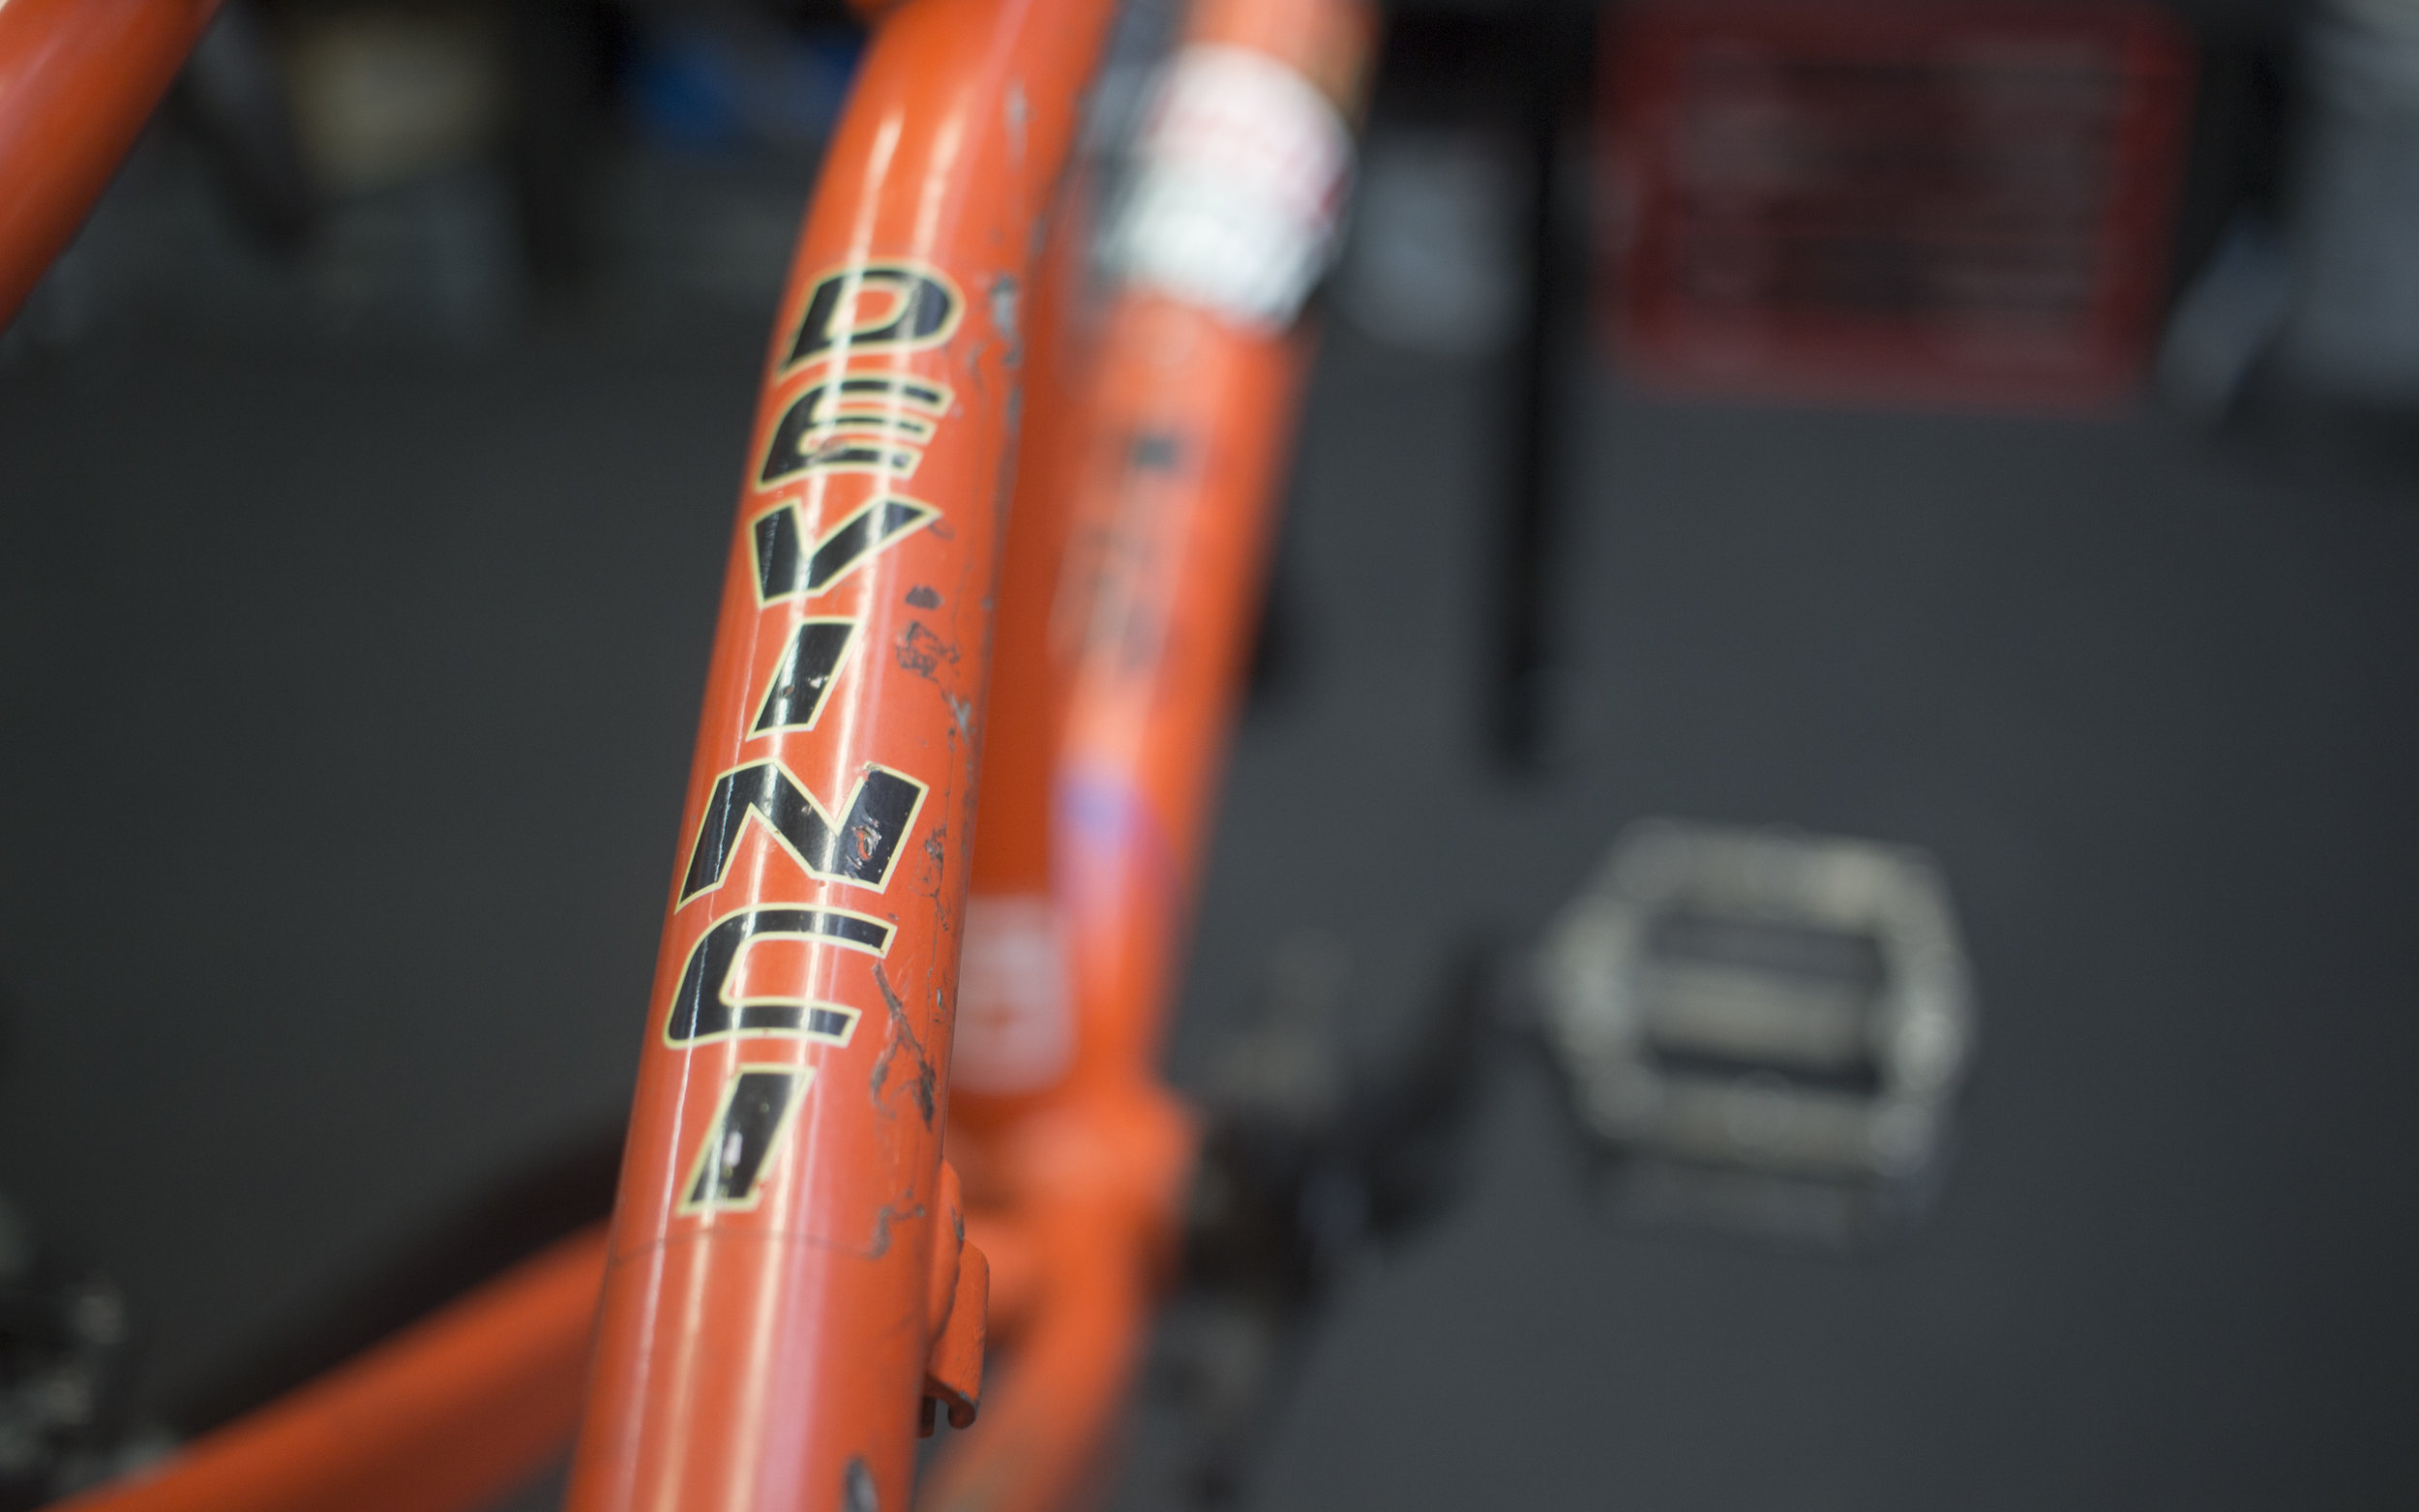
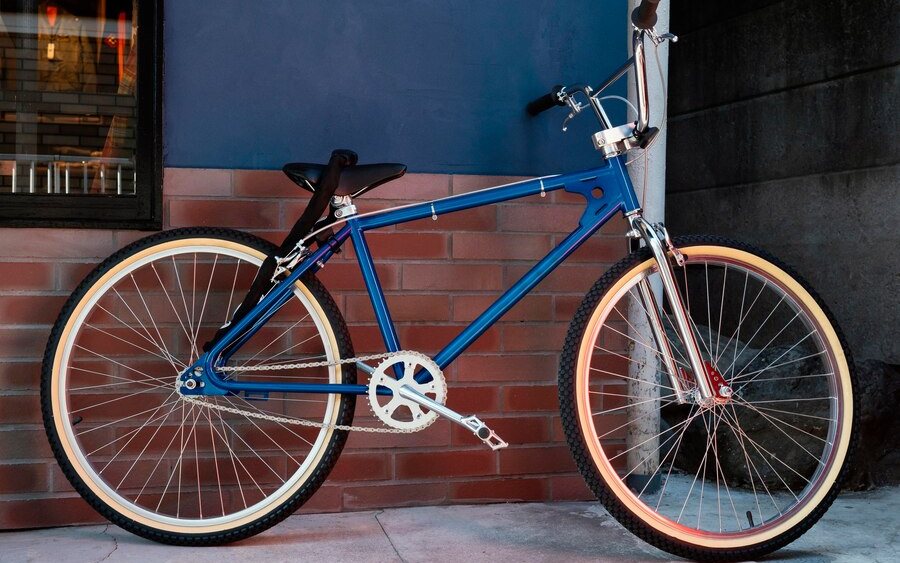
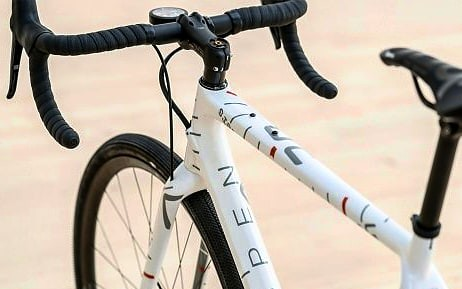
1. Frame Wrapping
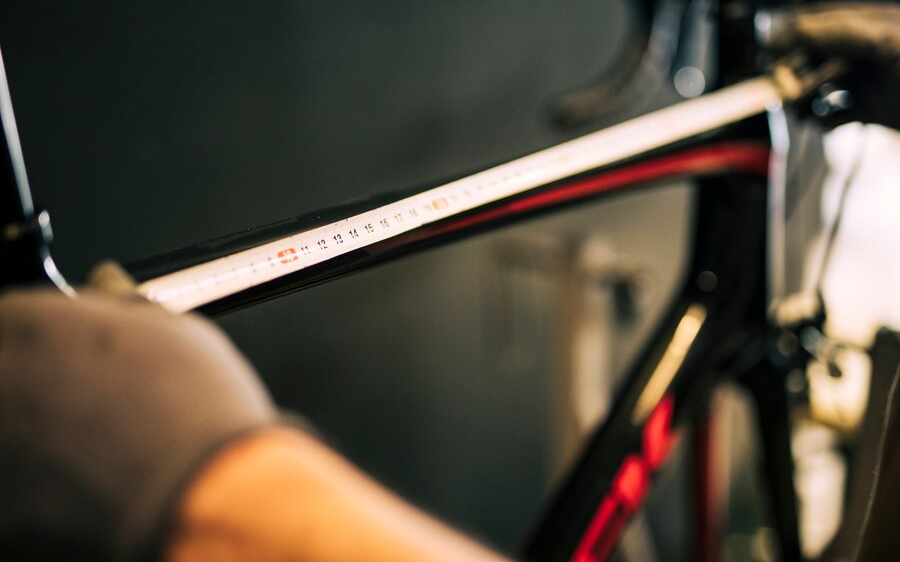
The frame is the most visible part of your bike, so wrapping it can change its look. First, measure and cut the wrap to fit your frame. Peel off the backing paper and align the wrap with the frame.
Use masking tape to hold it temporarily. Smooth out the wrap from the center to the edges, applying pressure. Cut off the extra wrap, leaving some overlap. Fold the overlap over the frame and press it firmly.
Use the heat gun to make the wrap softer and easier to fold. Seal the edges and corners with the heat gun, removing any gaps or wrinkles. Smooth out the wrap with the squeegee or the cloth.
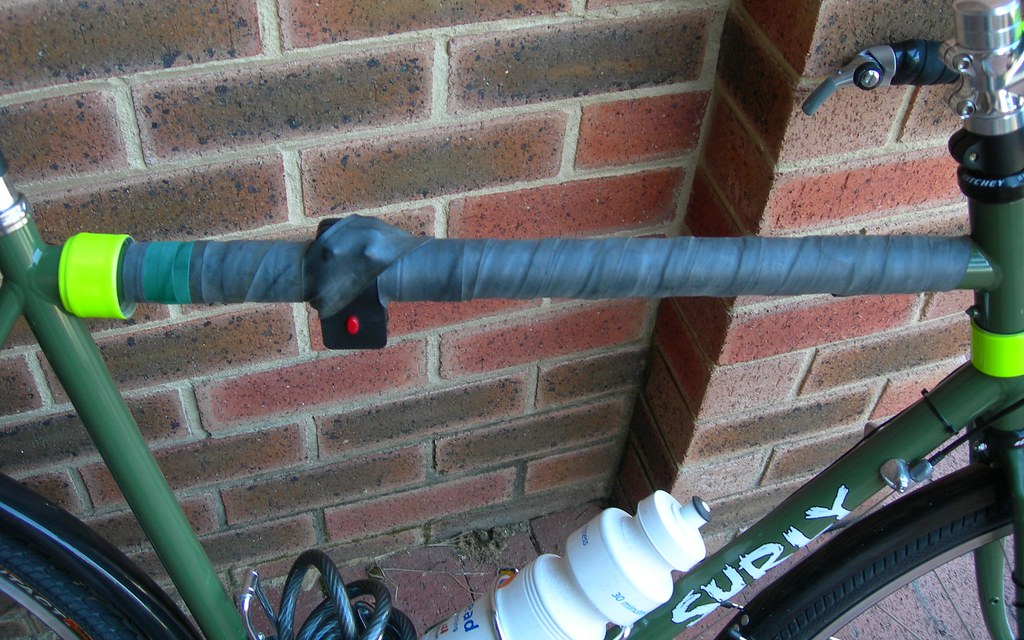
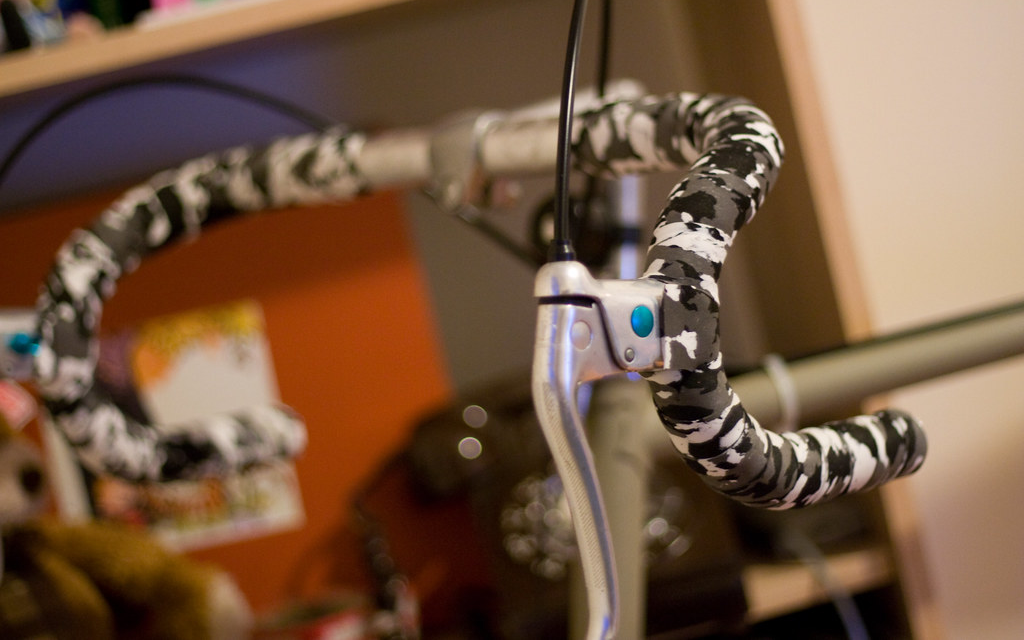
2. Handlebar and Stem Wrapping
The handlebar and stem are the parts that you hold and steer with, so wrapping them can improve your grip and comfort. You will need a screwdriver to remove any grips, levers, or shifters from your handlebar and stem.
Measure and cut the wrap to fit your handlebar and stem. Peel off the backing paper and wrap it around the handlebar and stem, starting from the center and moving to the ends. Overlap the wrap slightly as you go, avoiding any gaps or bubbles. Cut off the extra wrap, leaving some overlap.
Fold the overlap over the handlebar and stem and press it firmly. Use the heat gun to make the wrap softer and easier to fold. Seal the edges and corners with the heat gun, removing any gaps or wrinkles. Smooth out the wrap with the squeegee or the cloth.
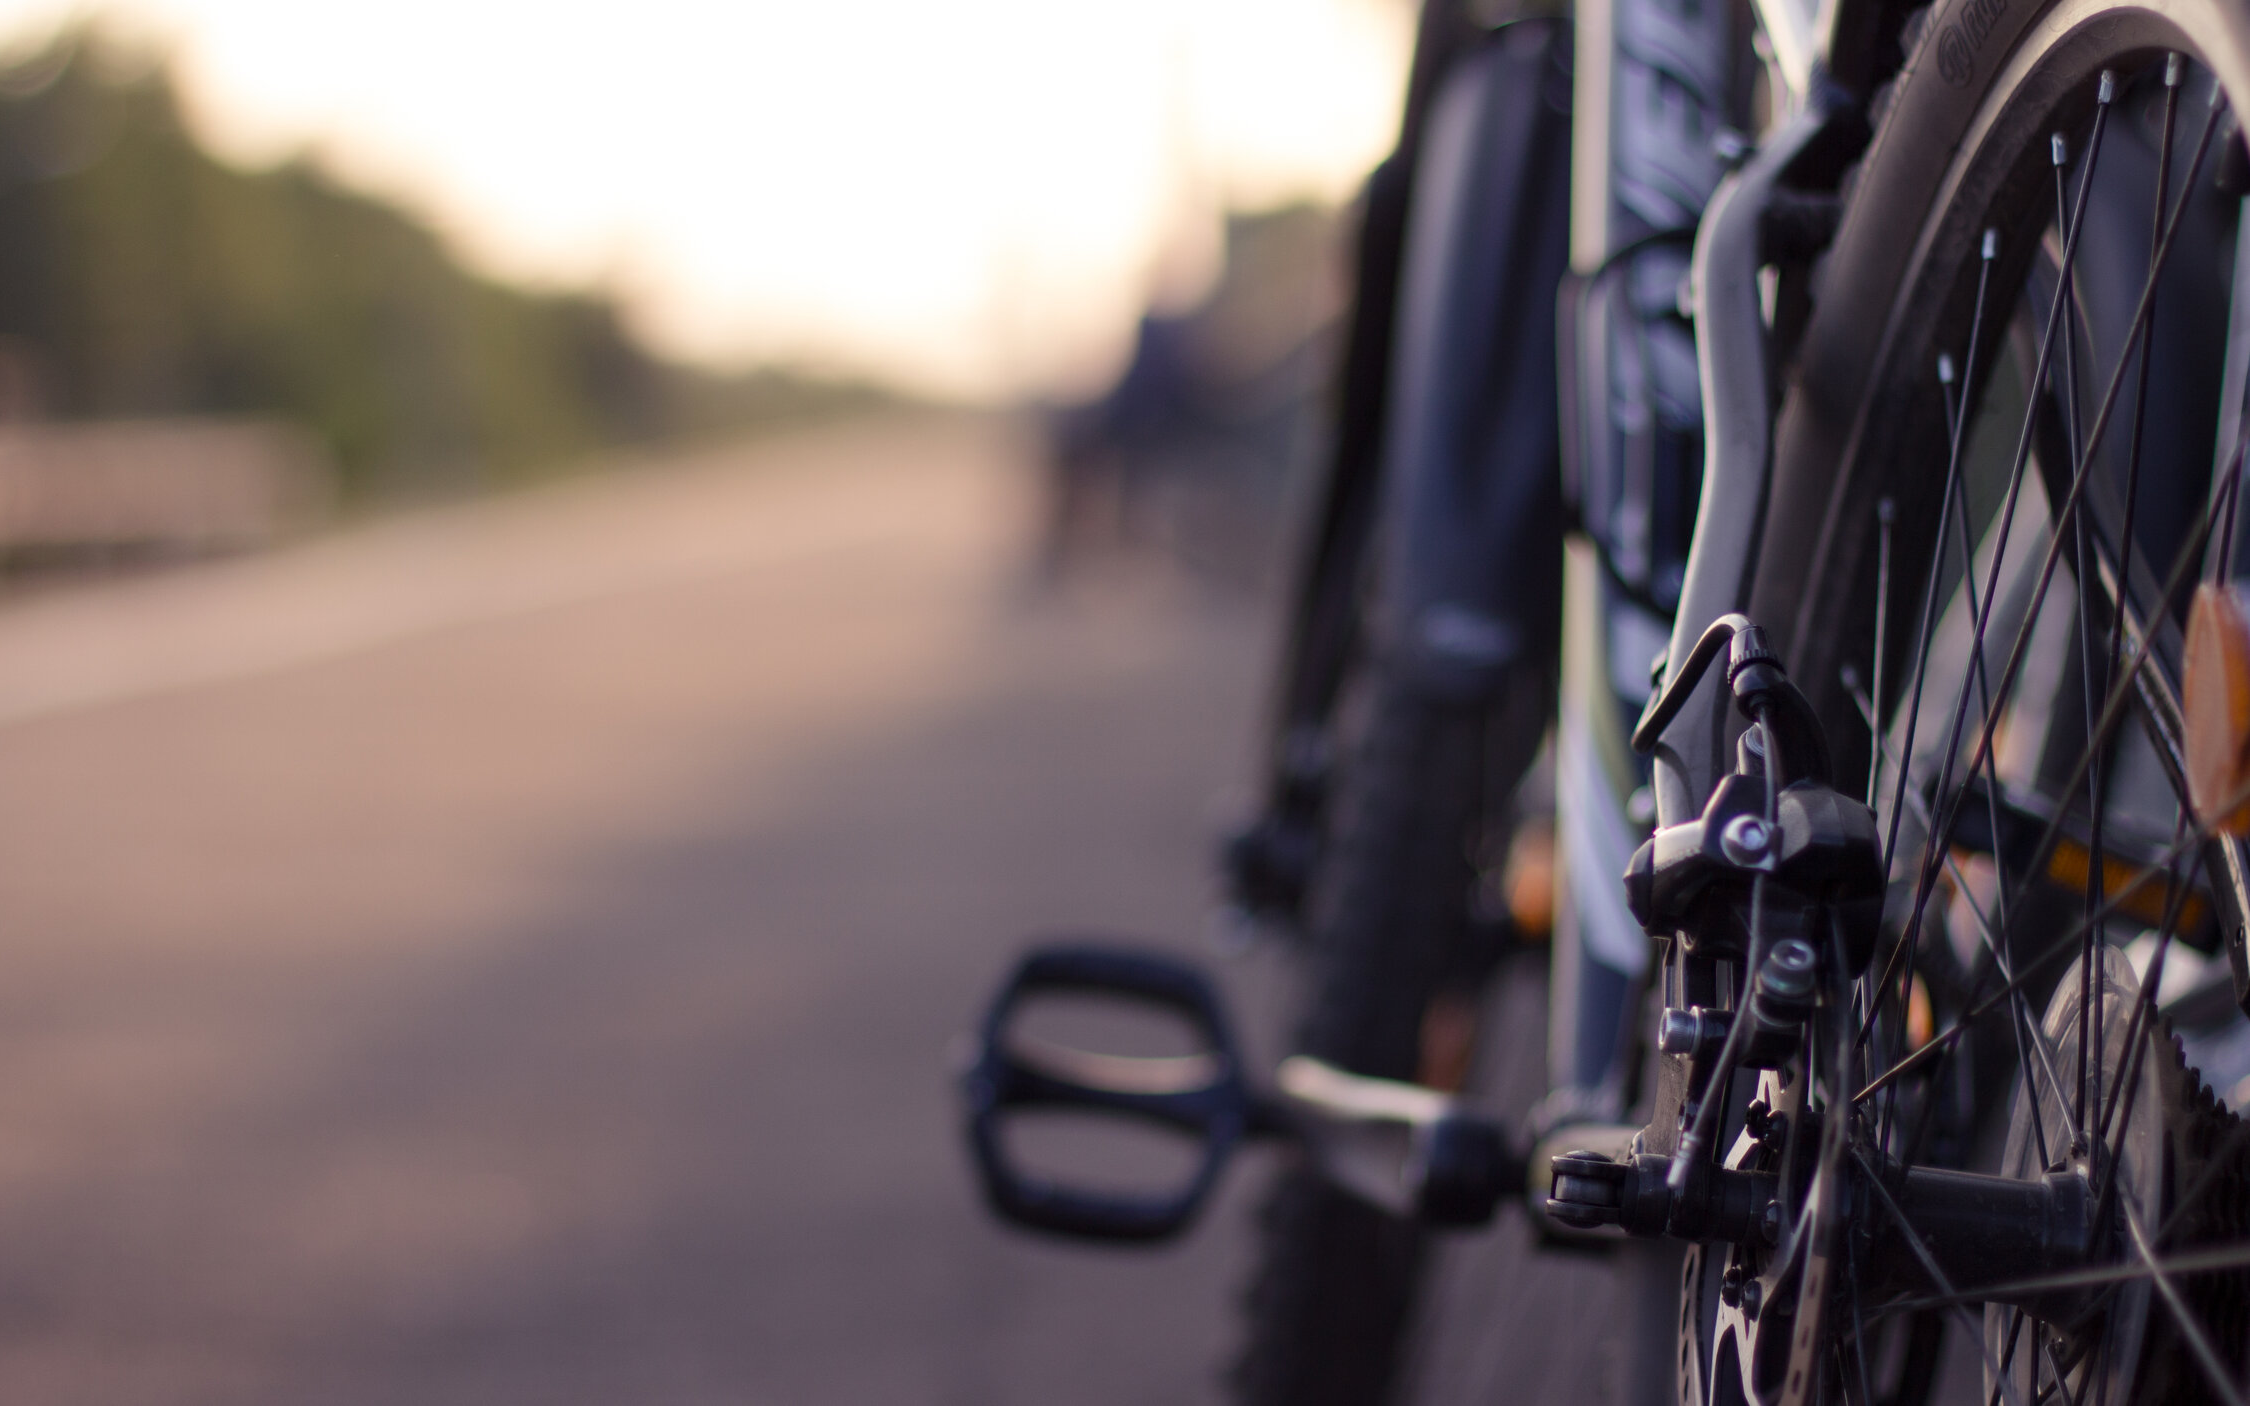
3. Fork and Wheel Wrapping
The fork and wheel are the parts that connect the frame to the ground, so wrapping them can enhance their performance and durability. You will need a wrench to remove any tires, tubes, or spokes from your wheel.
Measure and cut the wrap to fit your fork and wheel. Peel off the backing paper and wrap it around the fork and wheel, following their shape and curves. Smooth out the wrap with your fingers, a squeegee, or a cloth, avoiding any gaps or bubbles. Cut off the extra wrap, leaving some overlap.
Fold the overlap over the fork and wheel and press it firmly. Use the heat gun to make the wrap softer and easier to fold. Seal the edges and corners with the heat gun, removing any gaps or wrinkles. Smooth out the wrap with the squeegee or the cloth.
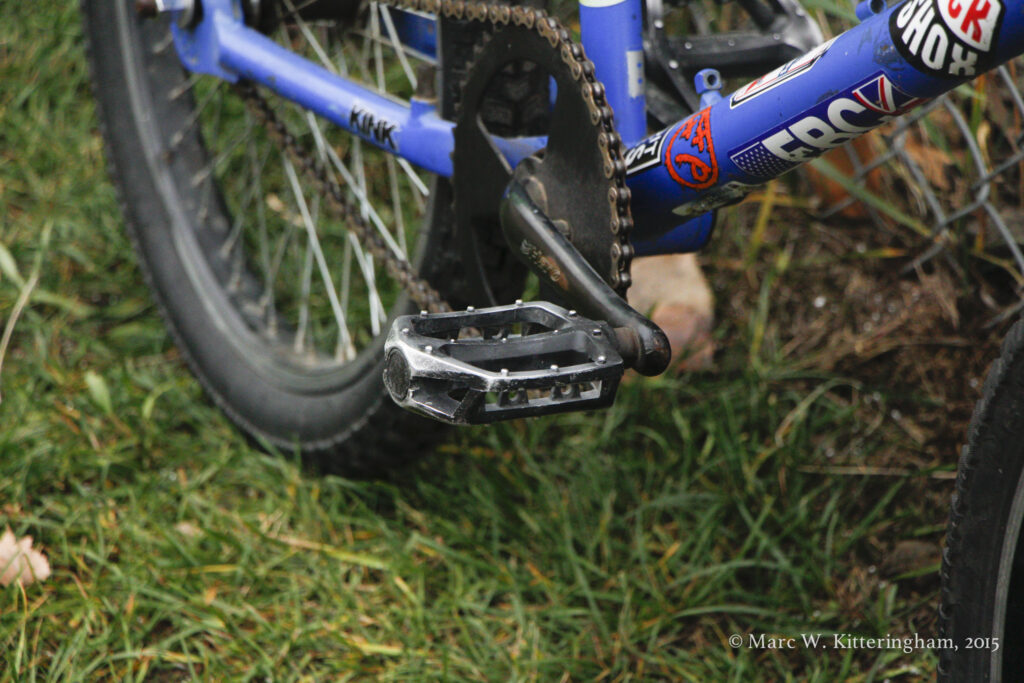
4. Pedal and Crank Wrapping
The pedal and crank are the parts that you push and rotate with your feet, so wrapping them can increase your traction and power. You will need a screwdriver to remove any clips, straps, or chains from your pedal and crank.
Measure and cut the wrap to fit your pedal and crank. Peel off the backing paper and wrap it around the pedal and crank, covering the whole surface of the parts. Smooth out the wrap from the center to the edges, avoiding any gaps or bubbles. Cut off the extra wrap, leaving some overlap.
Next, fold the overlap over the pedal and crank and press it firmly. Use the heat gun to make the wrap softer and easier to fold. Seal the edges and corners with the heat gun, removing any gaps or wrinkles. Smooth out the wrap with the squeegee or the cloth.
Customization Ideas
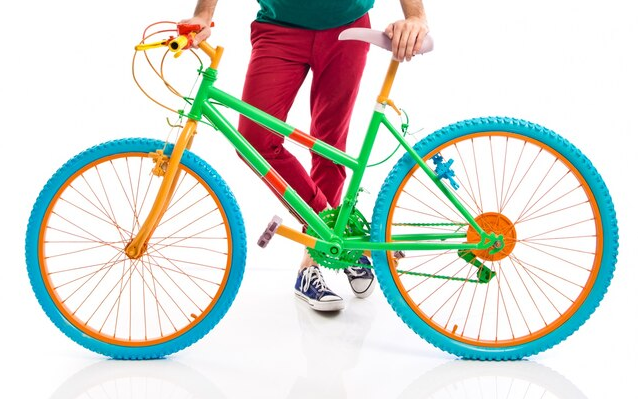
Bike wrap is a great way to personalize and make your bicycle stand out from the crowd. You can choose from various styles and patterns, such as stripes, flames, camouflage, or geometric shapes.
You can also use multiple colors to create a unique look that matches your personality and preferences. Furthermore, you can even add decals or graphics to your wrap, such as your name, logo, slogan, or favorite character.
It is not only fun and creative but also durable and easy to apply. Vinyl sheet can protect your bicycle from scratches, dirt, and weather. It is the ultimate way to customize your bicycle and express yourself.
How Long Do Bike Wraps Last?
Life depends on several factors, such as the quality of the vinyl material, the installation process, and the maintenance and usage of the bicycle. Generally, a well-installed wrap can last up to five years or more, but you may notice some changes after the third year.
To extend the lifespan of your wrap, you should clean it regularly, avoid harsh chemicals, and store it in a cool and dry place. Bike wraps are a durable and long-lasting customization for your ride.
How Much Does it Cost to Wrap a Bike?
Cost depends on several factors, such as the size and shape of your bicycle, the quality and type of the vinyl material, and the skill and experience of the wrapper. Generally, bicycle wrapping can cost anywhere from $200 to $4,500, but the average price is around $1,000.
You can save money by choosing a simple and common design, using a cheaper vinyl, or doing it yourself. However, you may compromise the quality and durability of the wrap. Bike wrapping is an affordable and versatile option for your ride.
How to Wrap a Bike for Xmas?
Wrapping a bicycle for Xmas can be a challenge, but it is not impossible. You will need a large roll of wrapping paper, scissors, tape, ribbon, and a bow. First, cut a piece of paper that is big enough to cover the bicycle’s frame. Then, wrap it around the bike and secure it with tape.
Next, cut another piece of paper that is long enough to cover the wheels. Wrap it around each wheel and tape it to the frame. Finally, add some ribbon and a bow to make it festive. Your bicycle is now ready to surprise someone on Xmas morning!
Conclusion
You have just learned how to wrap a bike, a simple and fun way to give your bike a new look and protect it from damage. You can wrap any part of your bicycle that you want, using some basic tools and your creativity.
Experiment with different colors, patterns, and textures to match your personality and style. Wrapping a bicycle is a great DIY project that you can enjoy with your friends or on your own. Don’t forget to share your awesome results in the comments.
FAQs
The cons of wrapping a bicycle are high cost, special tools, durability issues, and removal difficulty.
To wrap a bicycle for a gift, you can use wrapping paper, a bike bag, a box, a bow, or lights.
A wrap is usually cheaper than paint, depending on the size and type of the bicycle, and the quality of the material.
Wrapping a bicycle is hard to do, as it requires a lot of time, patience, and skill to deal with complex curves and seams.